Opening Reception & sales start: 7:00 pm - 11:00 pm
Afternoon Show & Kids Workshop: 12:00 pm - 4:00 pm
STICKY 5 will be on view at One More Life Gallery, 2111 Main St., Unit Lobby, on June 20th, 27th, and July 4th.
Here's my process + tips for how to start.
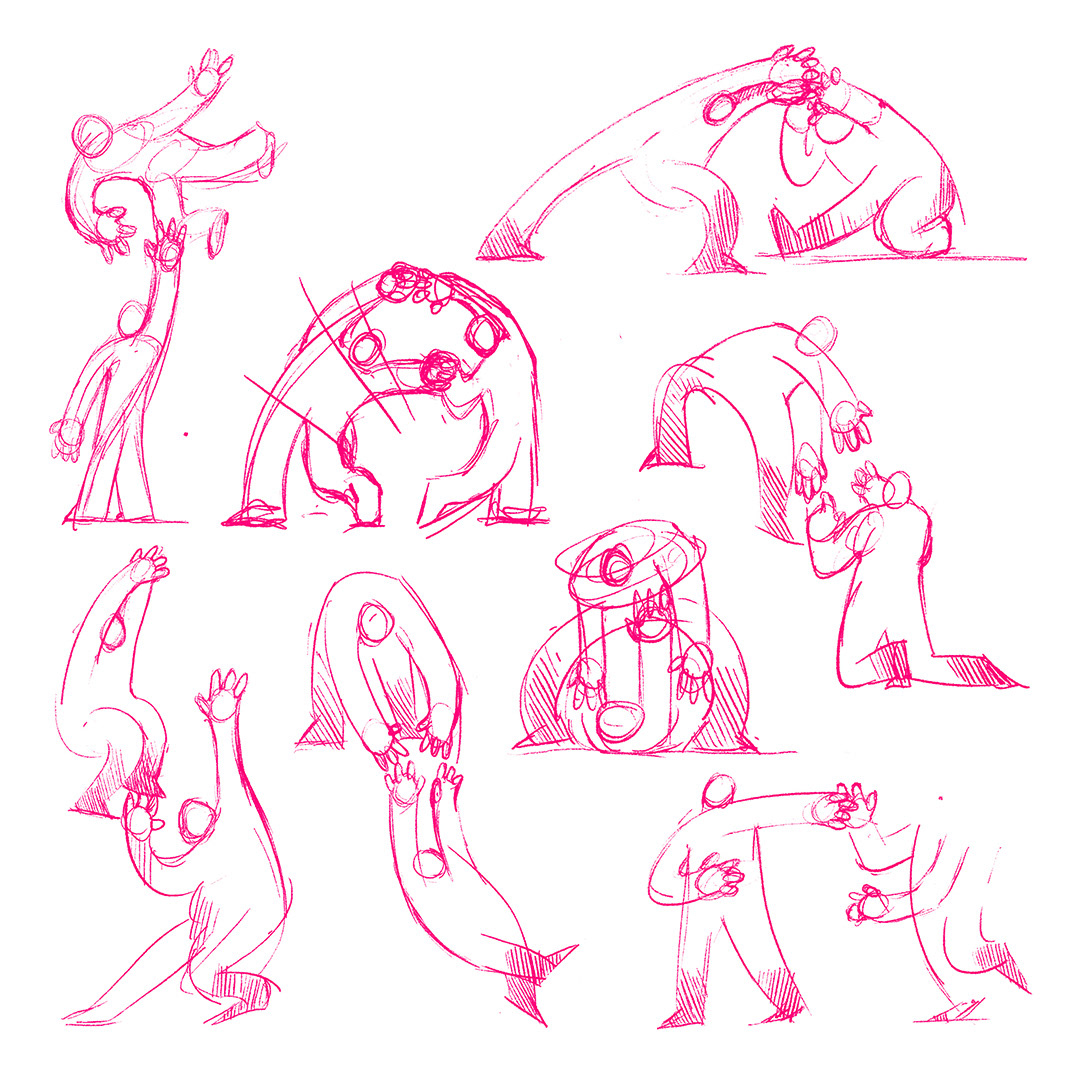
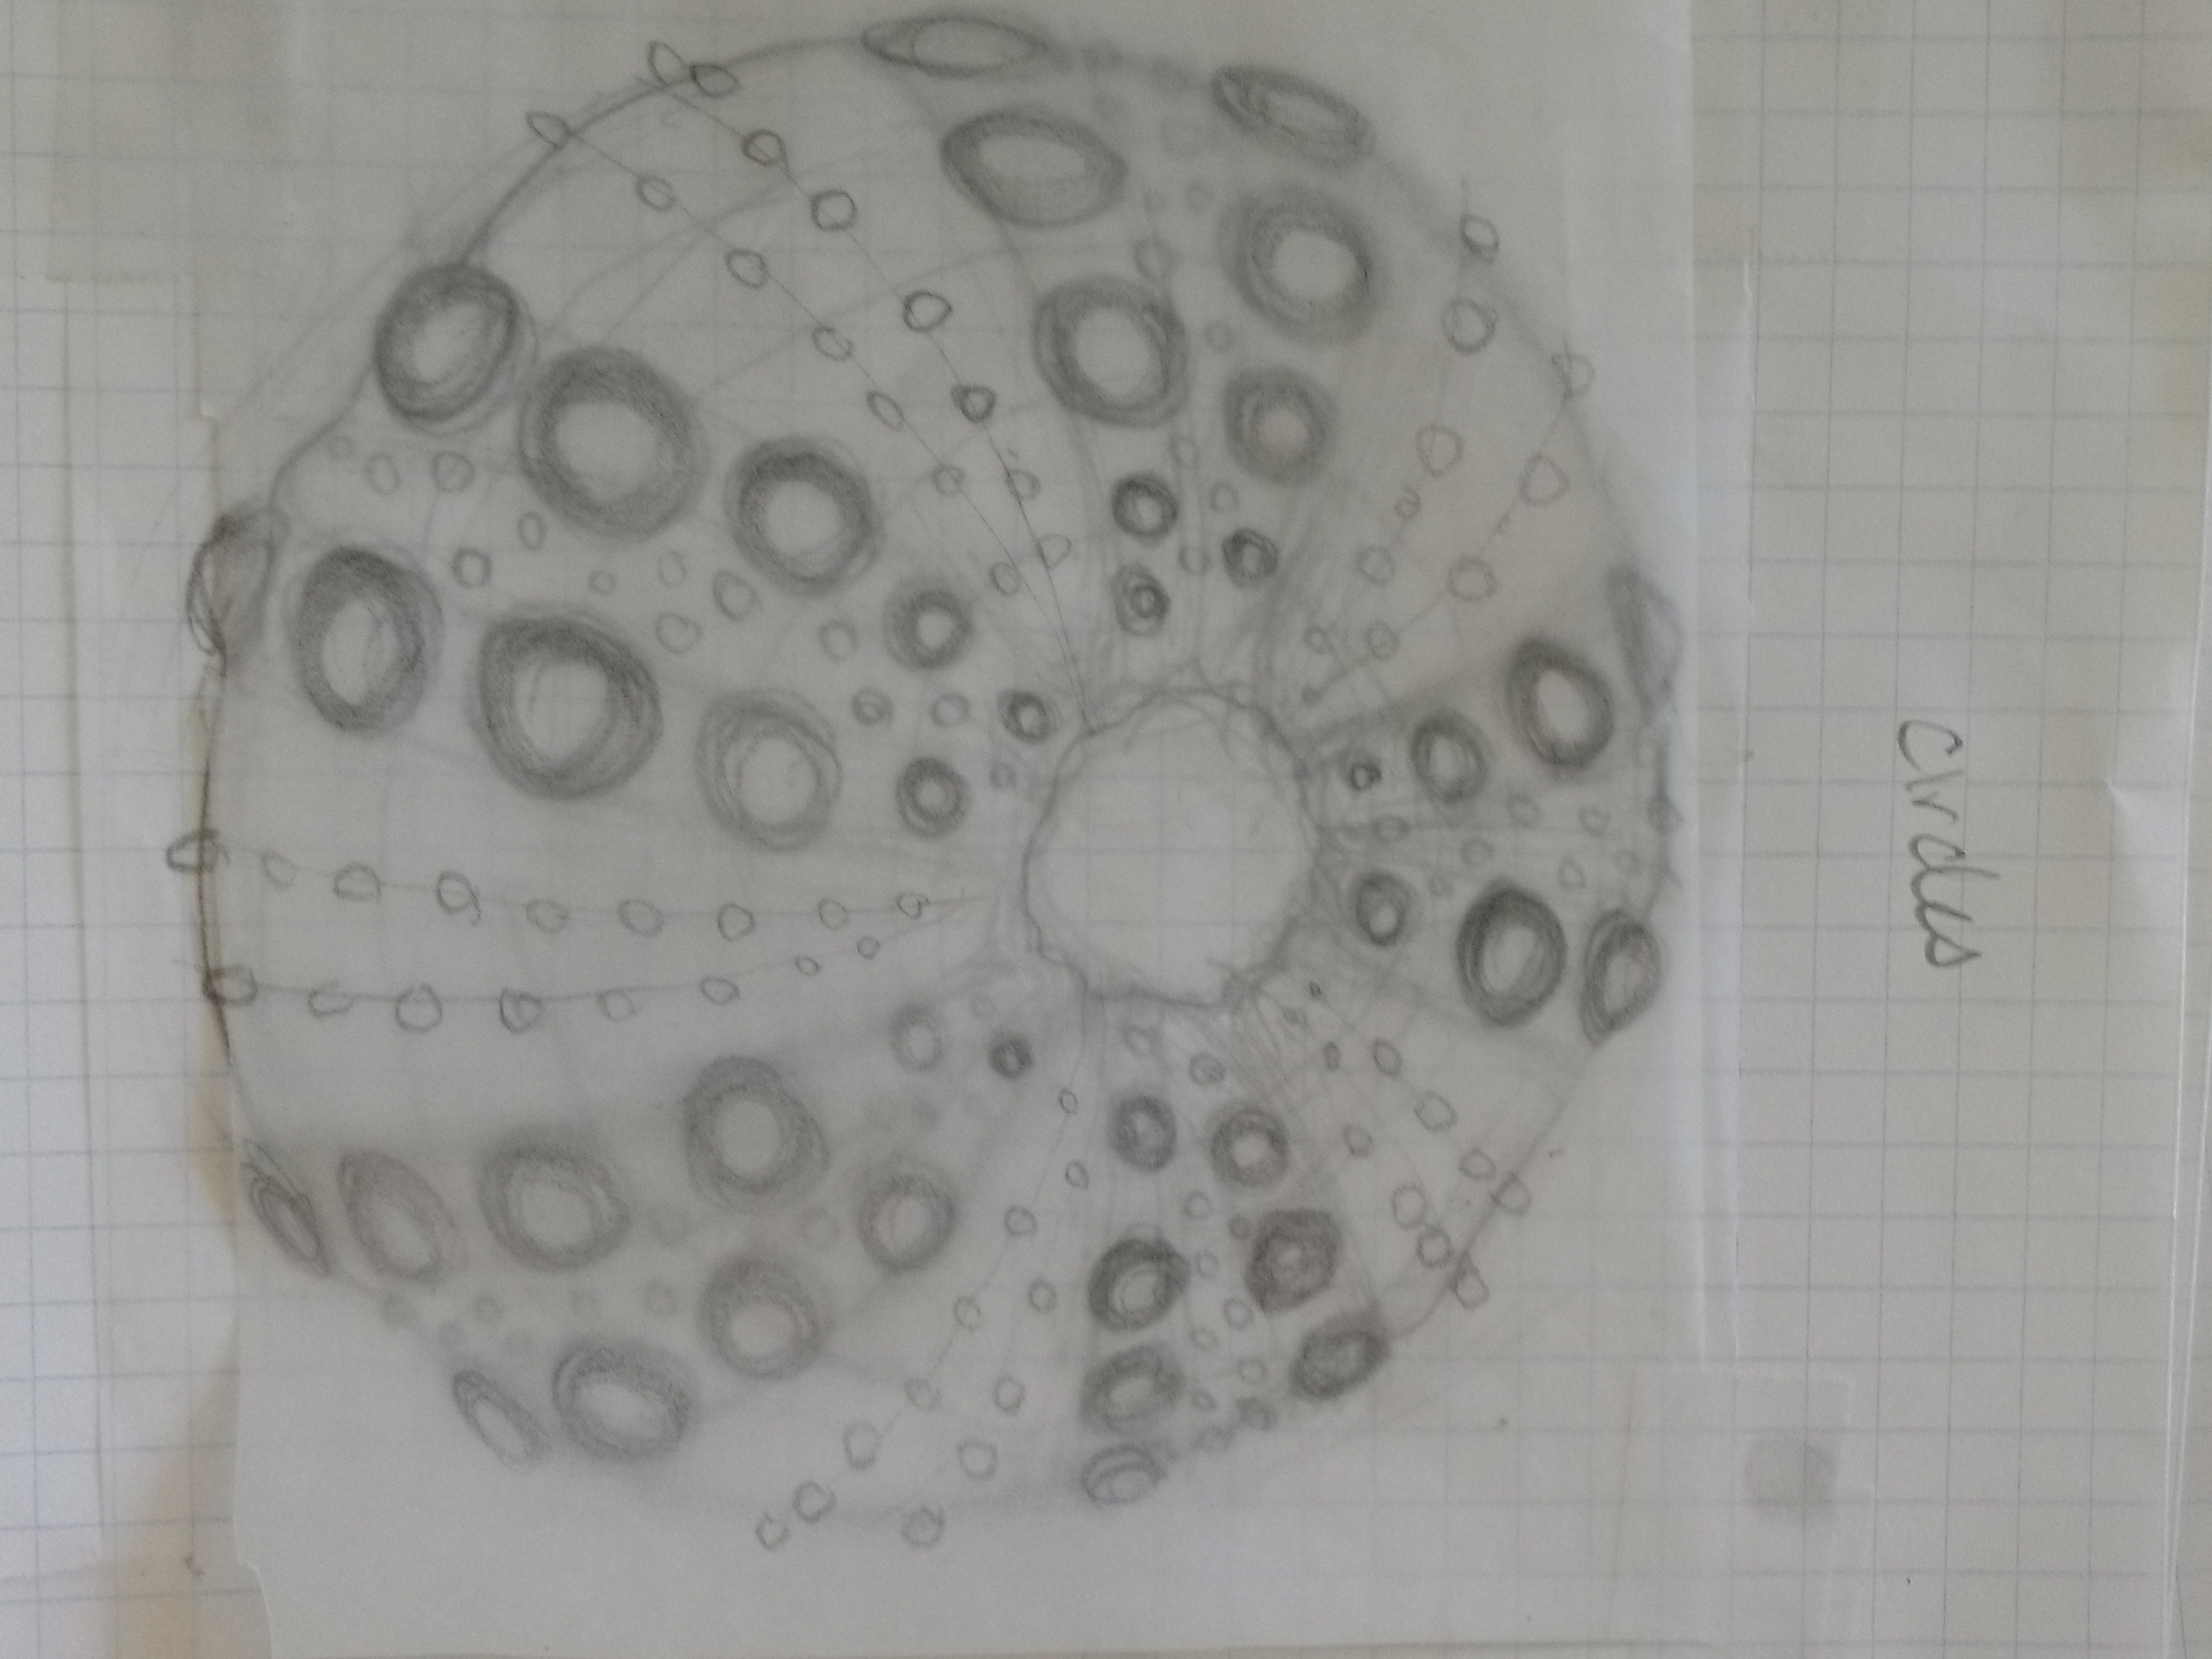
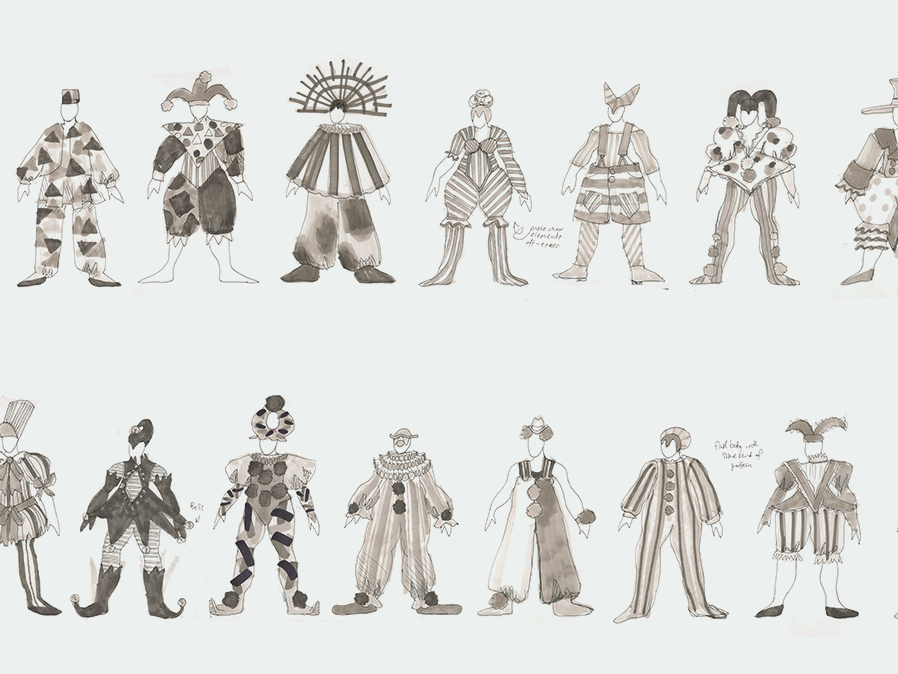
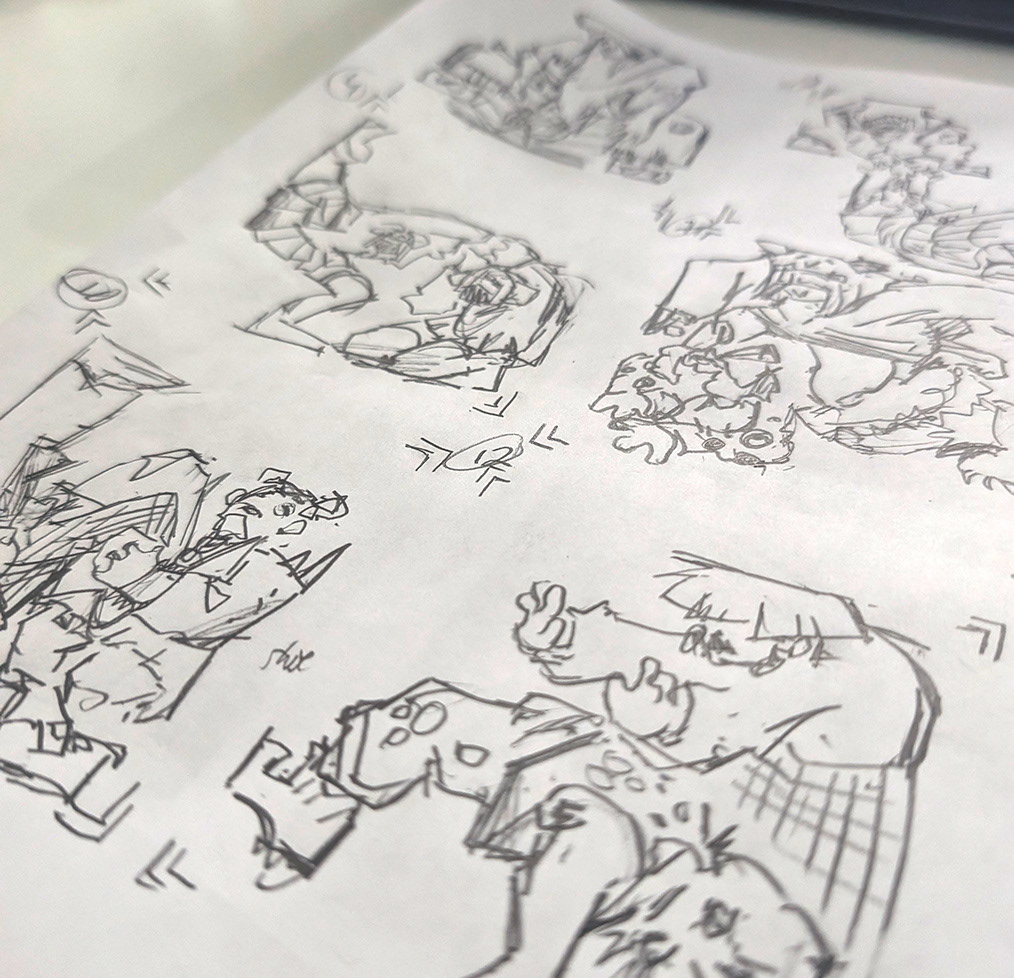
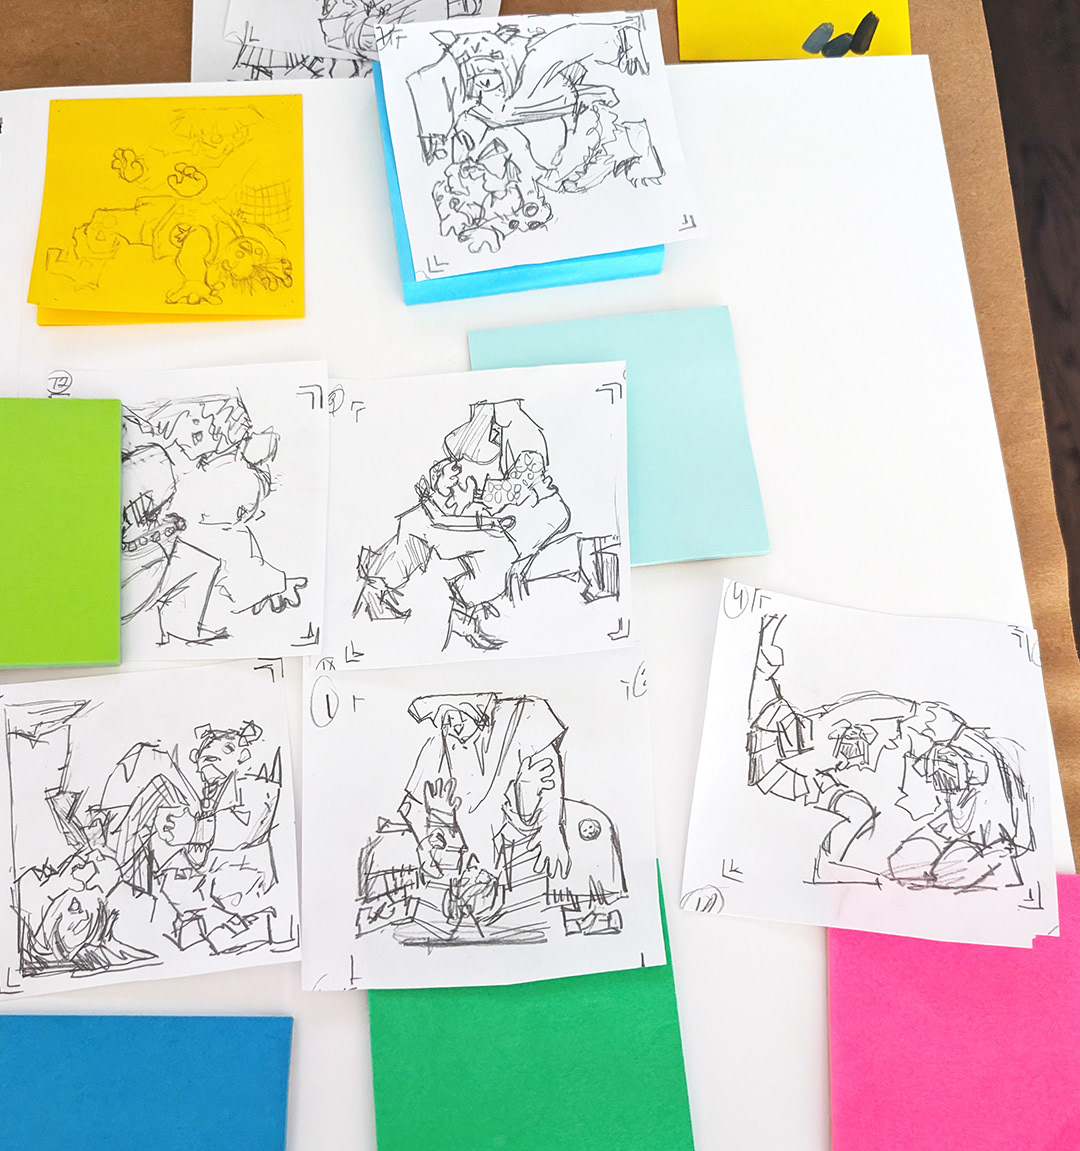
My initial, casual figure designs, based on friendship and trust and drawn digitally.
For me, it was clowns, friendship and fitting them in the box.
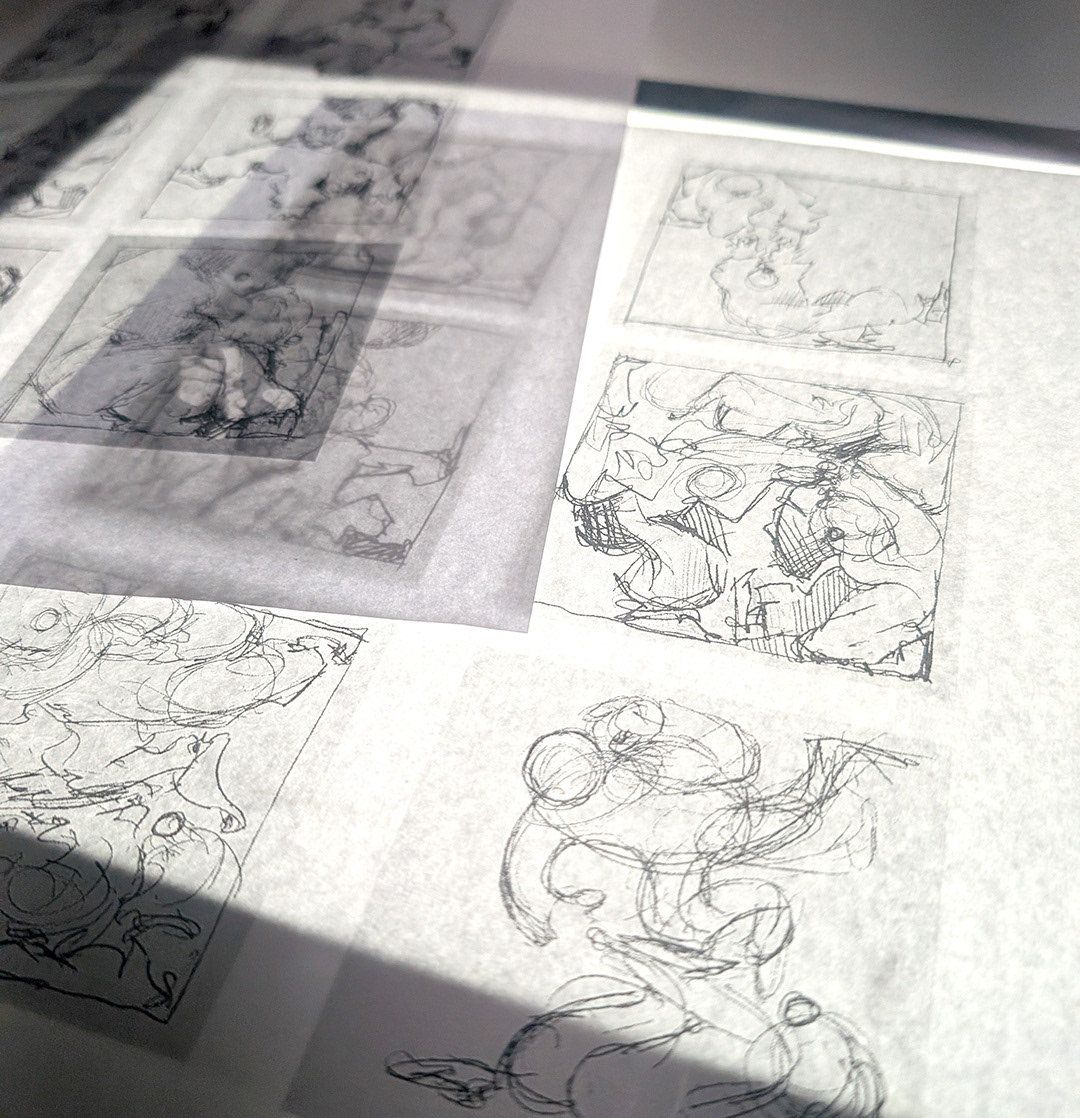
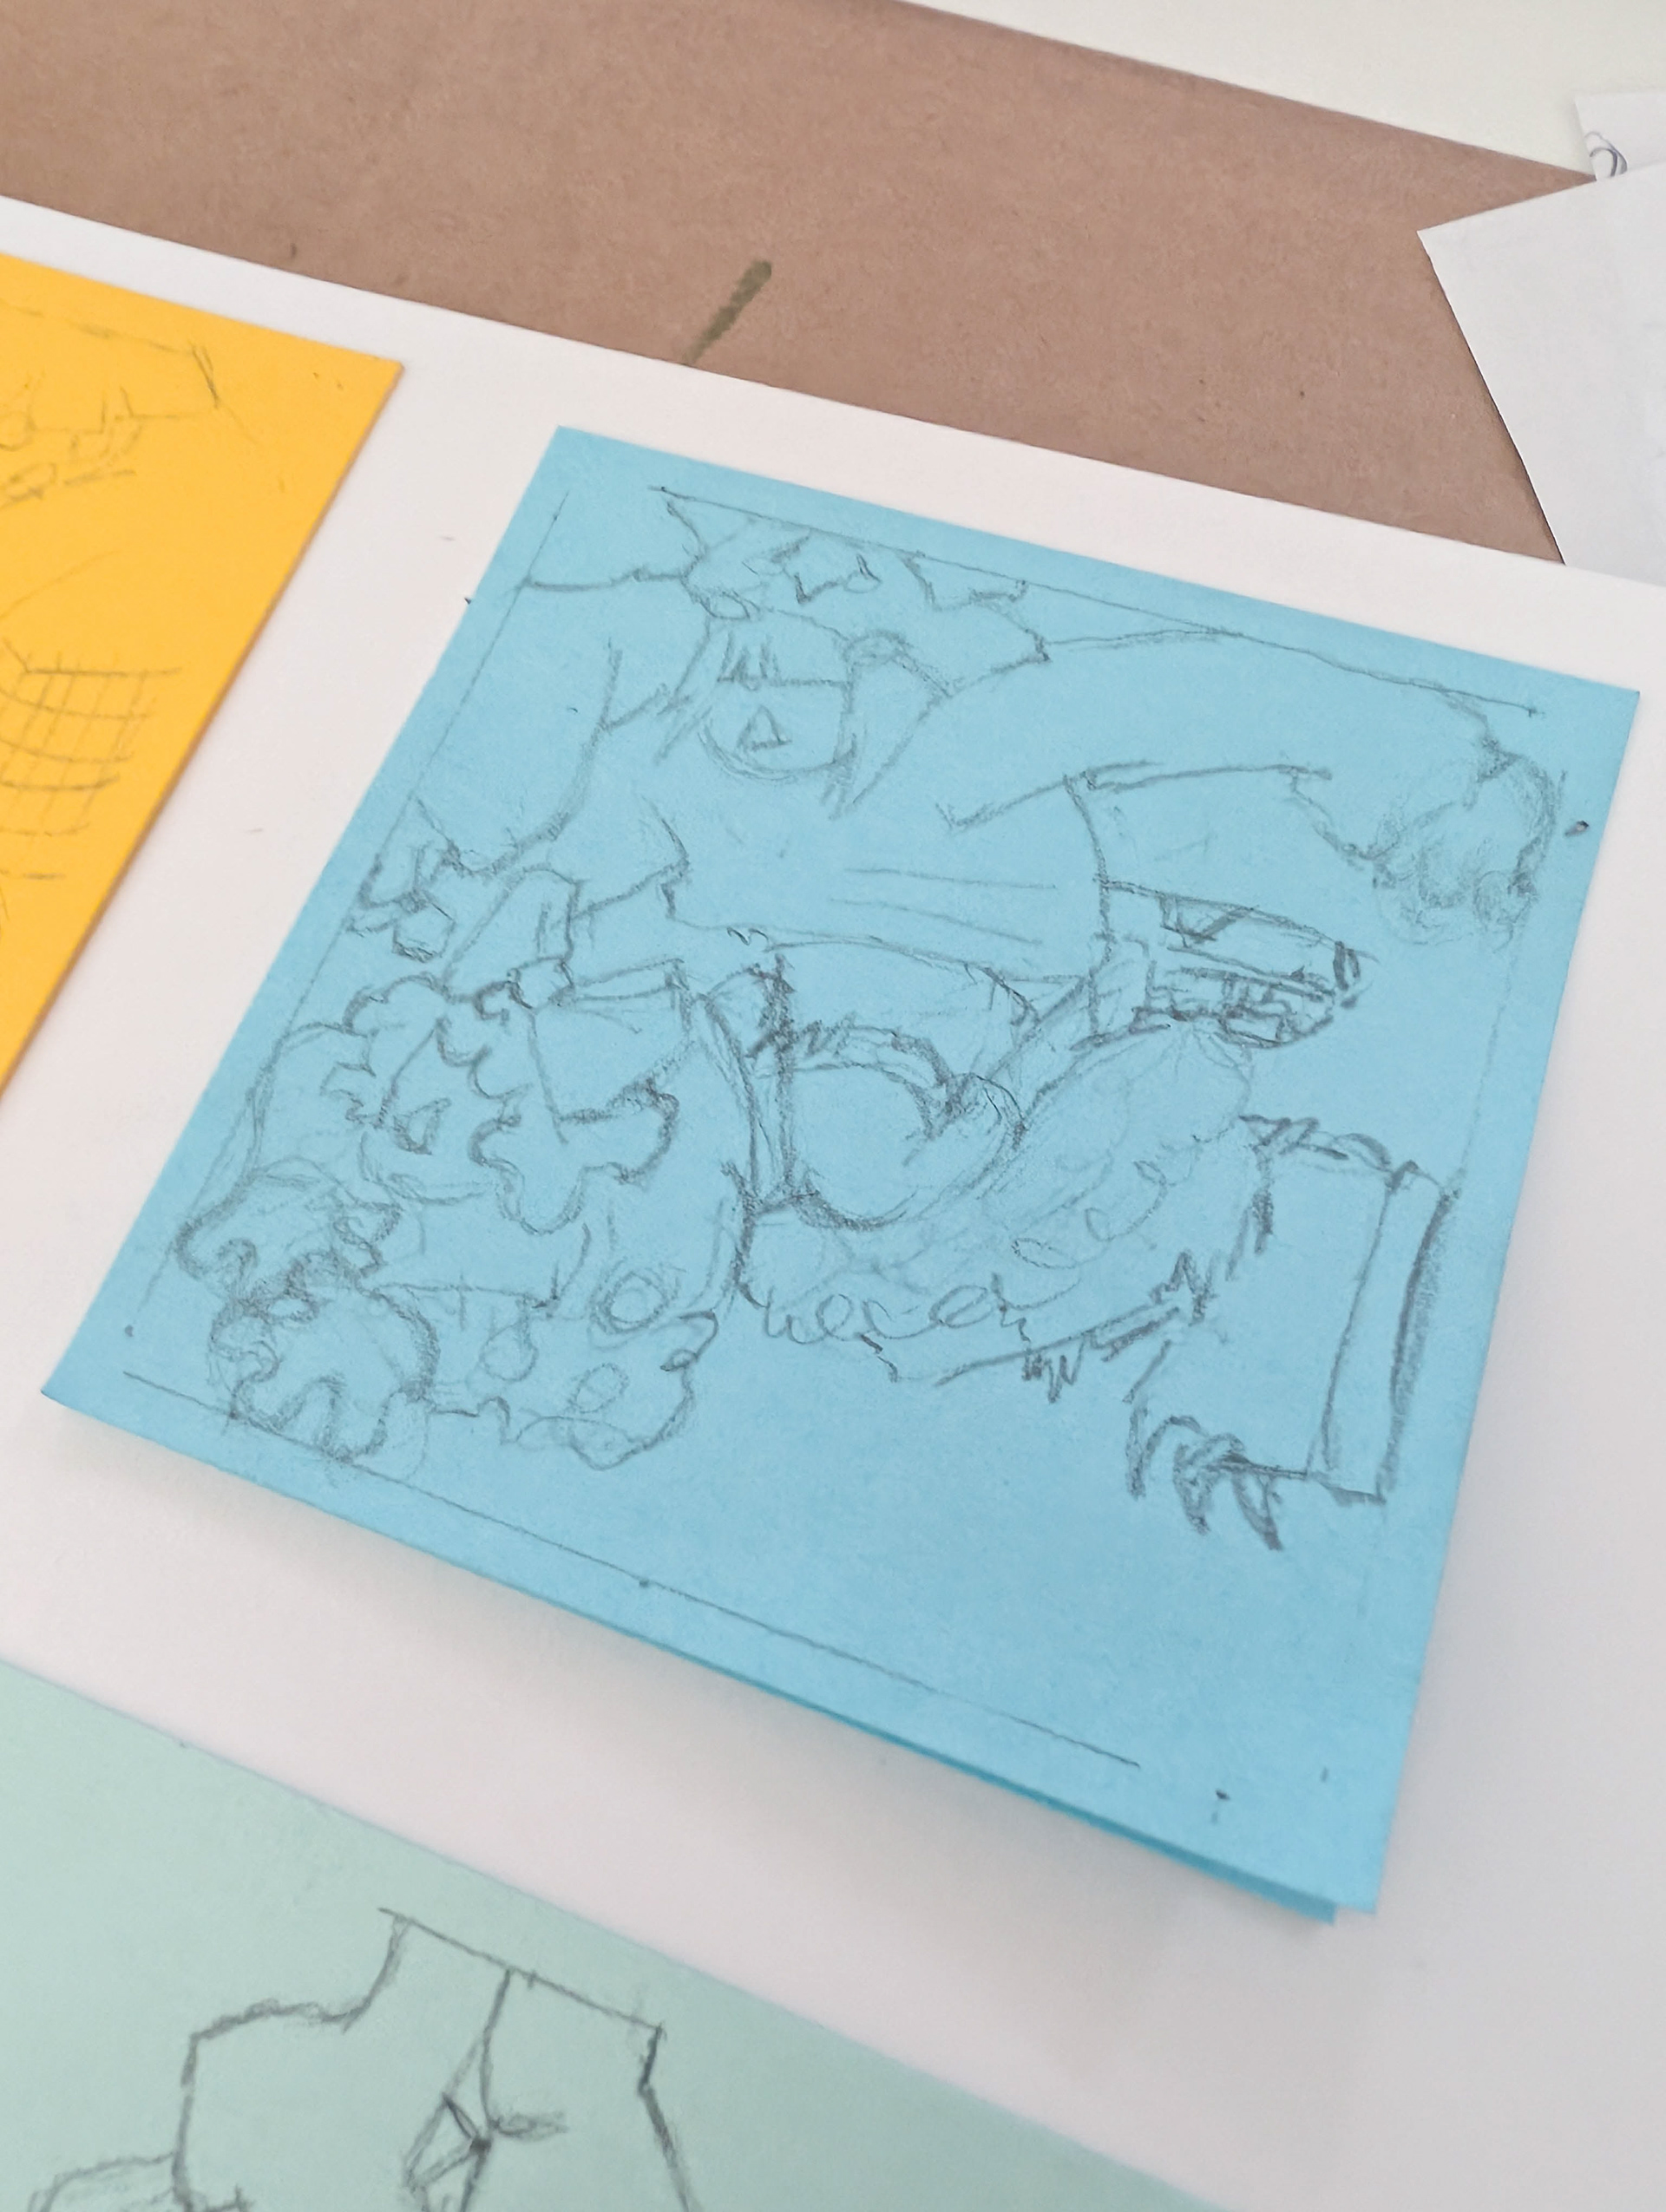
A photo of the base figure sketches on a light-box. This is a very useful tool, and some can be found for relatively cheap on secondhand marketplaces.
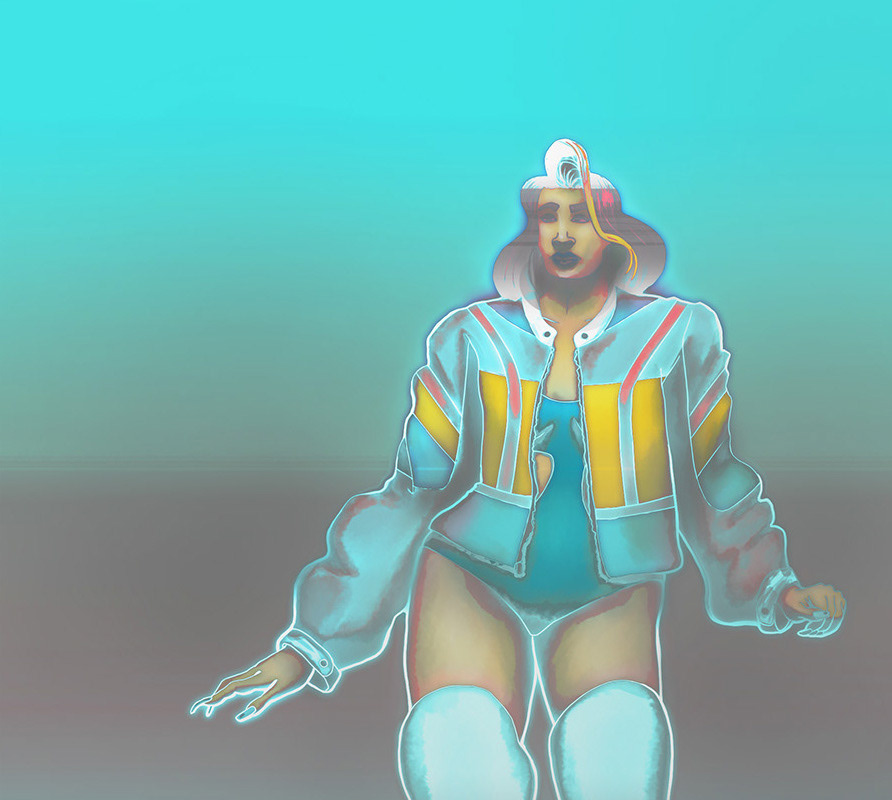
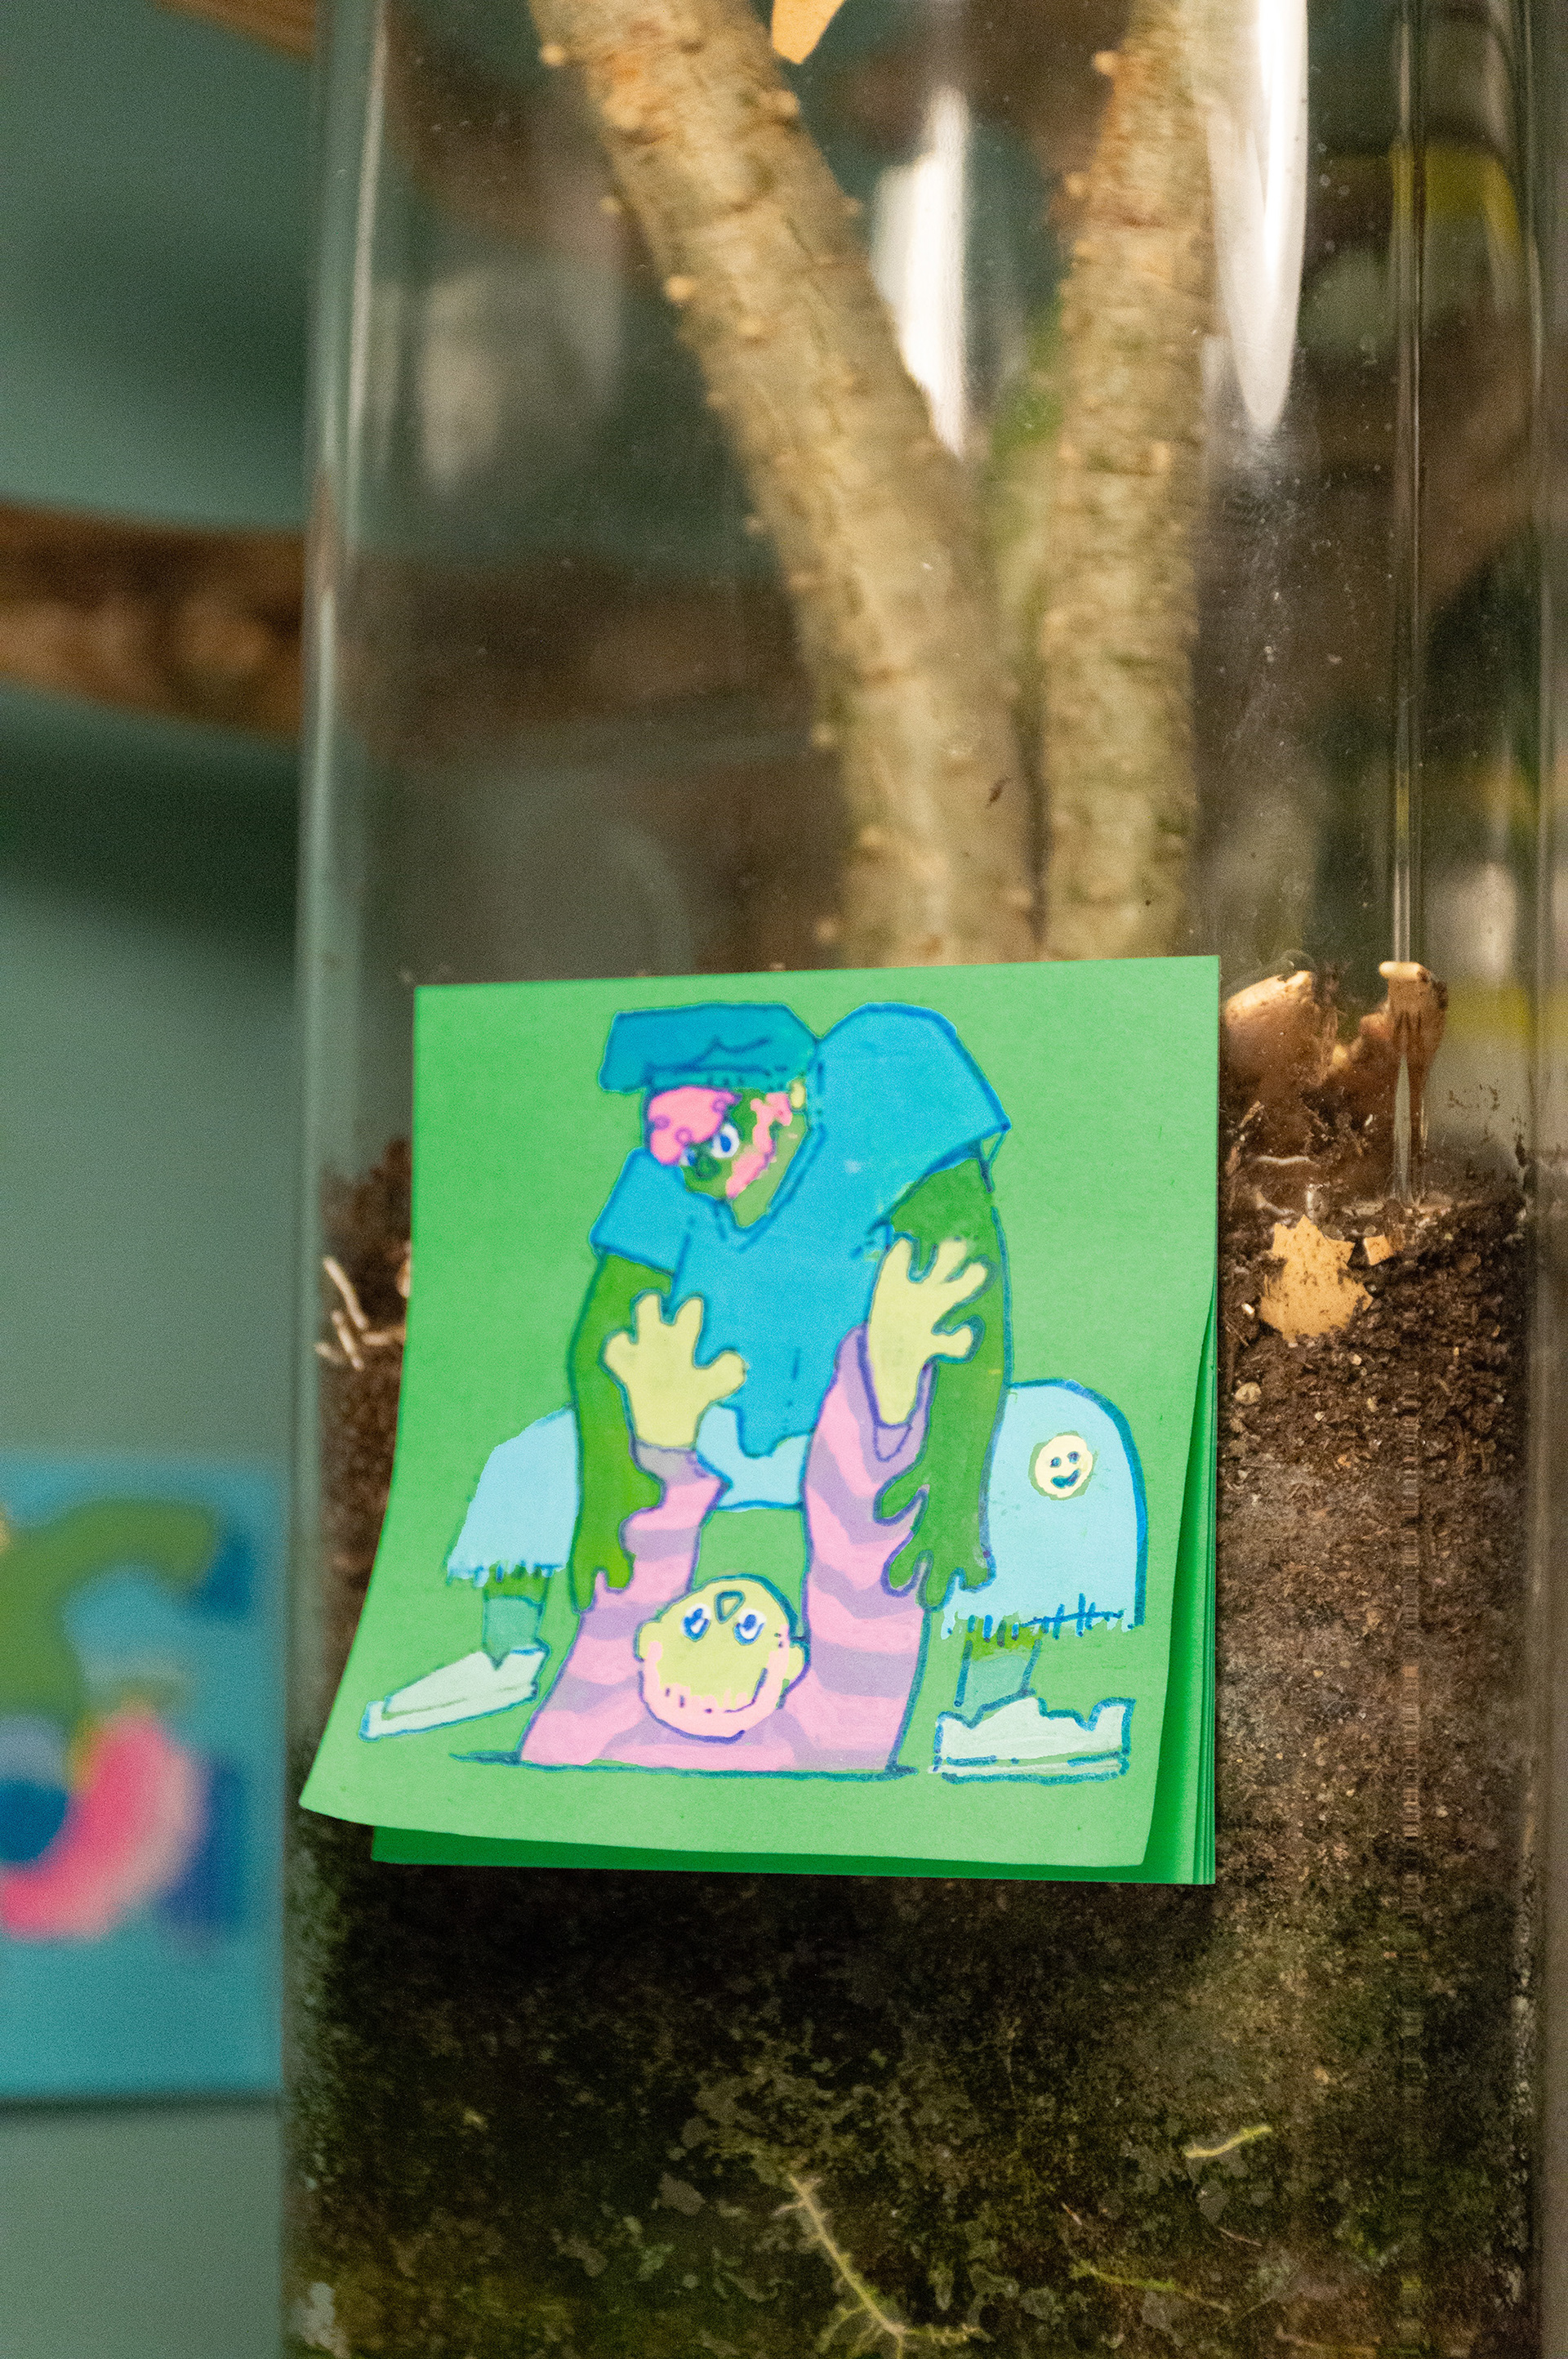
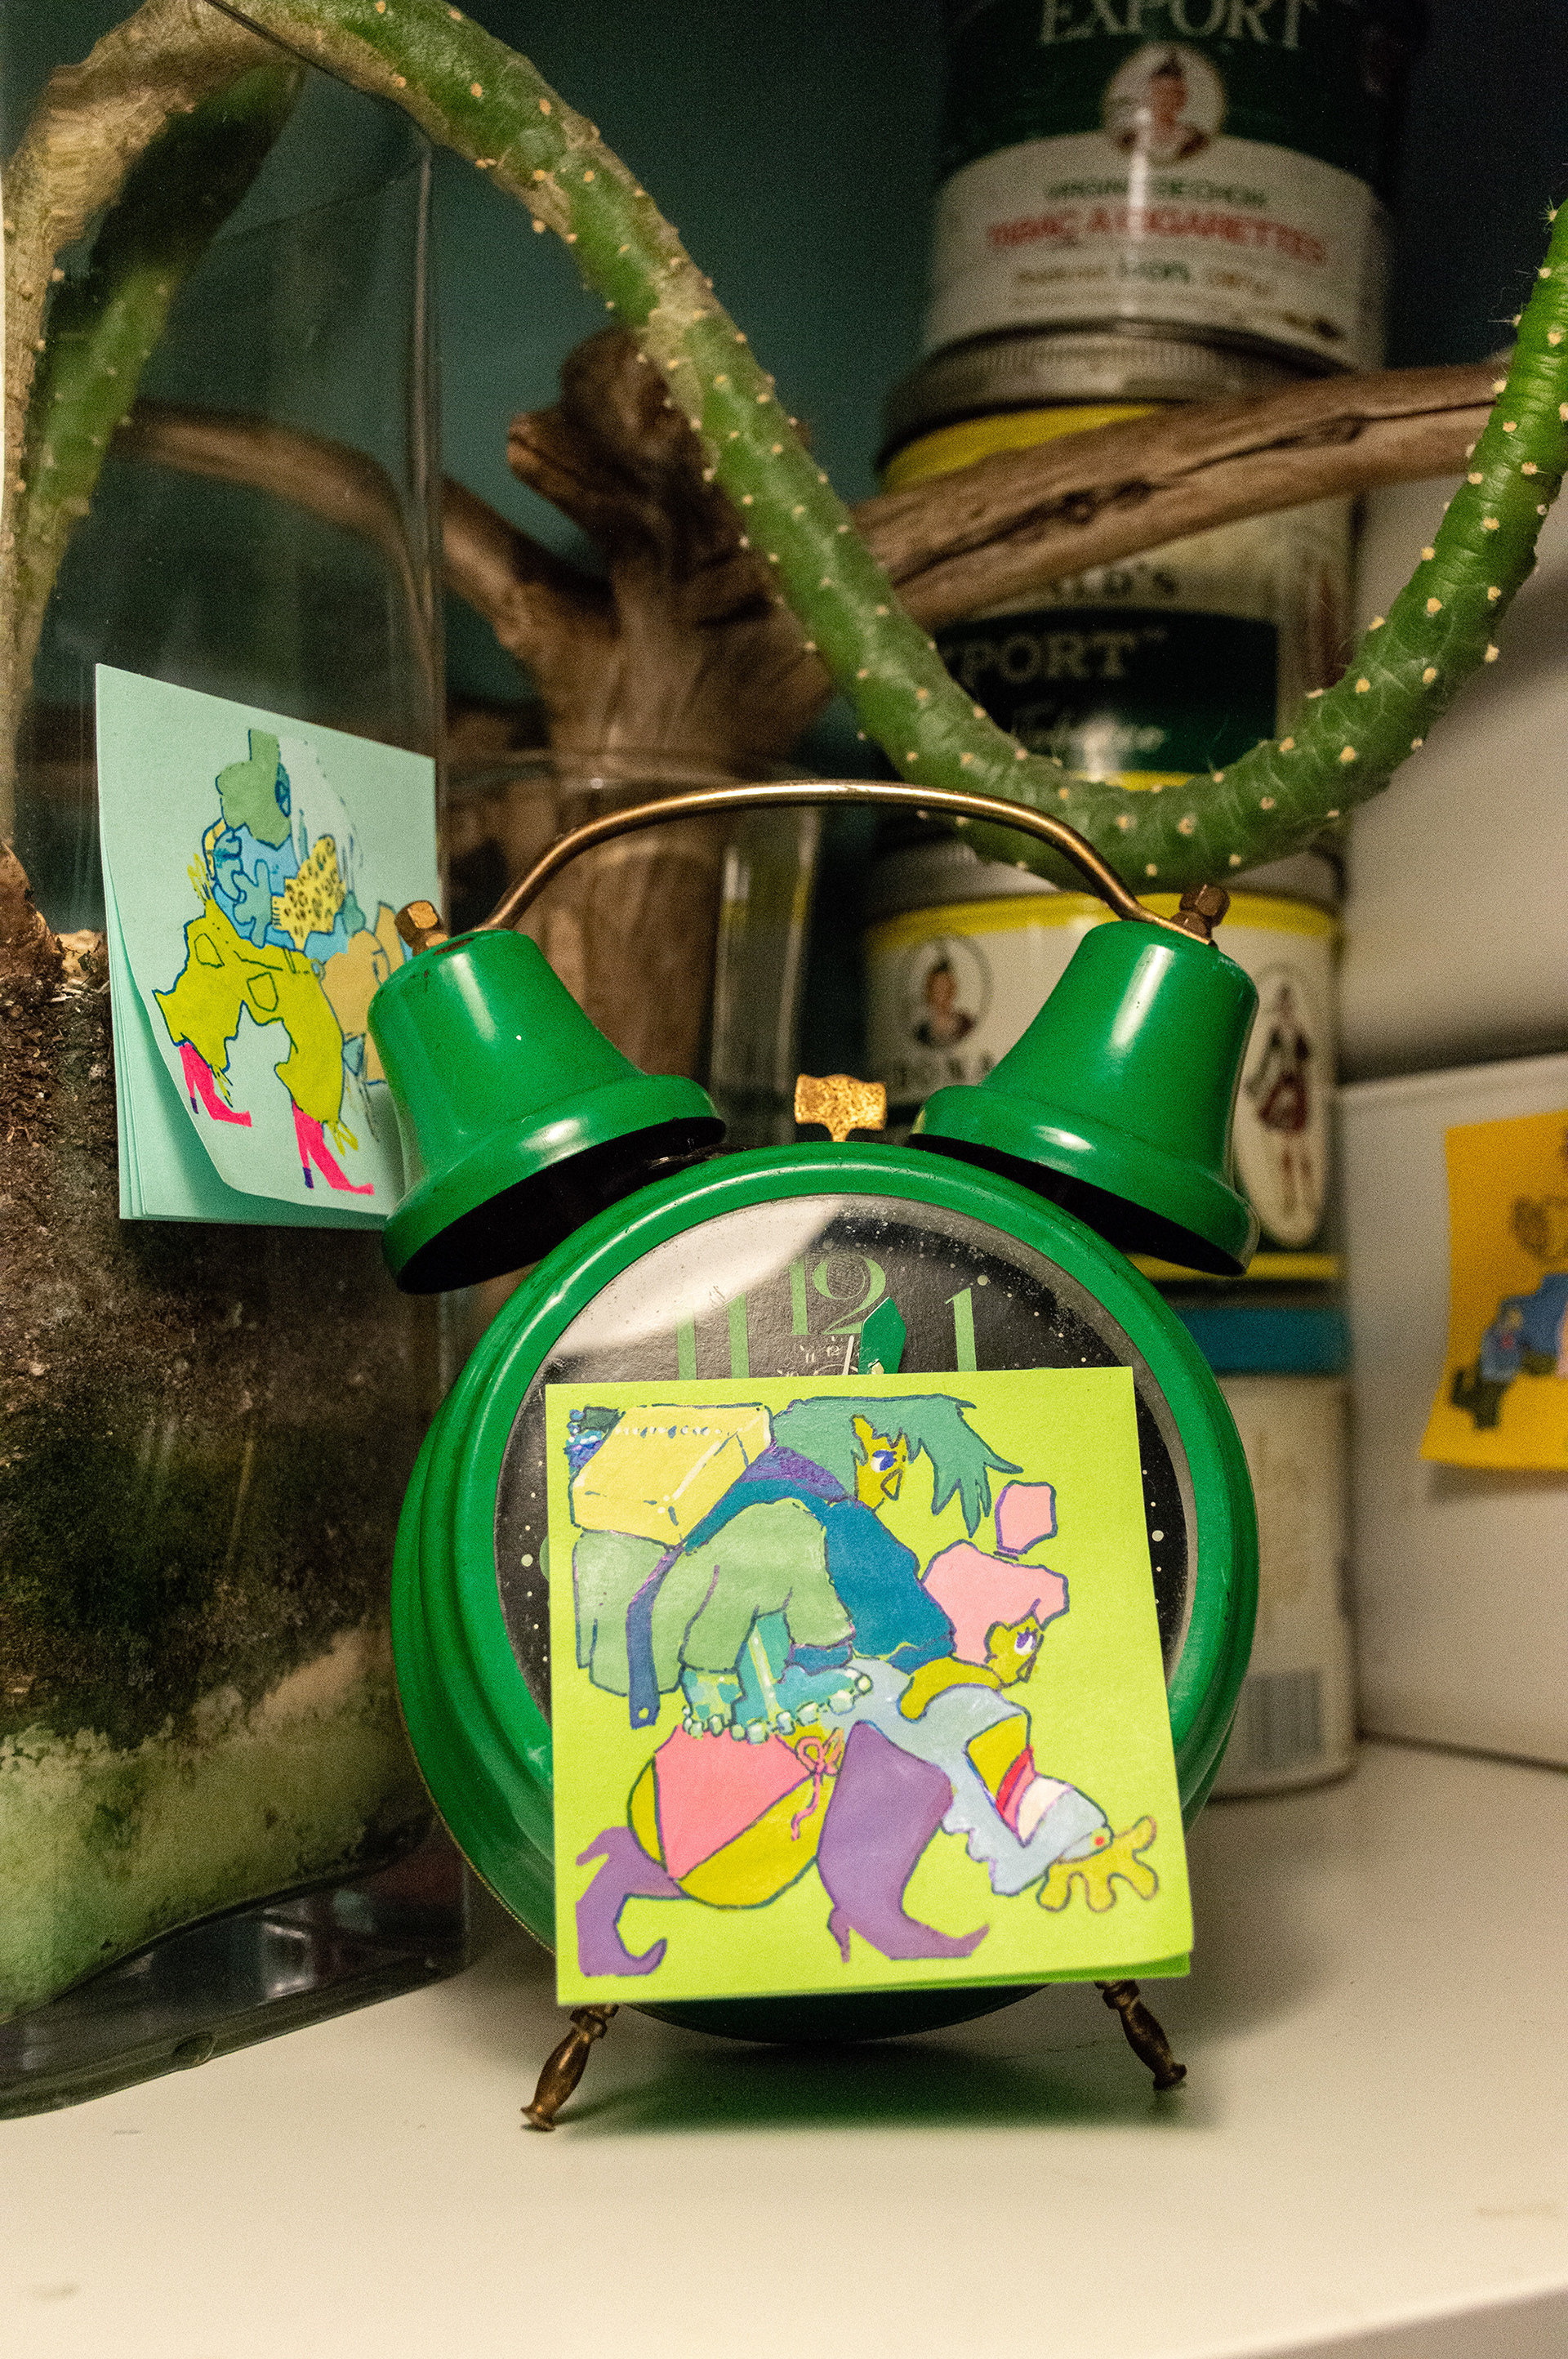
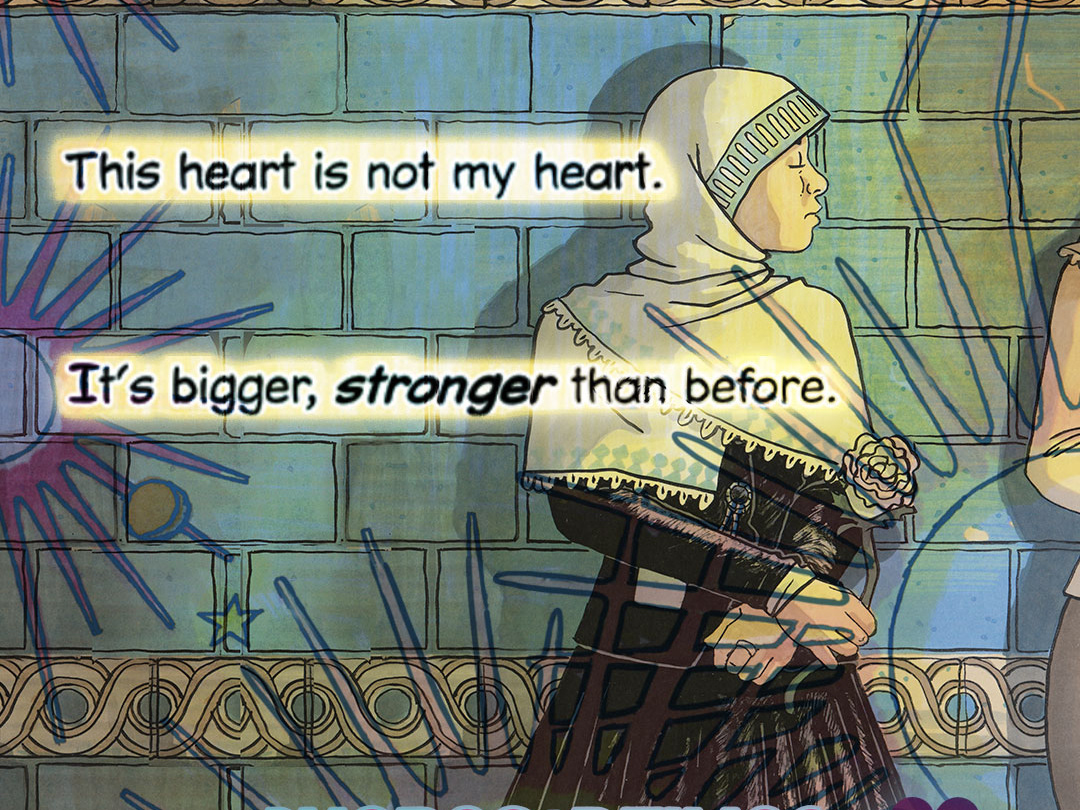
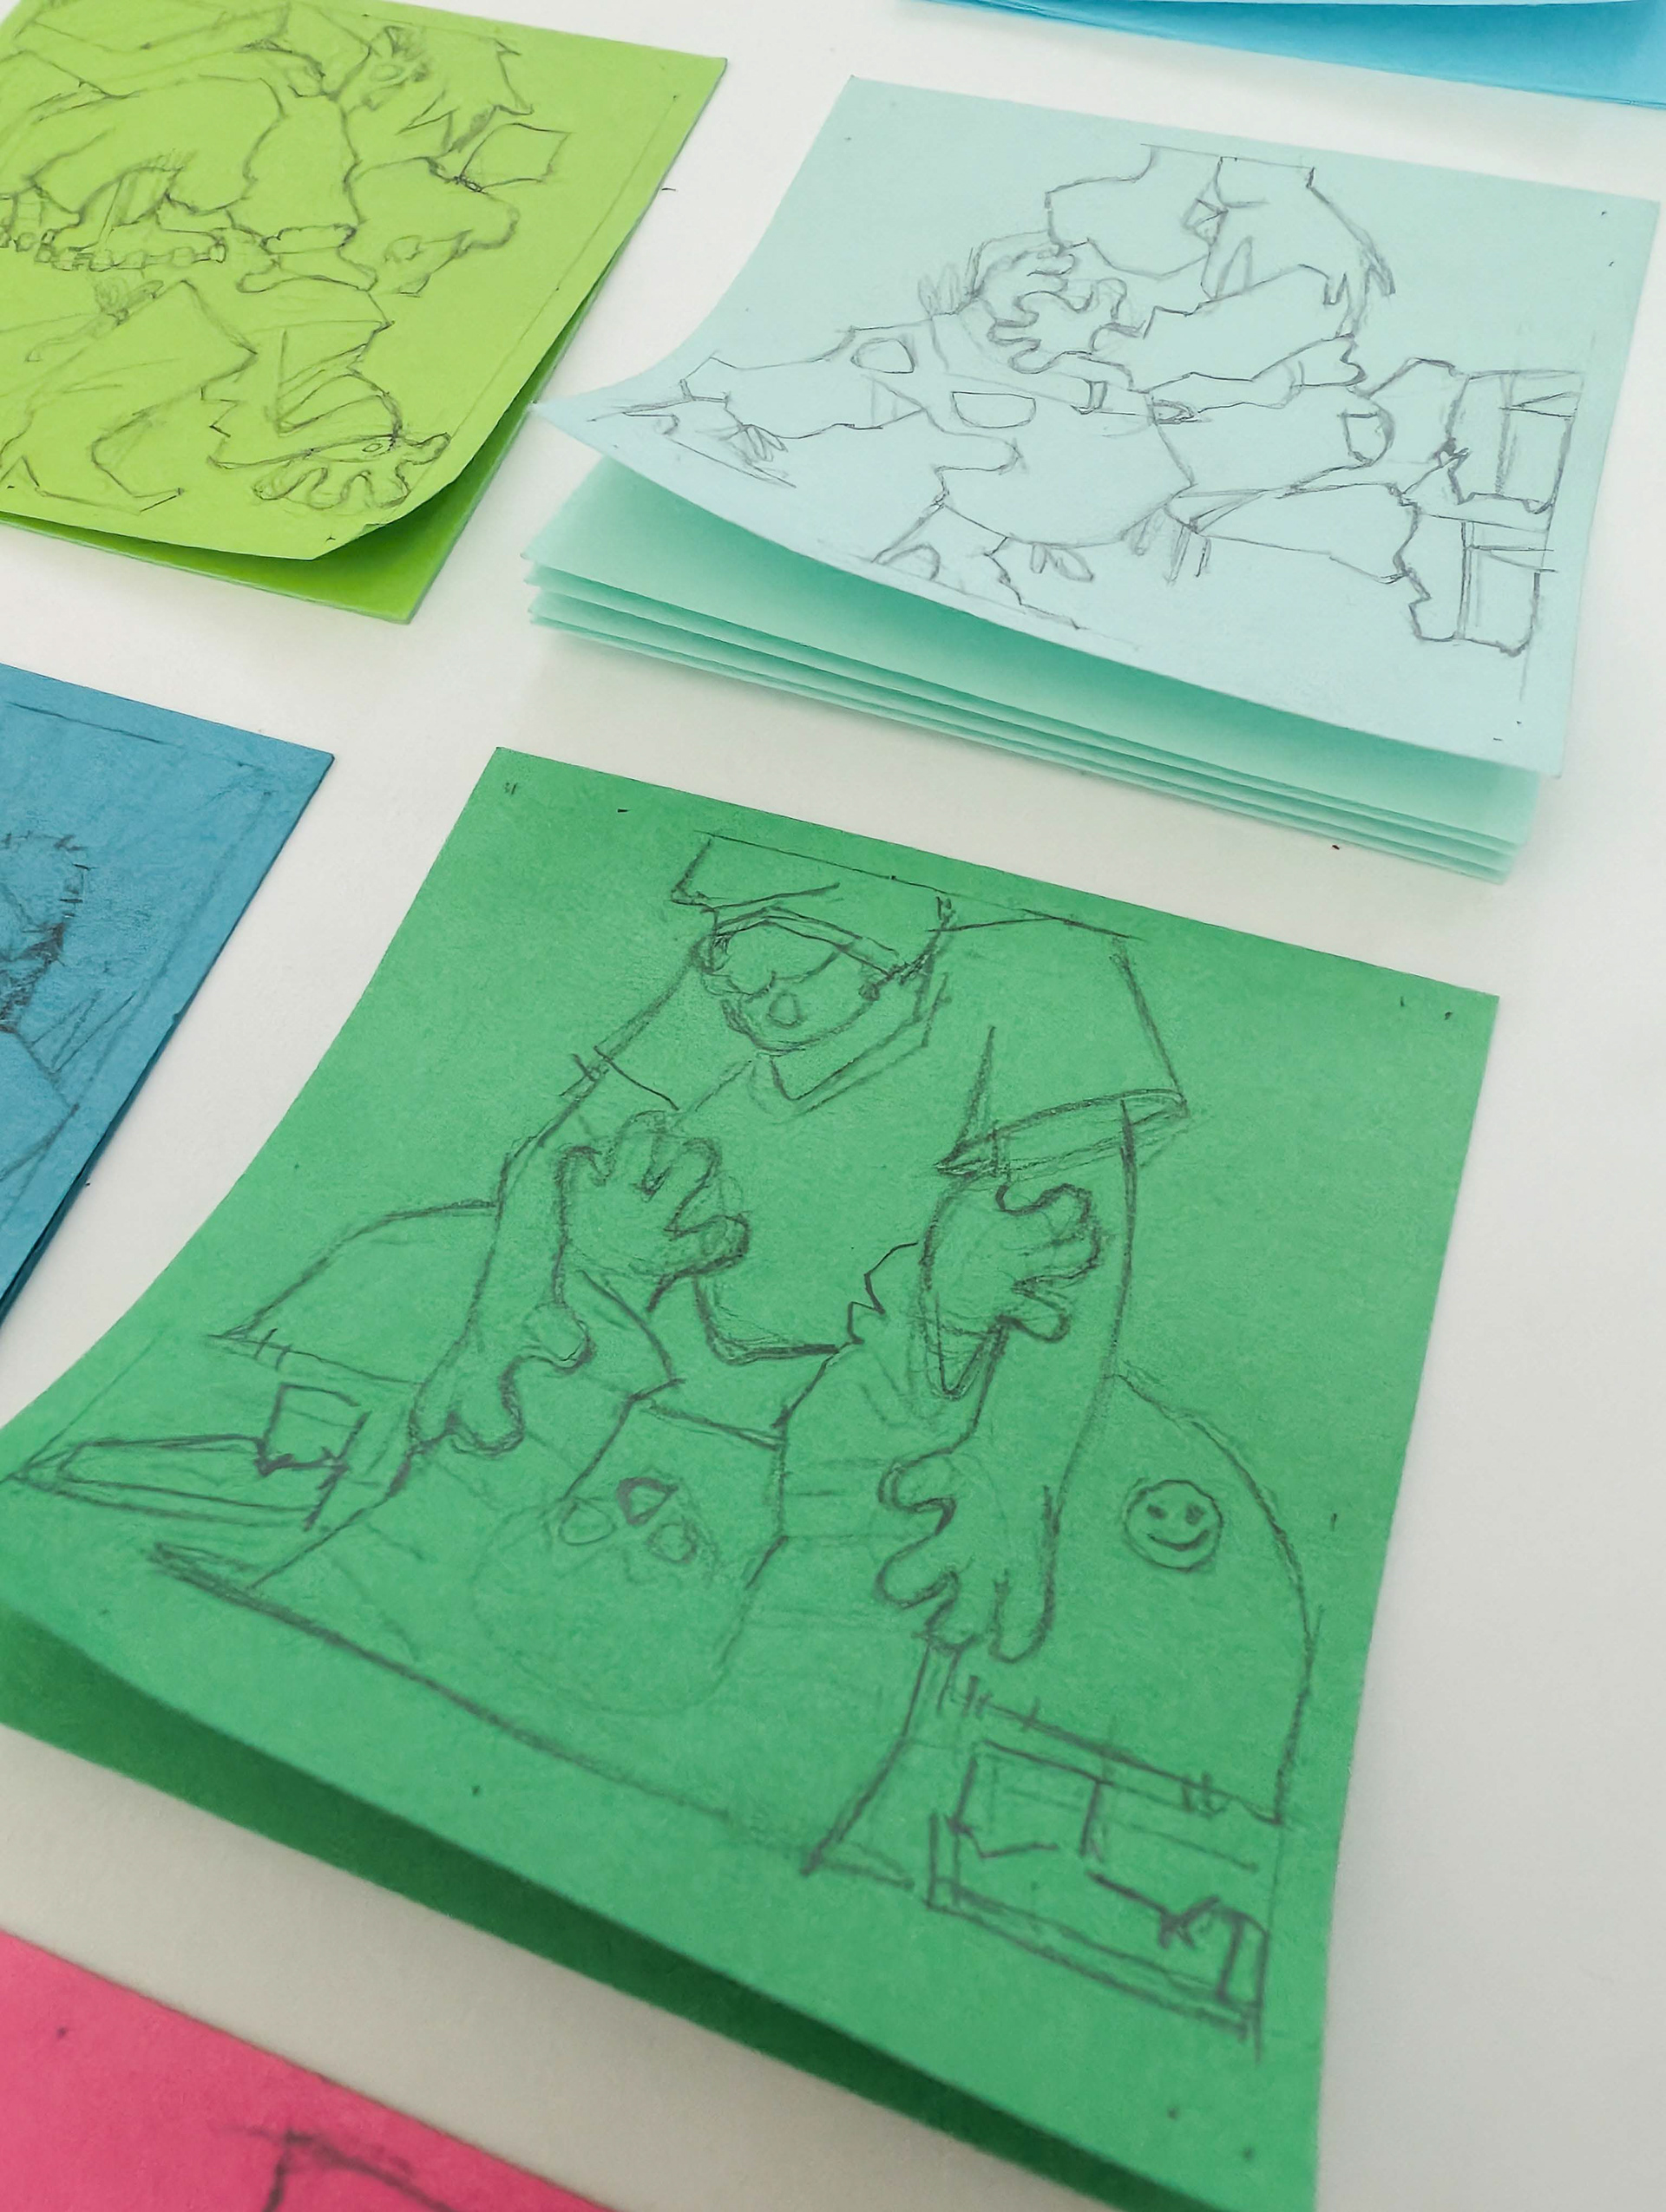
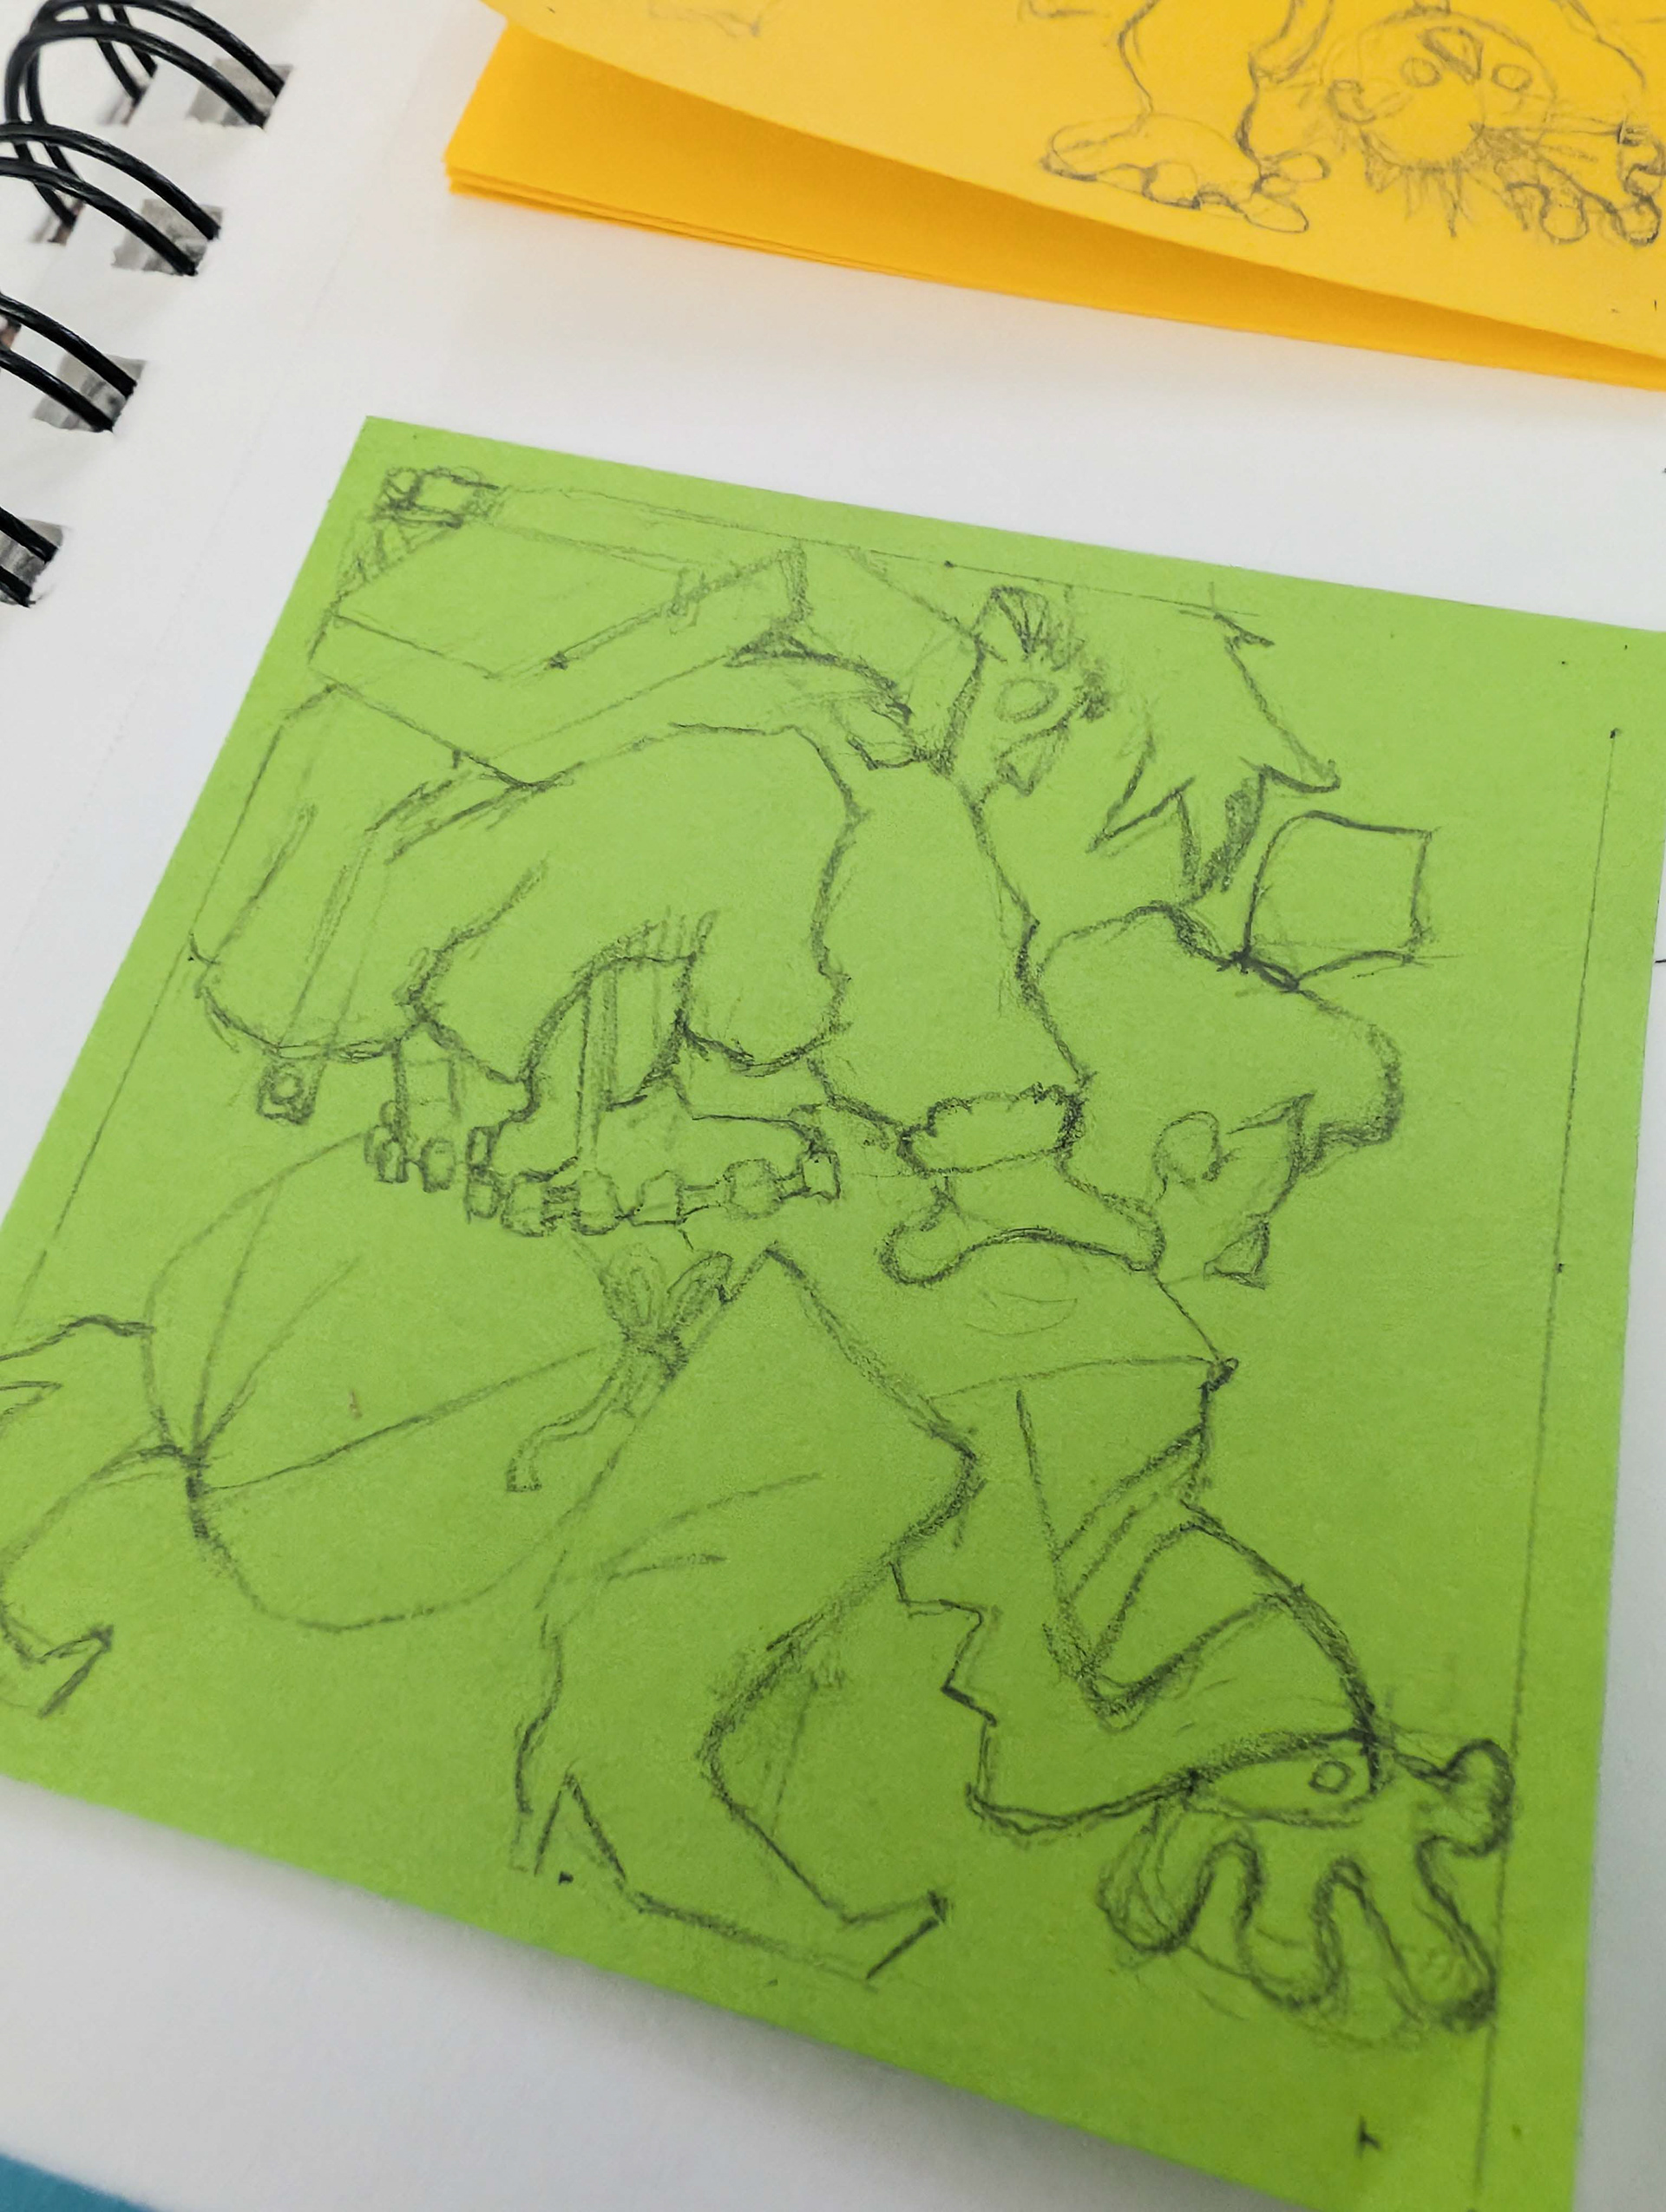
One of the character designs from my Cyberpunk project, from 2021. I used parts of this design in the Green Rider sticky note.
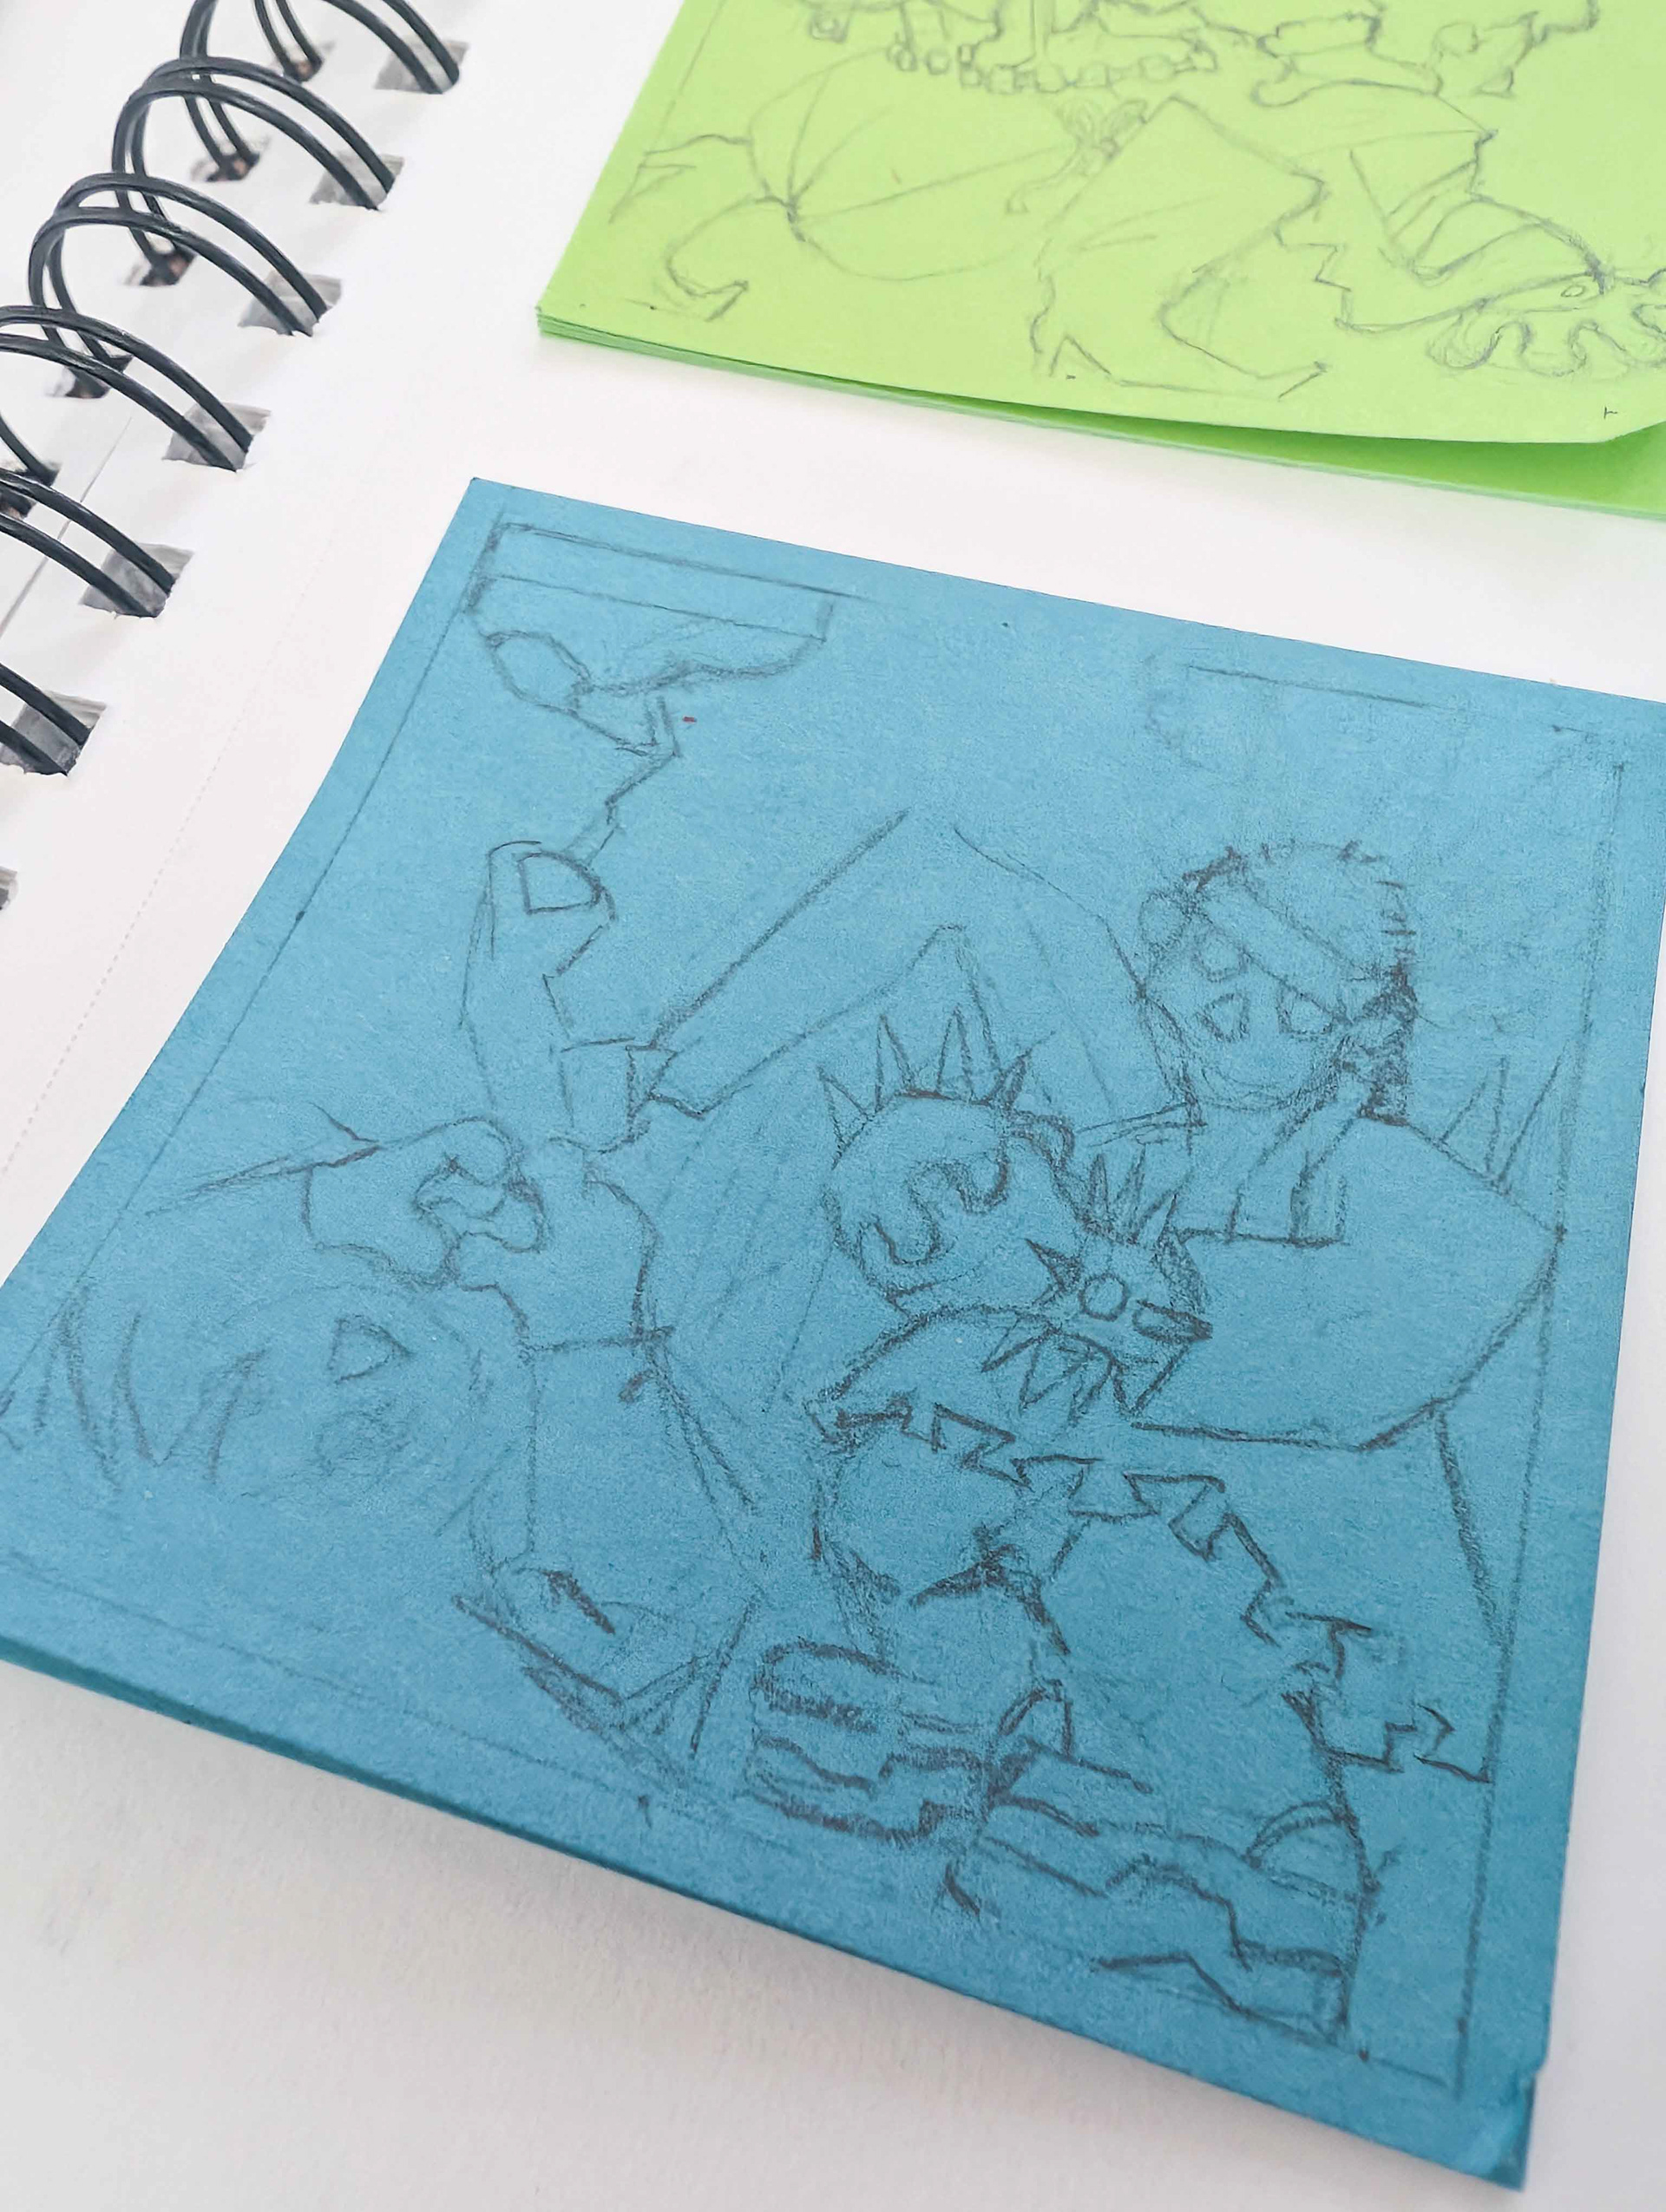
I used little corner marks to align to the sticky edges. Each drawing had a number, to reference the original, clown figure sketch. I didn't want to lose any details or expression in the clothing.
This one comes down to a lot of intuition. I didn't want to double up, since I had so many individual colours.
Transfer paper can also be used, but it often doesn't erase, and it is definitely more expensive.
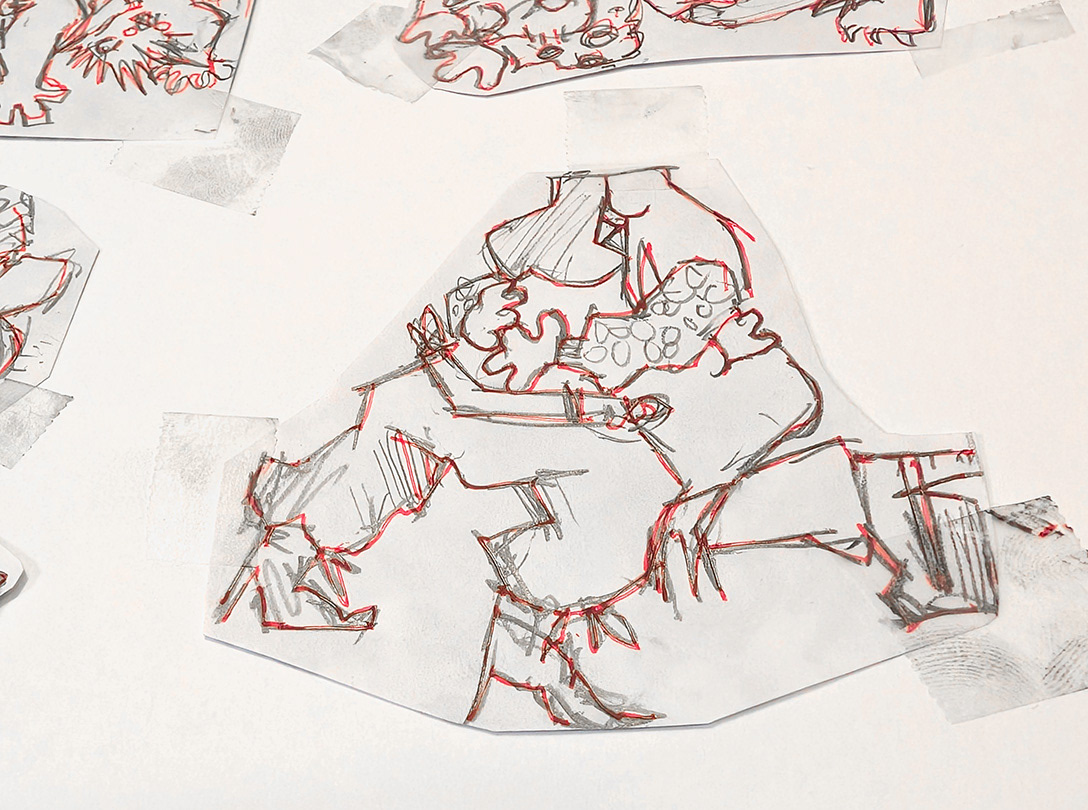
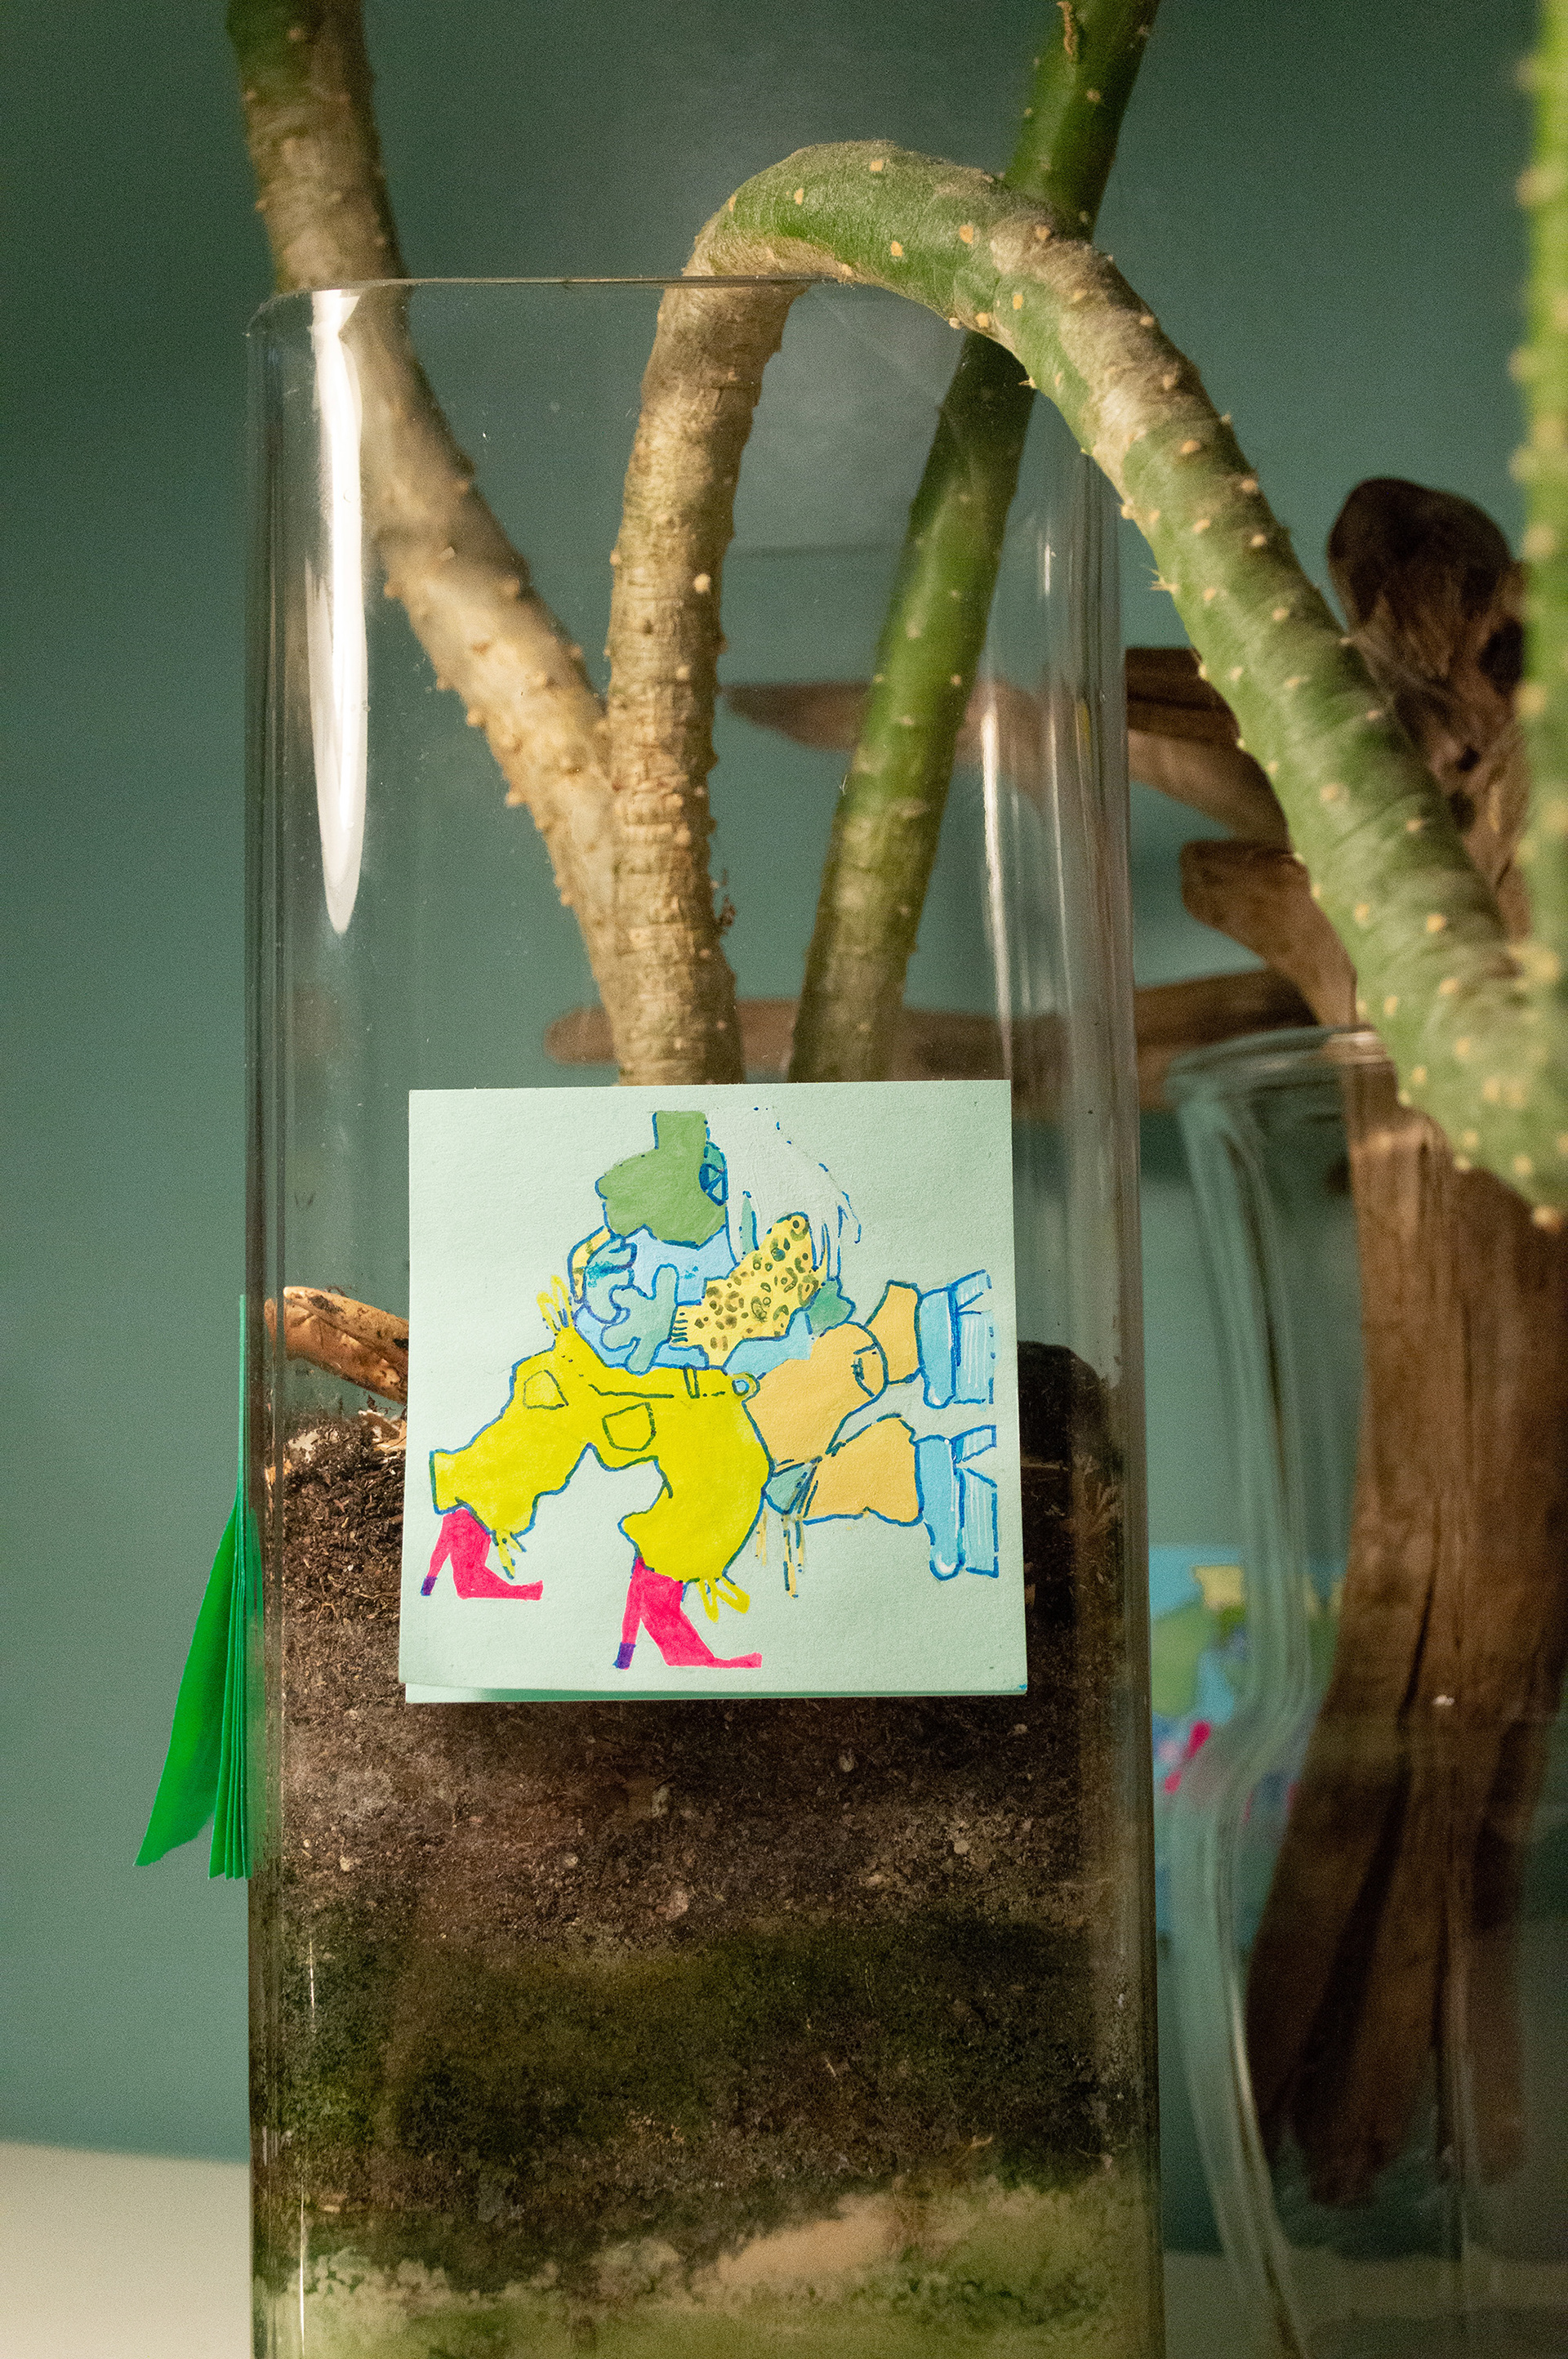
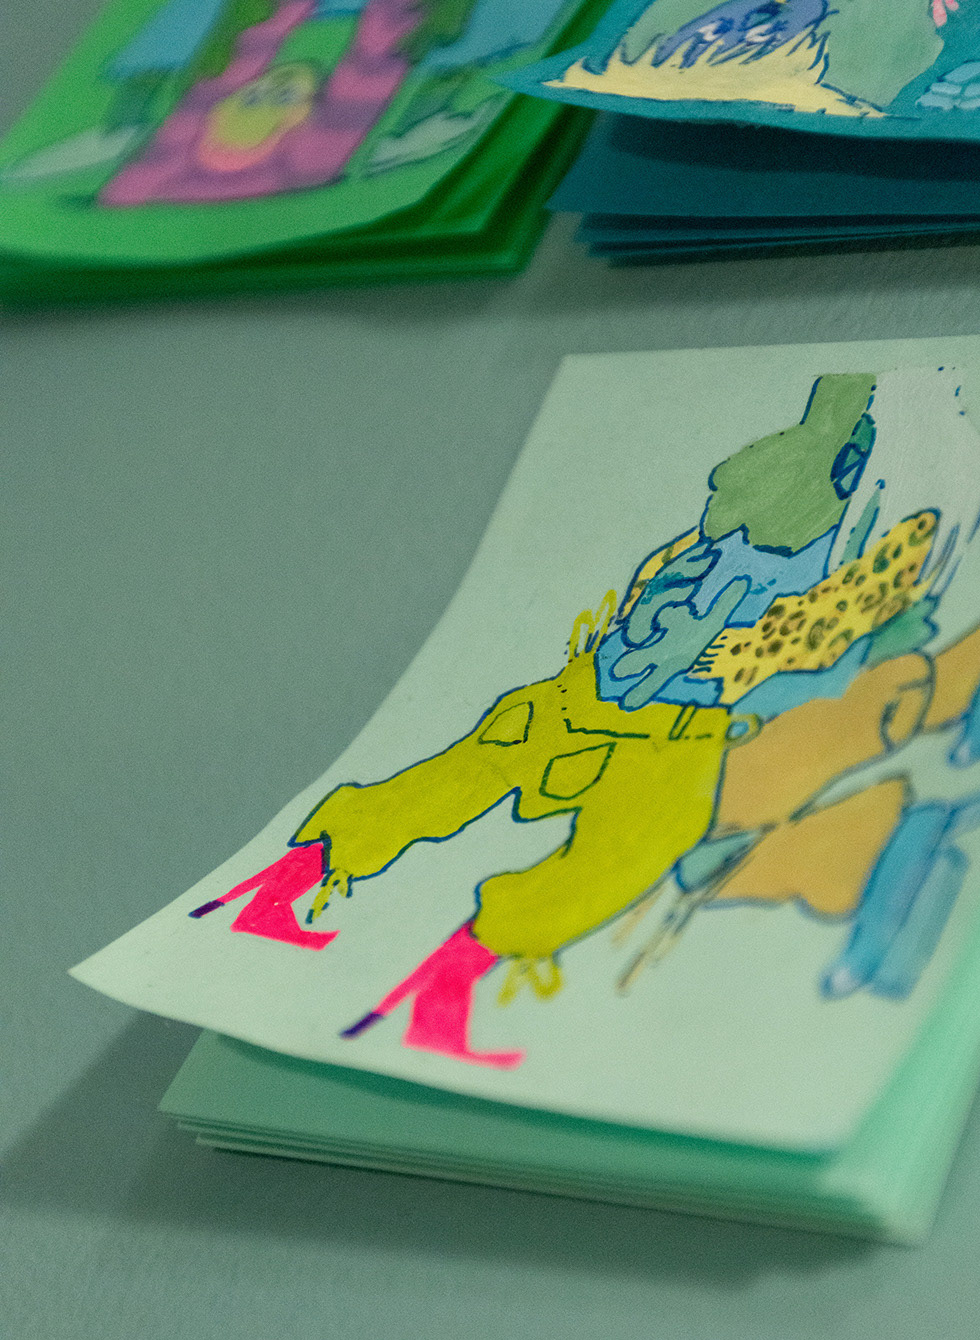
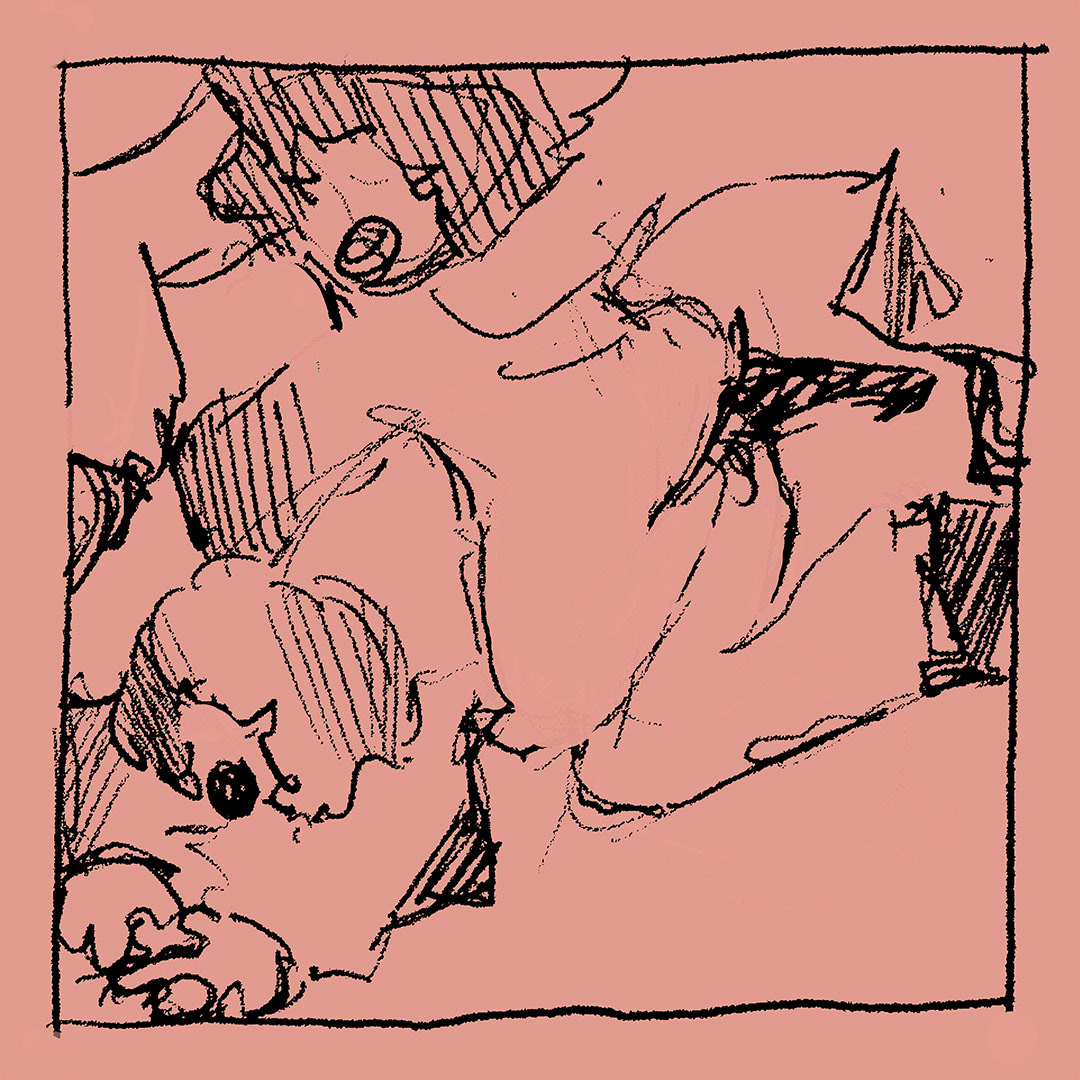
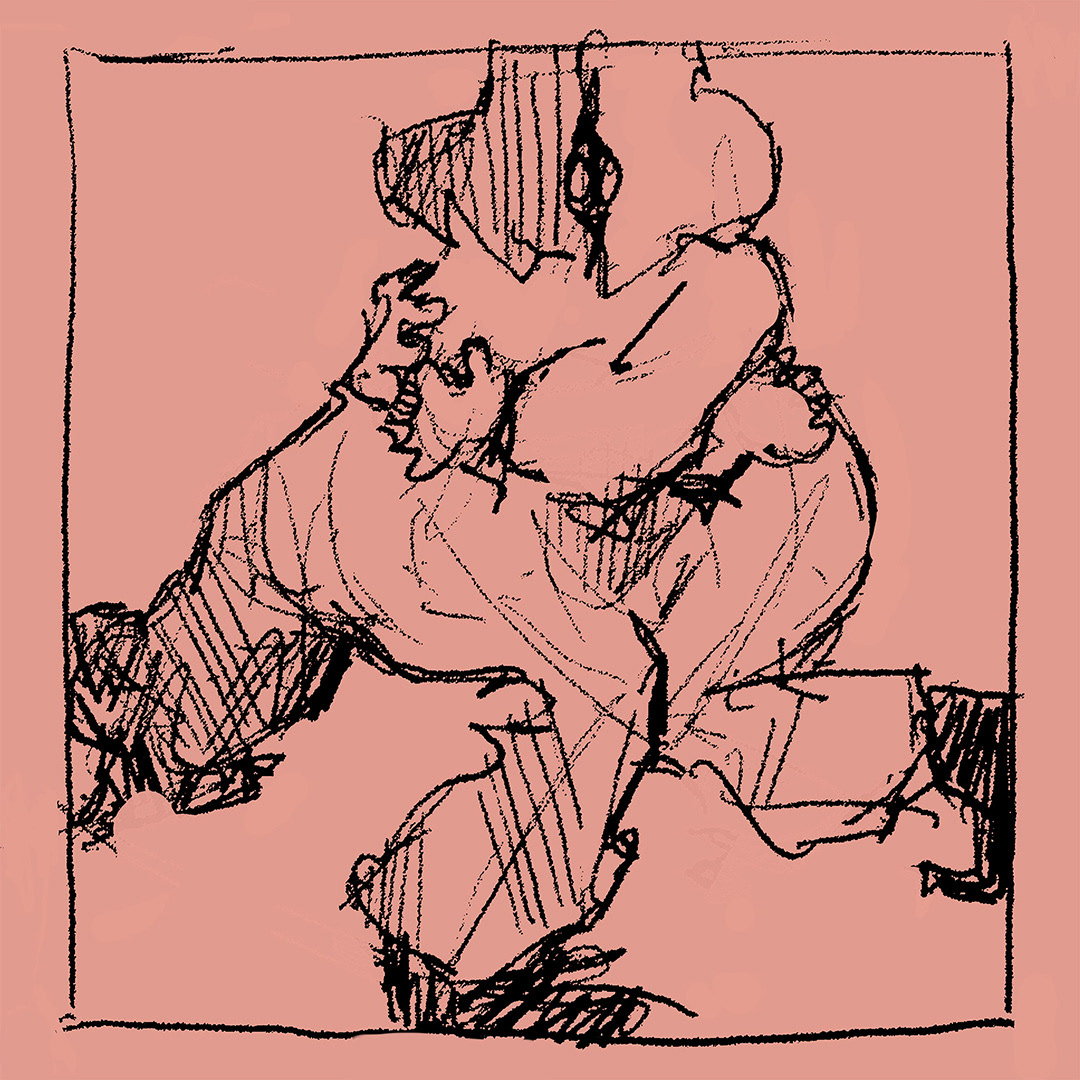
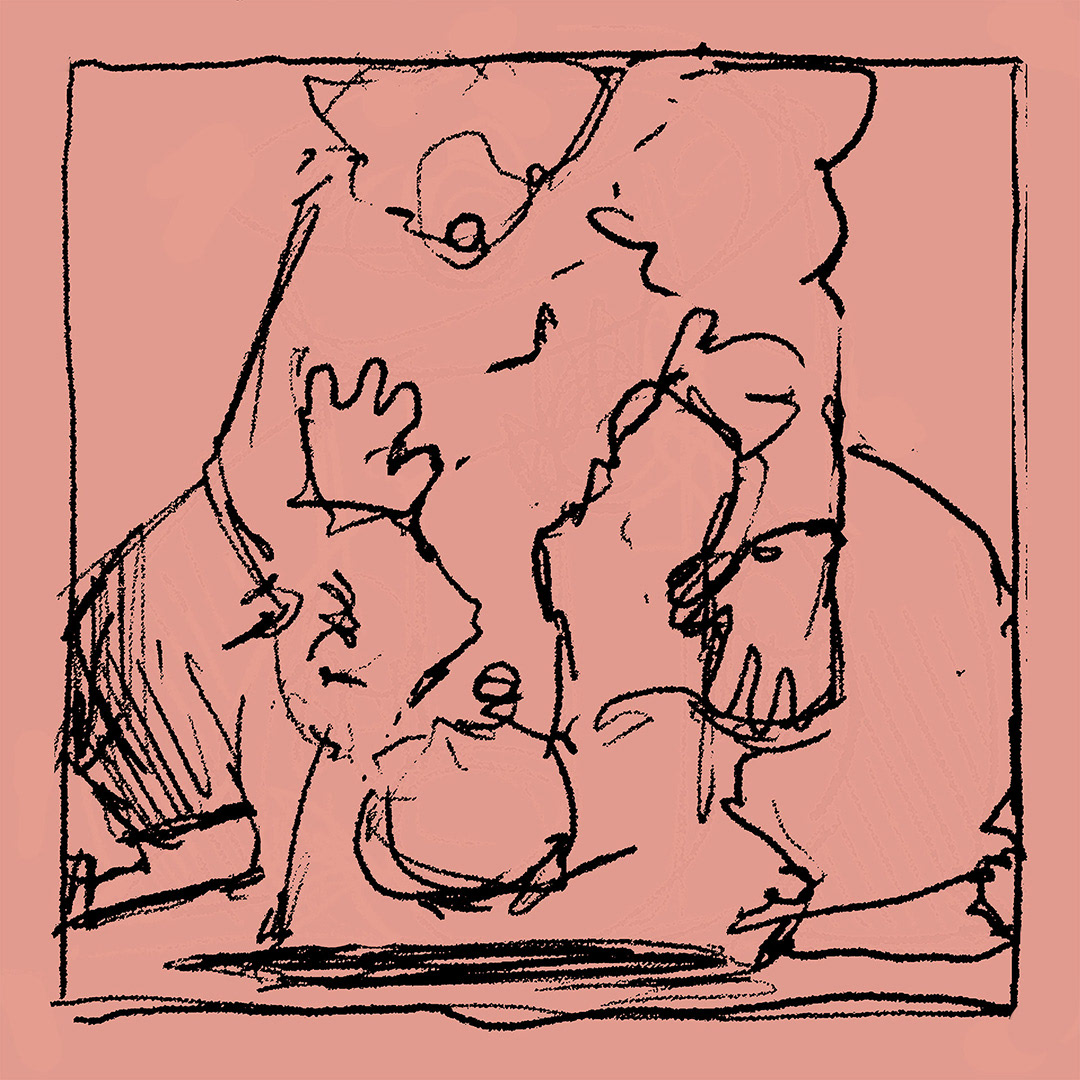
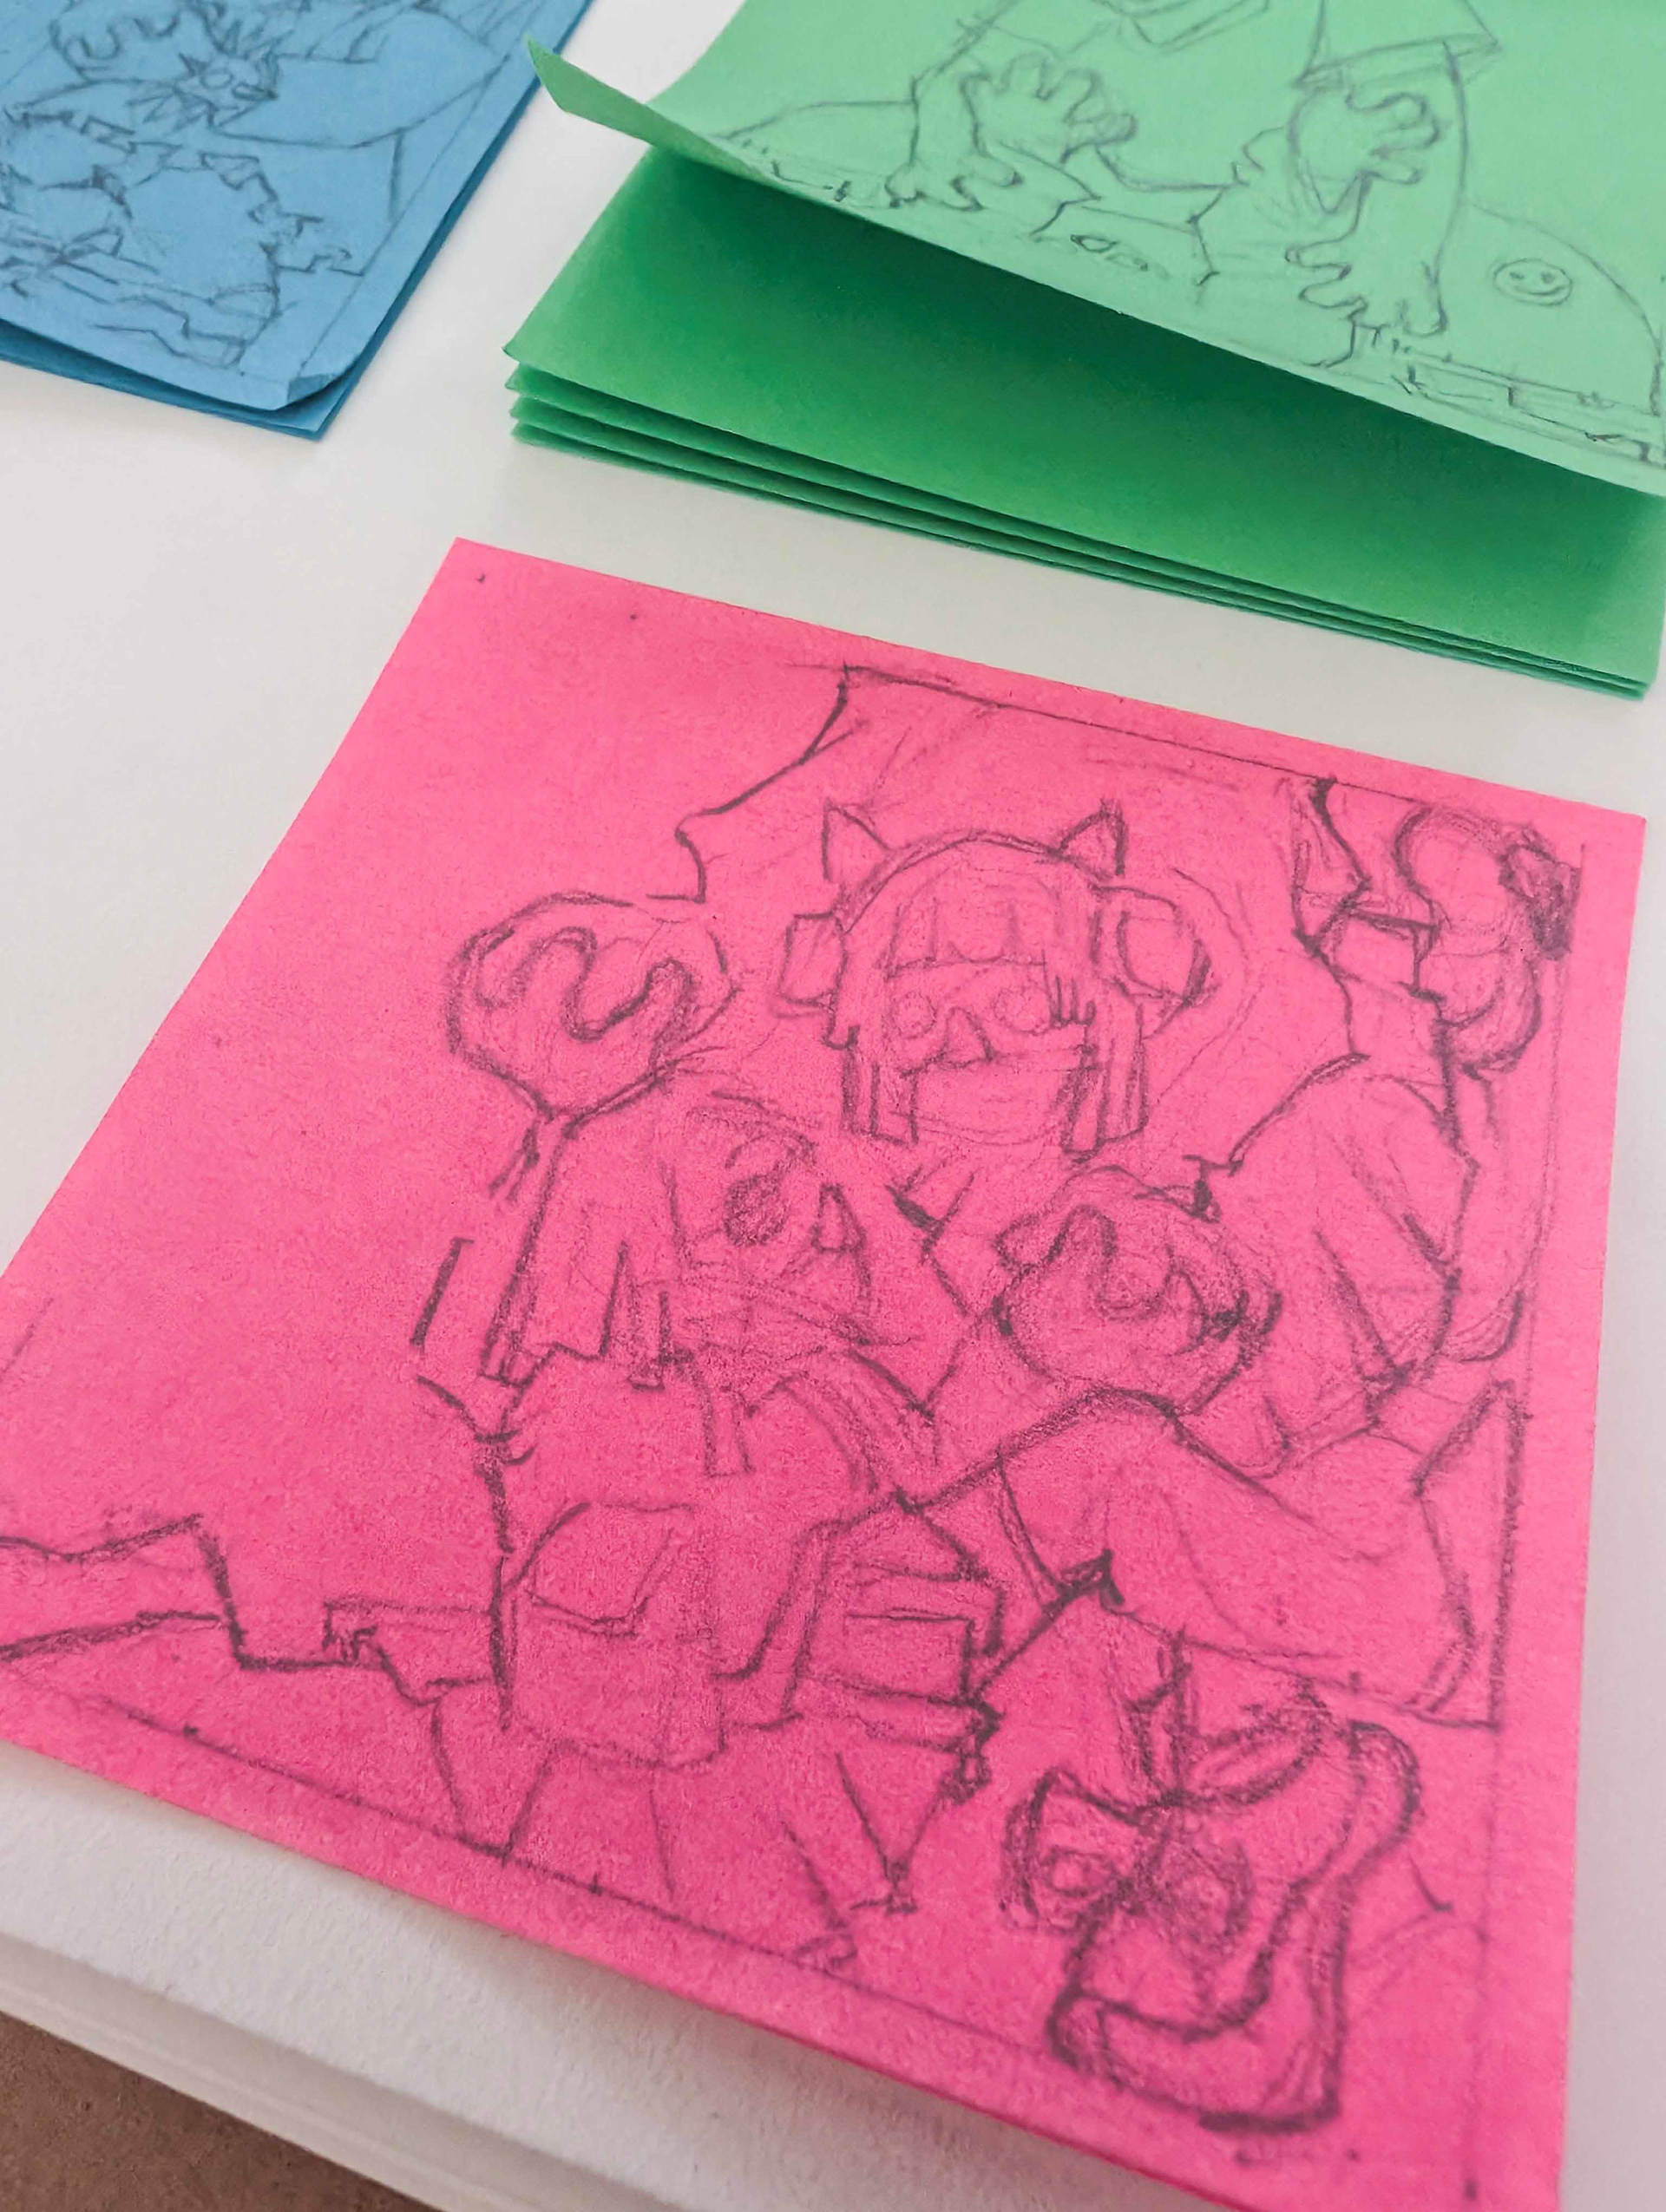
The sketch stage for Embrace, on of my stickies for Sticky 5. The red line shows where I went over the designs, transferring them to the sticky notes and refining the shapes in one go.

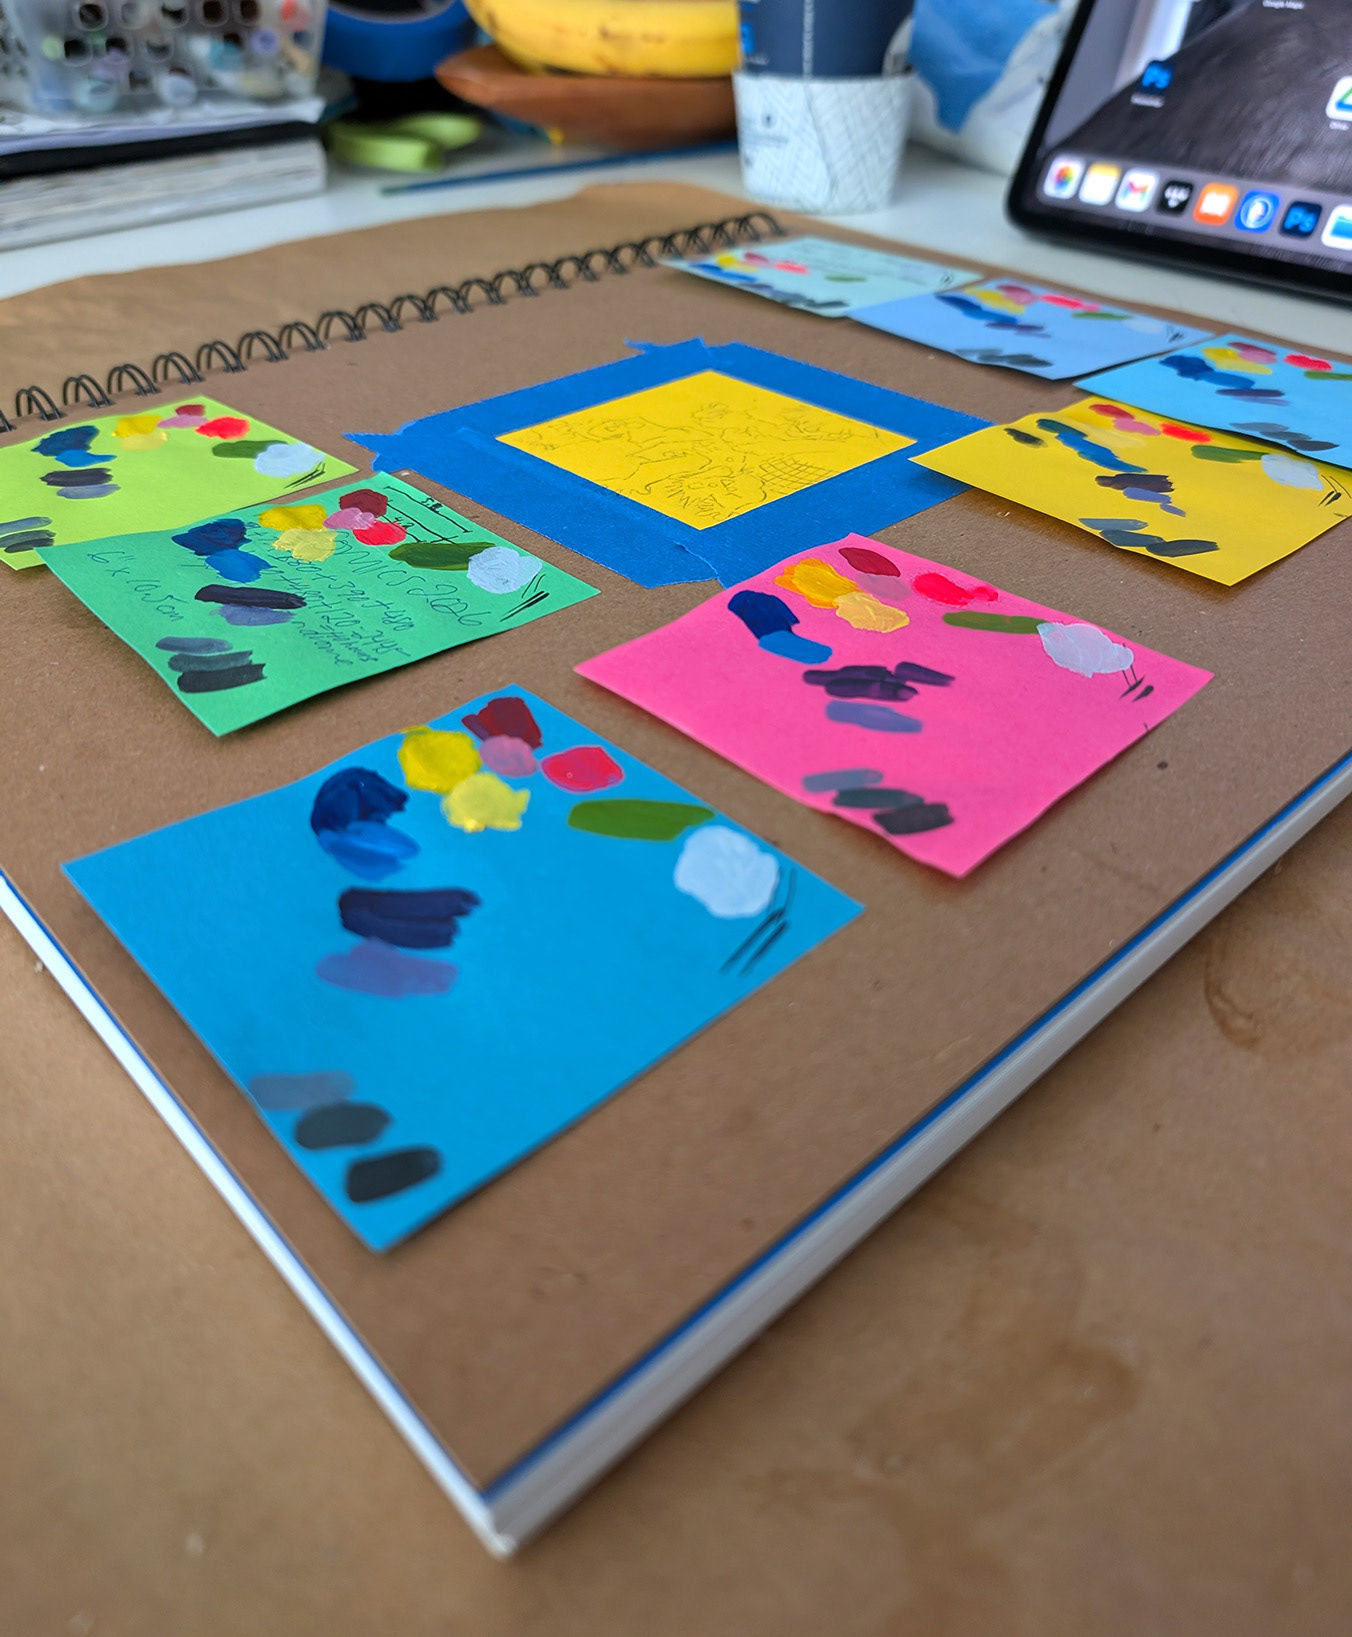
Swatches of acrylic paint on each colour of post-it note I was planning to use, stuck on my sketchbook.
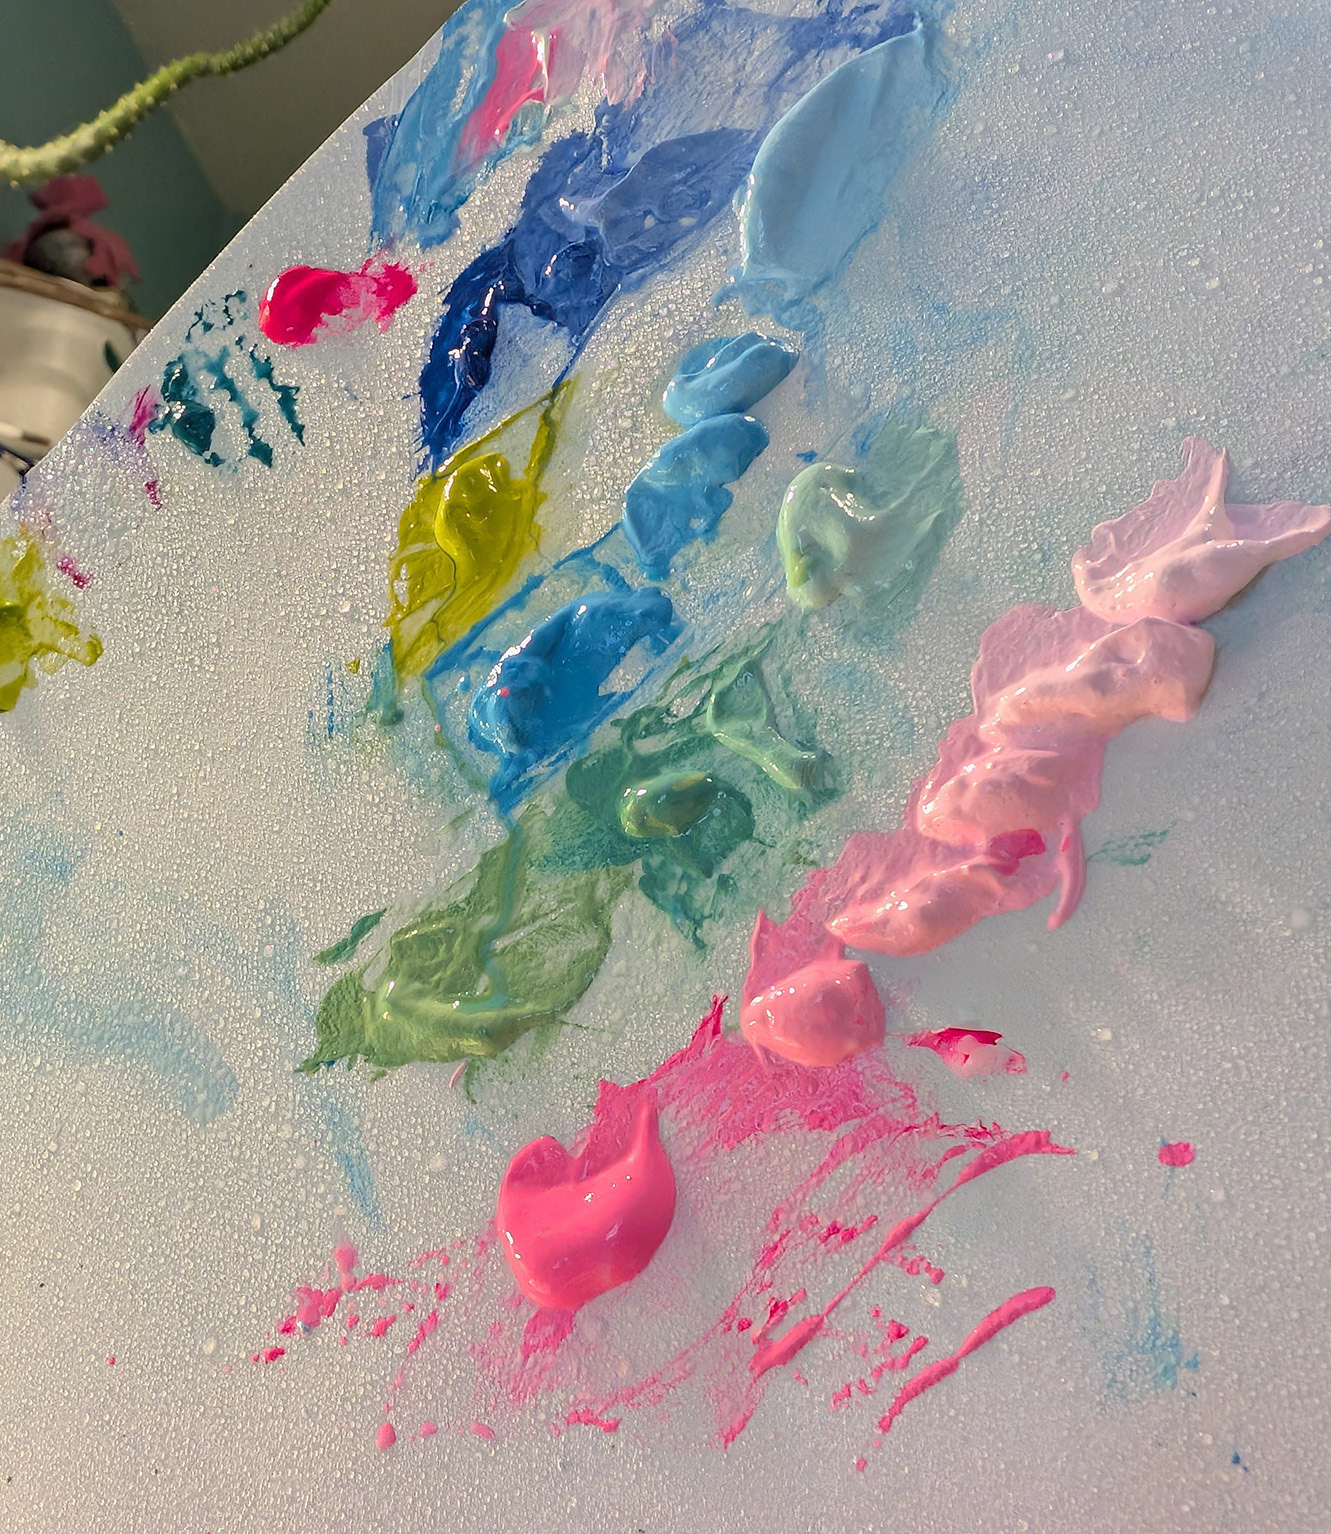
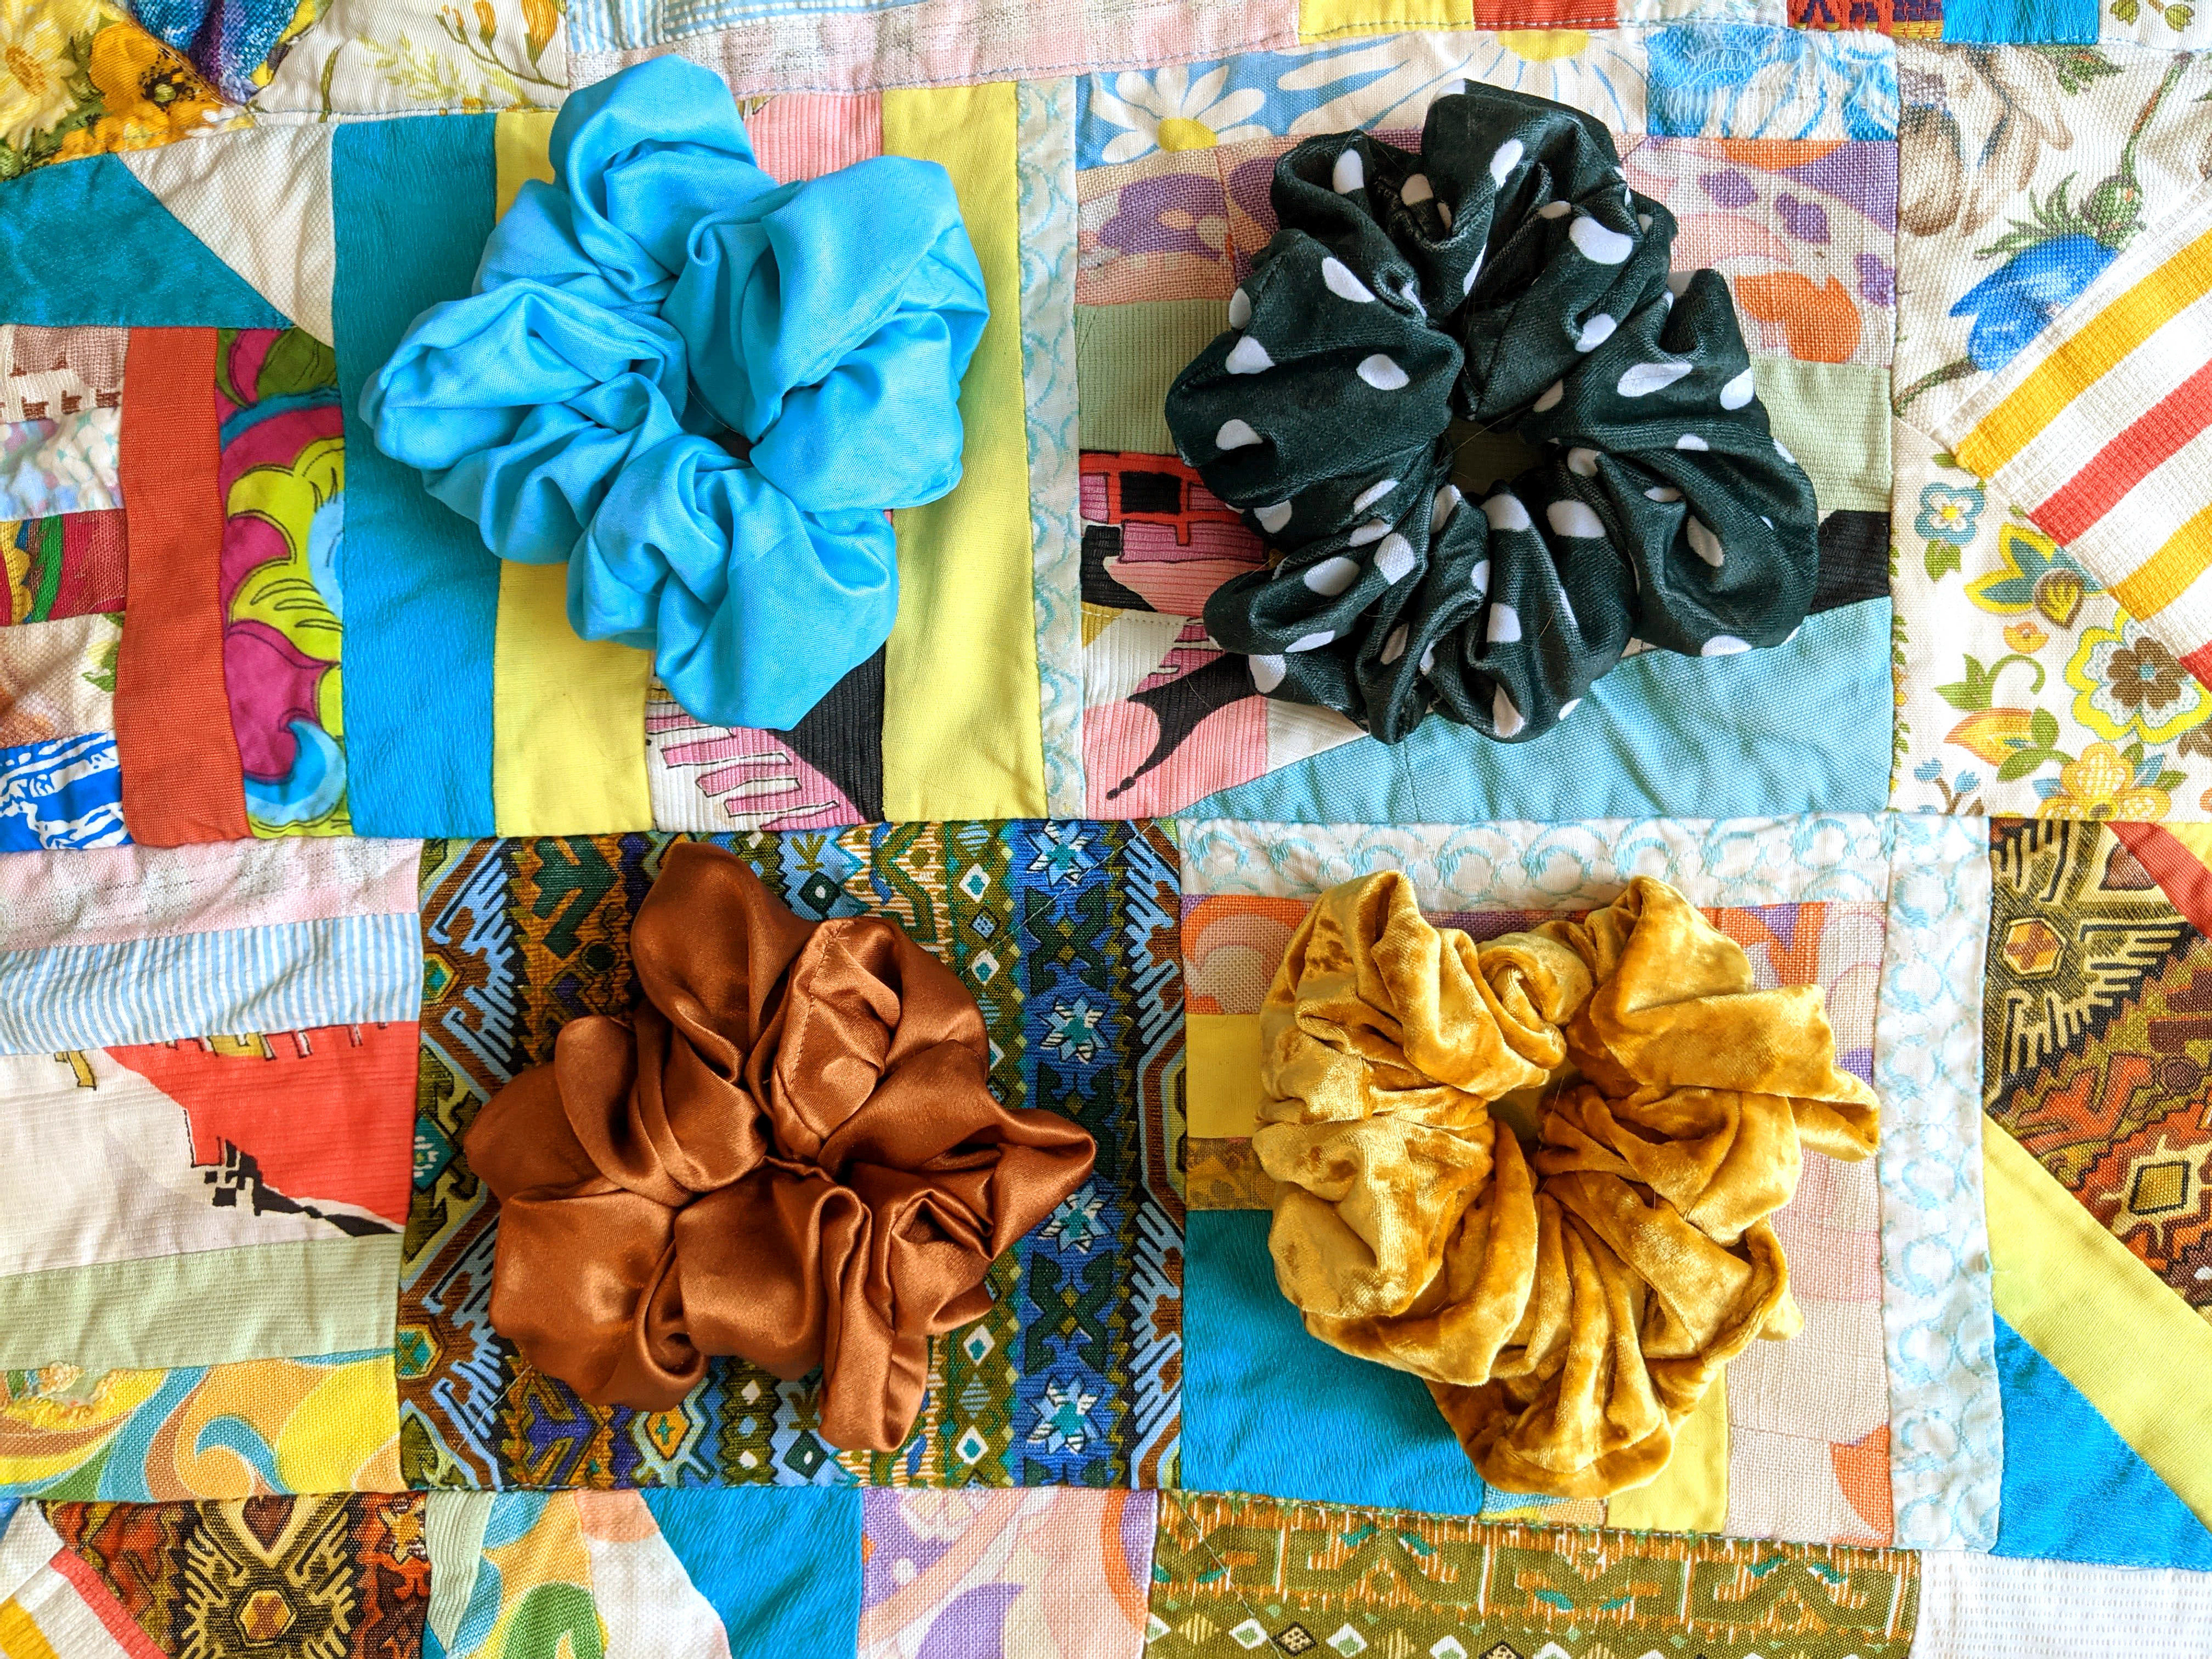
The range of colours I mixed on my palette, starting from the colours of each sticky note and adding white.
I decided to develop the palette off of the different sticky notes I have. From there, I added white. Most importantly, I included my hot pink paint.
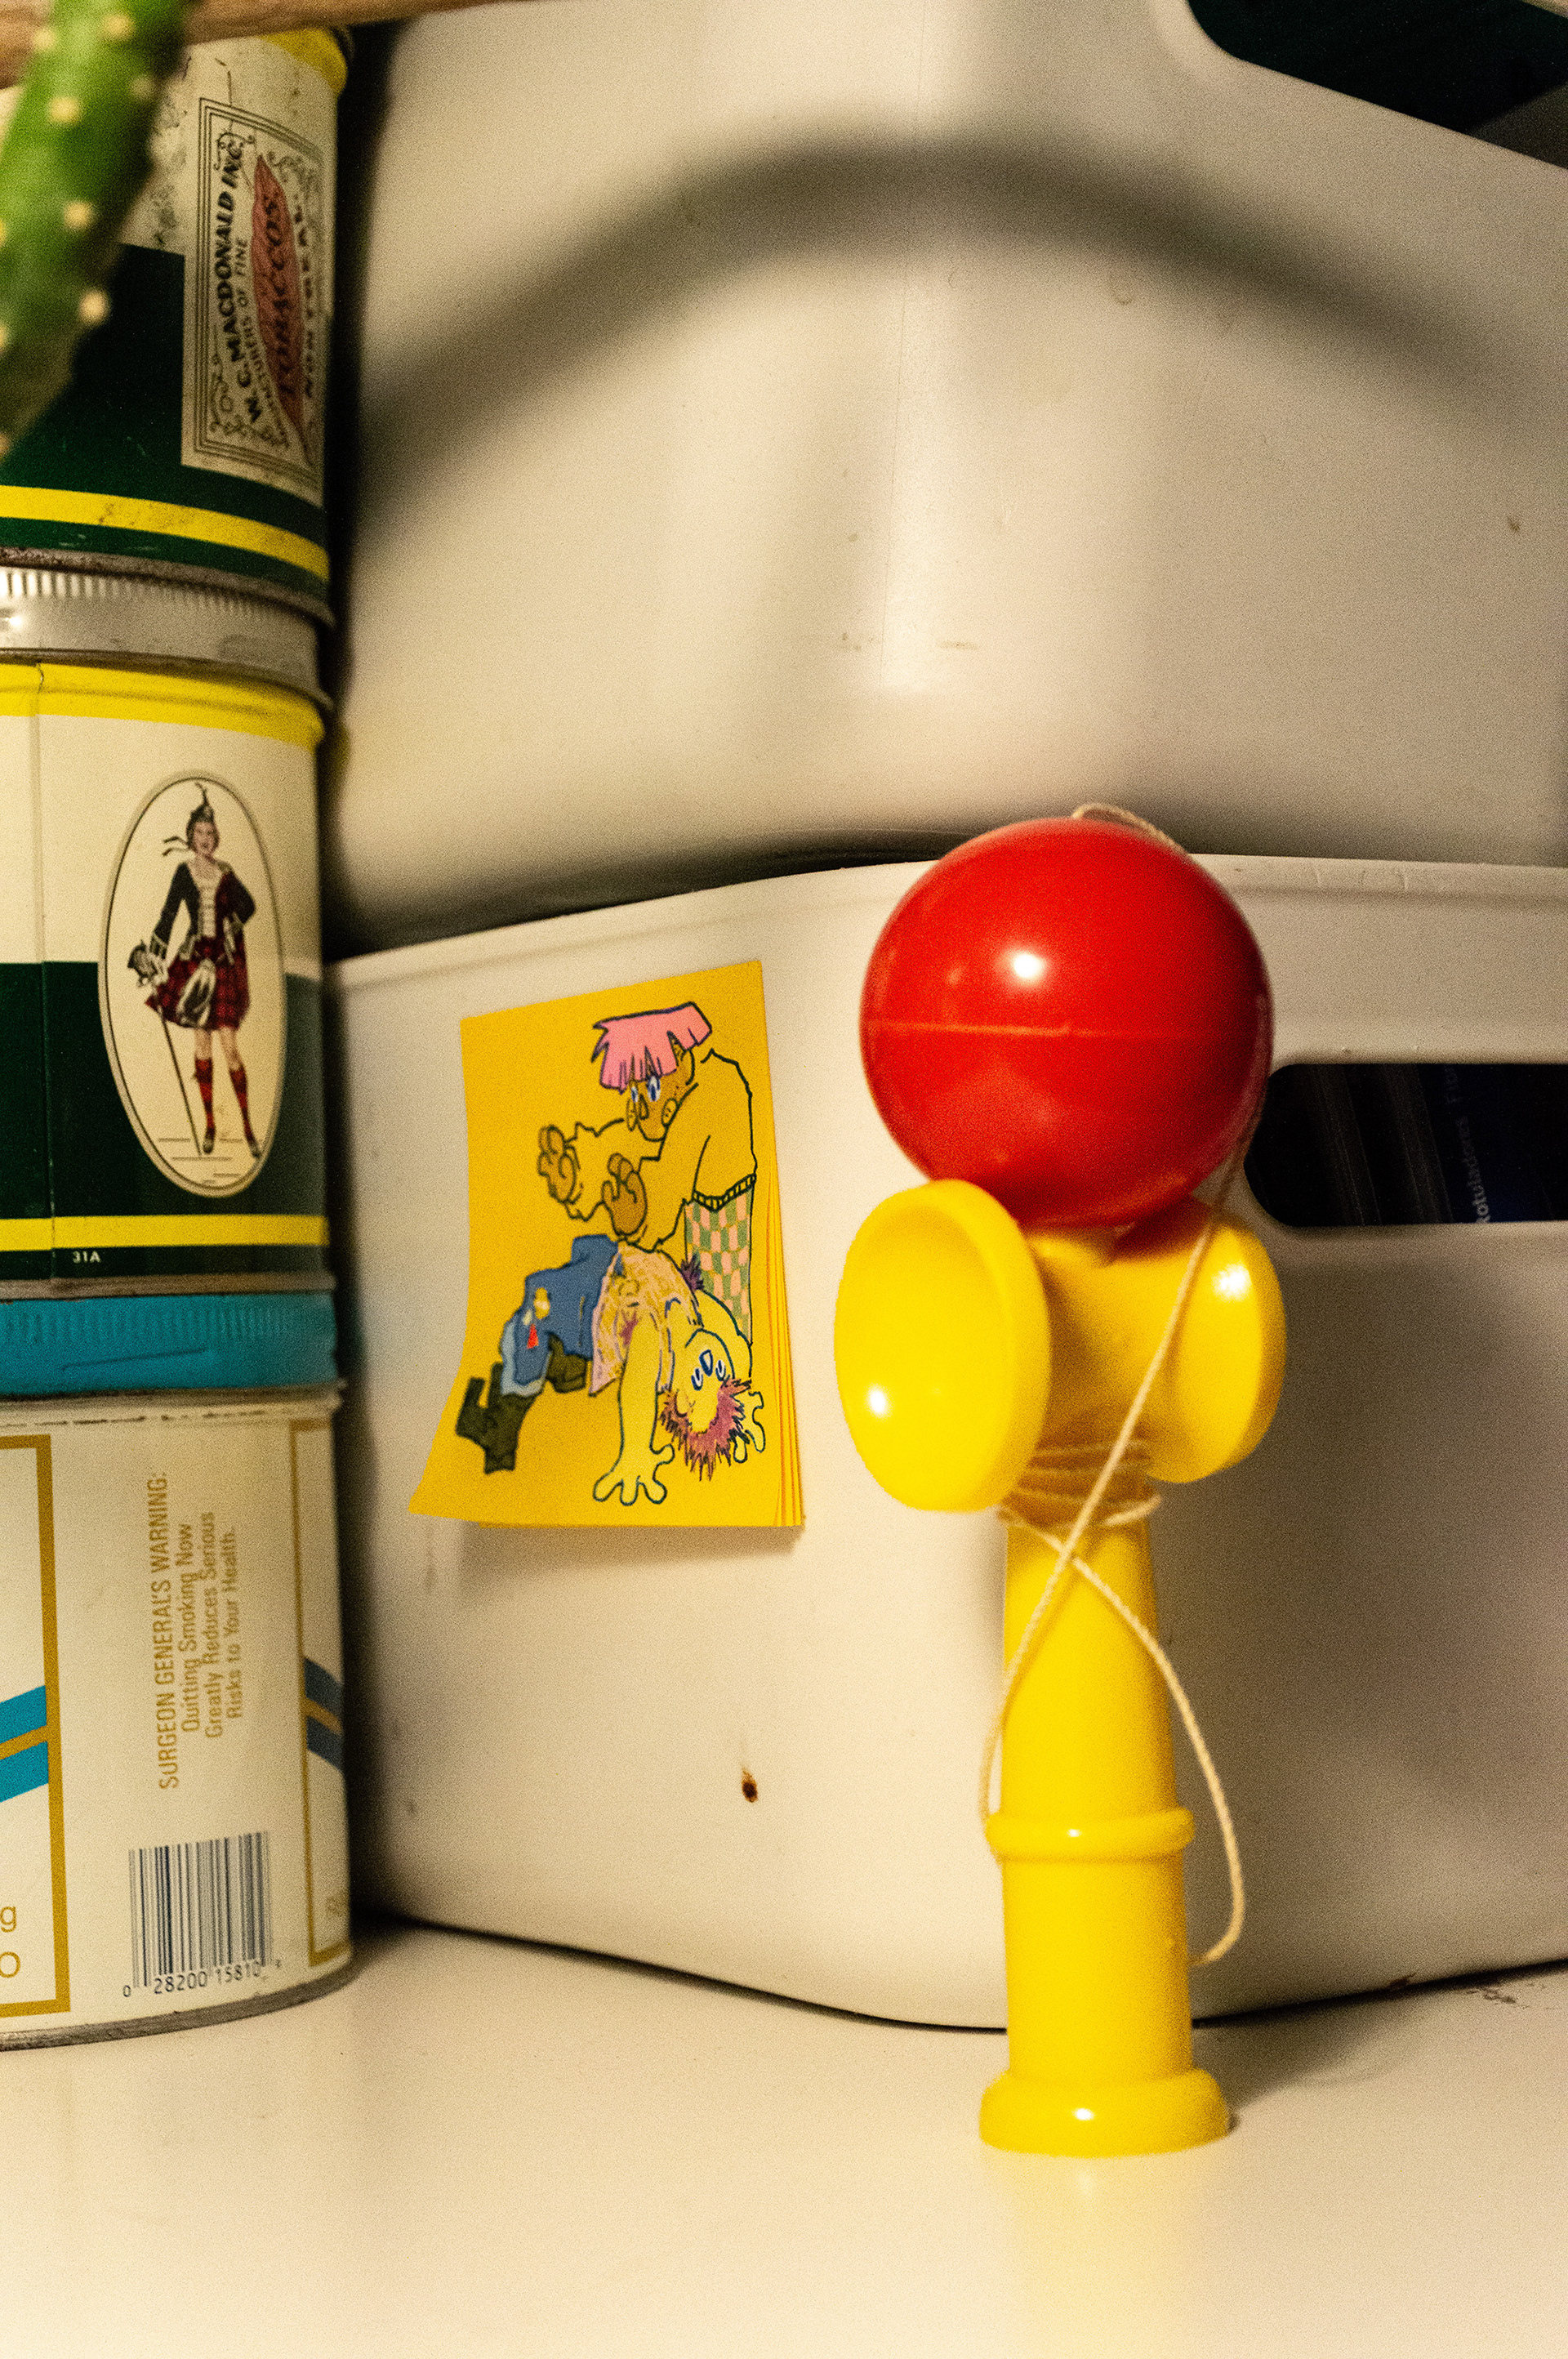
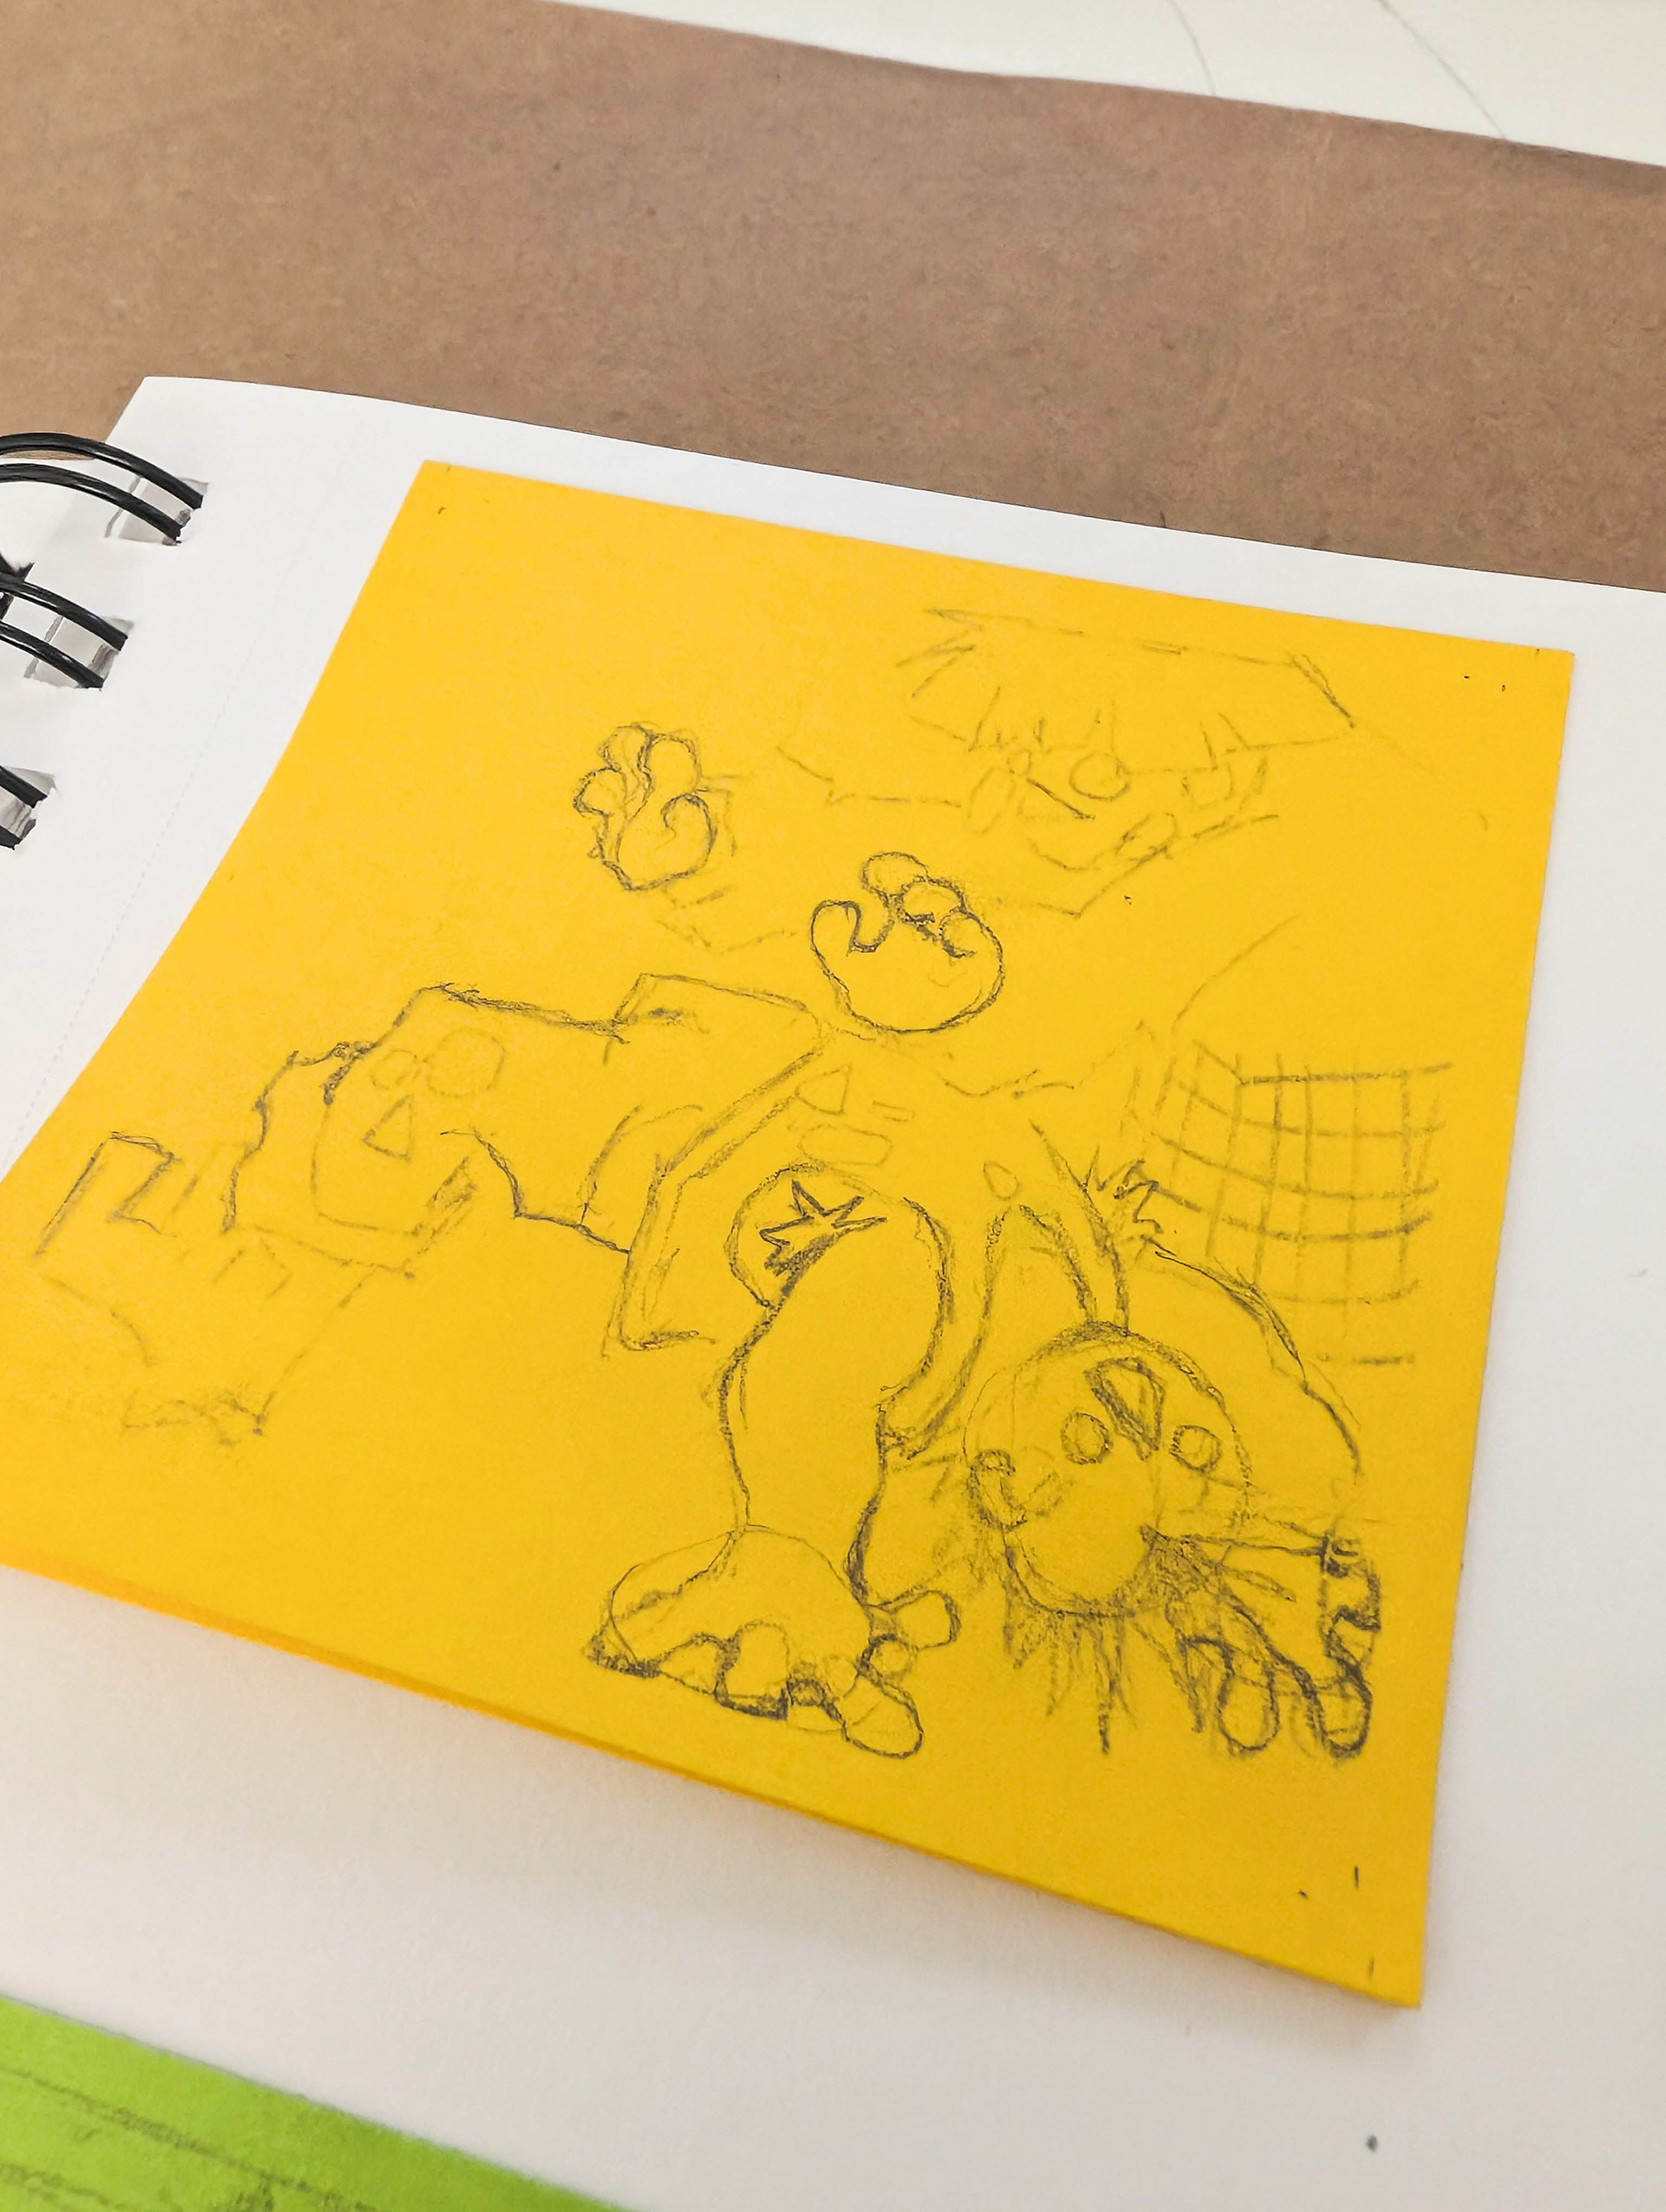
It can show through on some note colours, like the yellow, pictured below. Make sure to test your pen, if you're writing on the back.
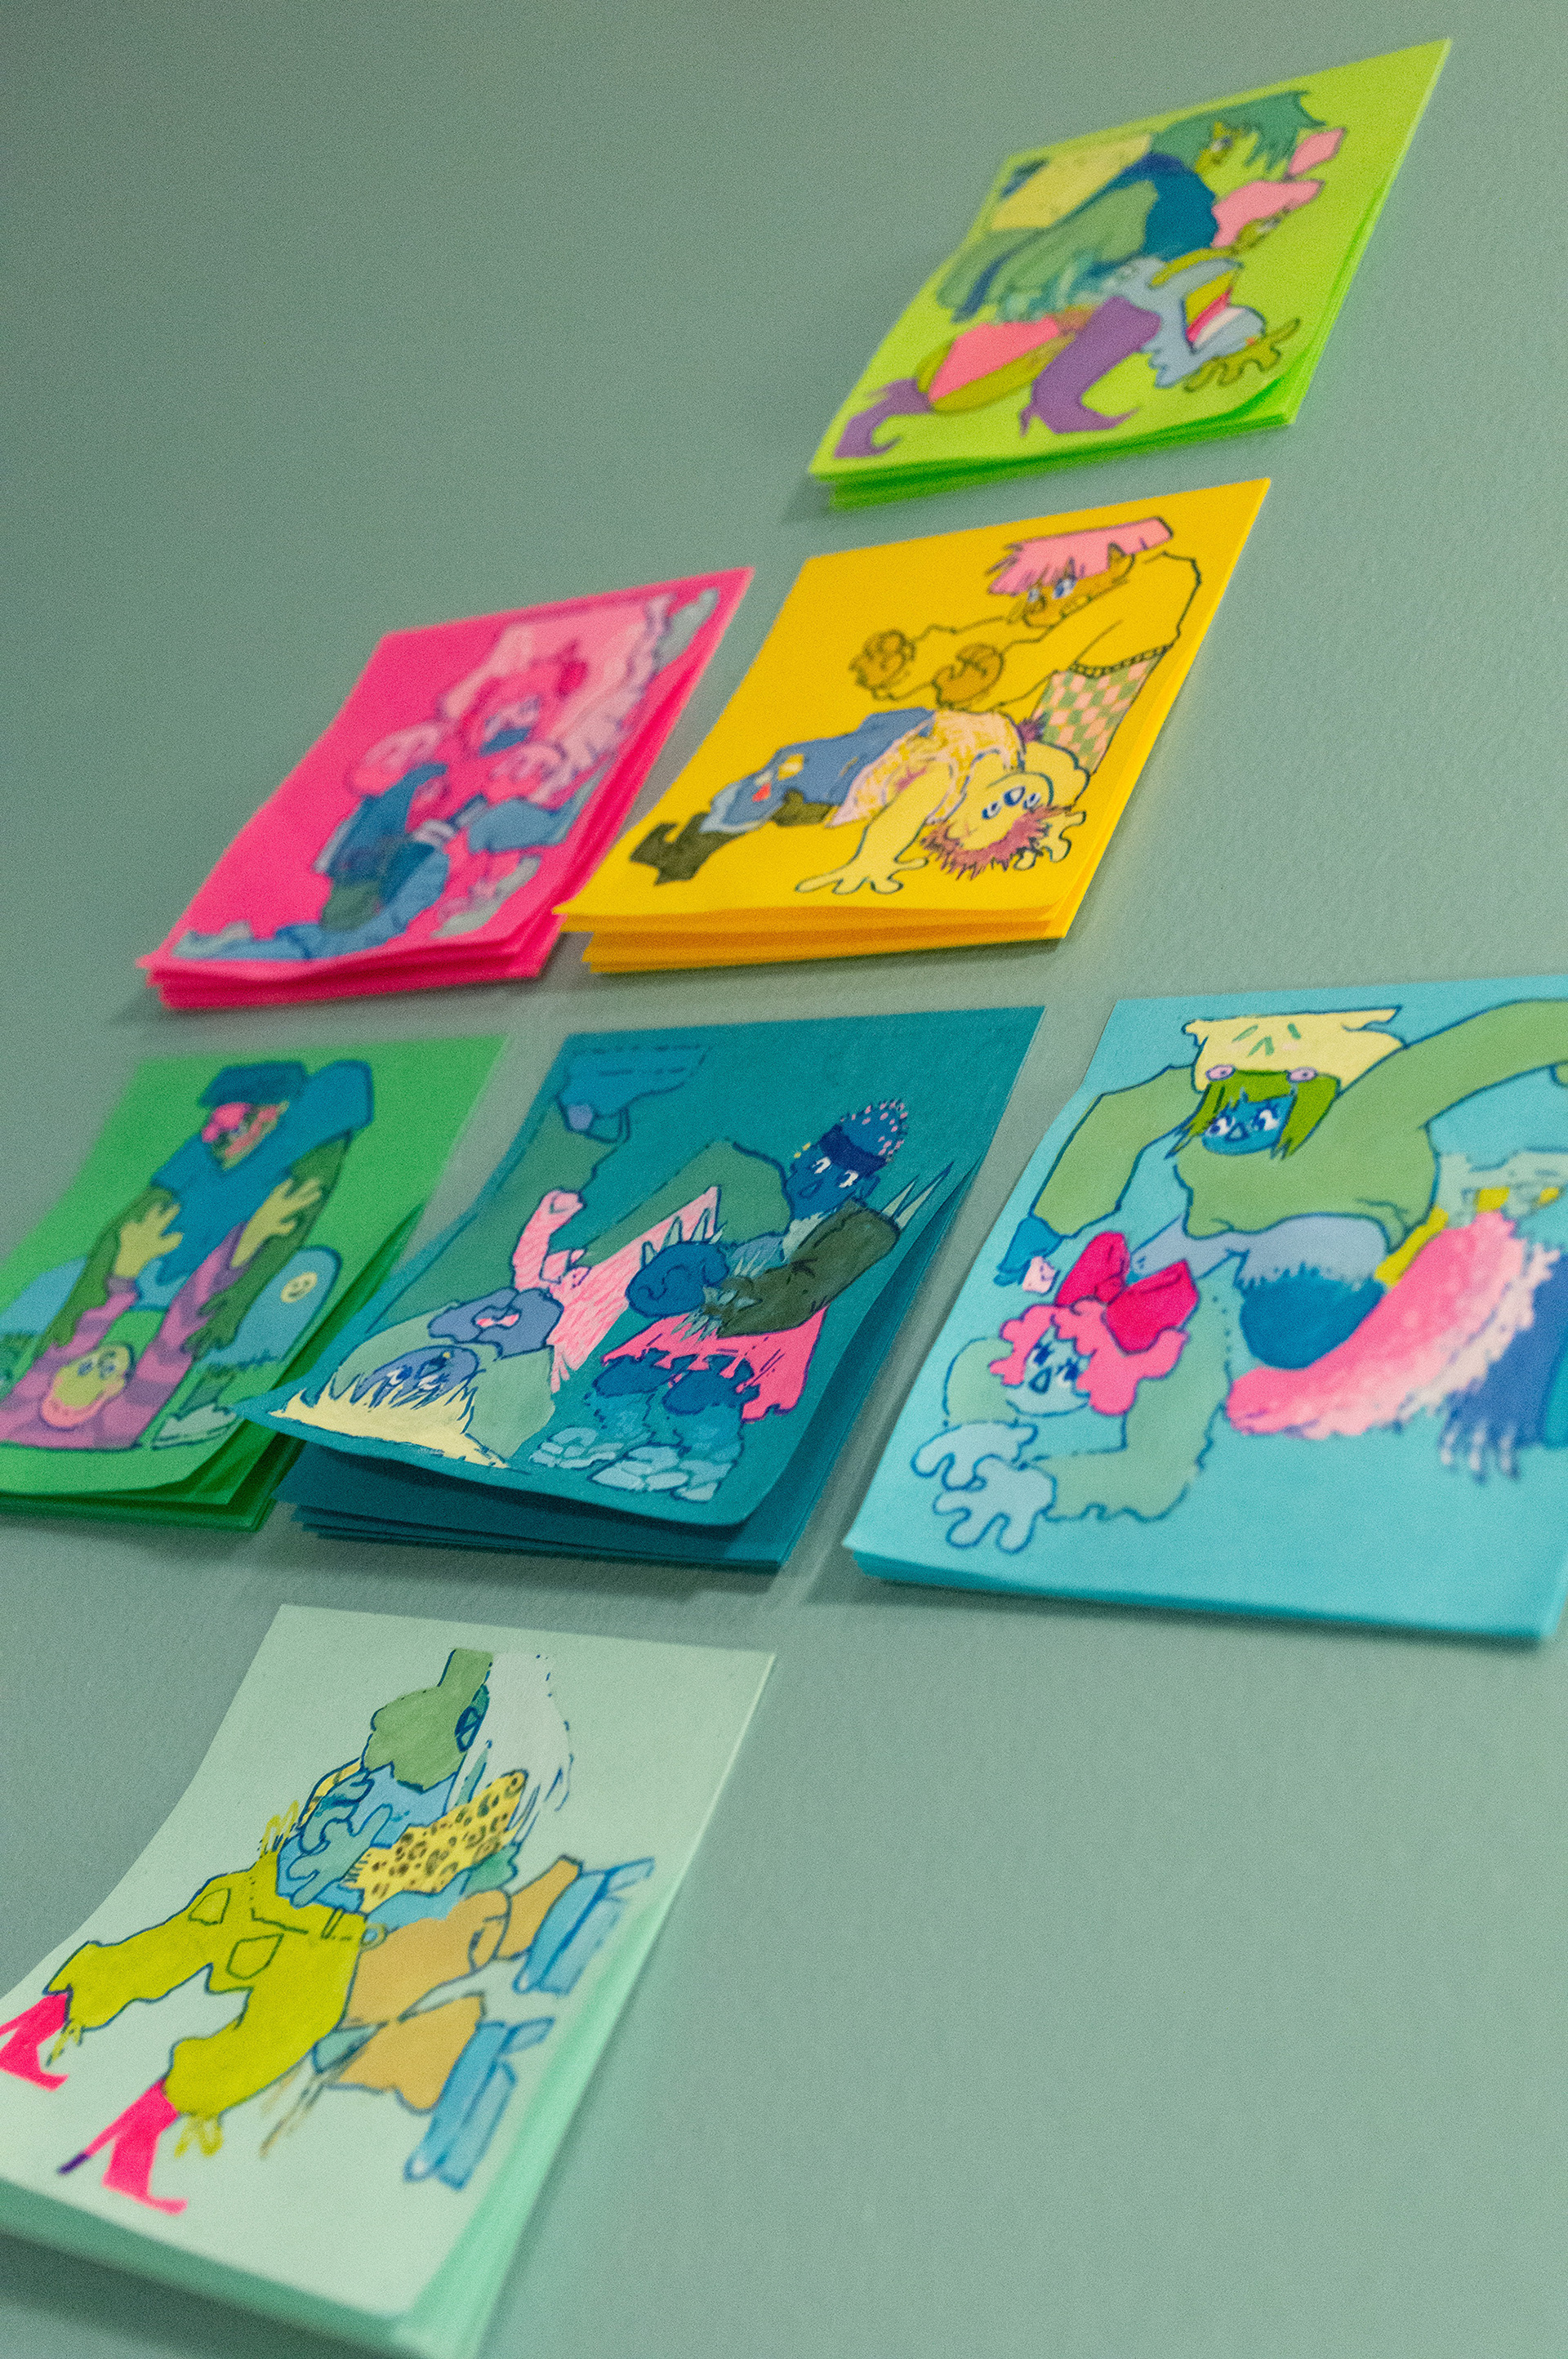
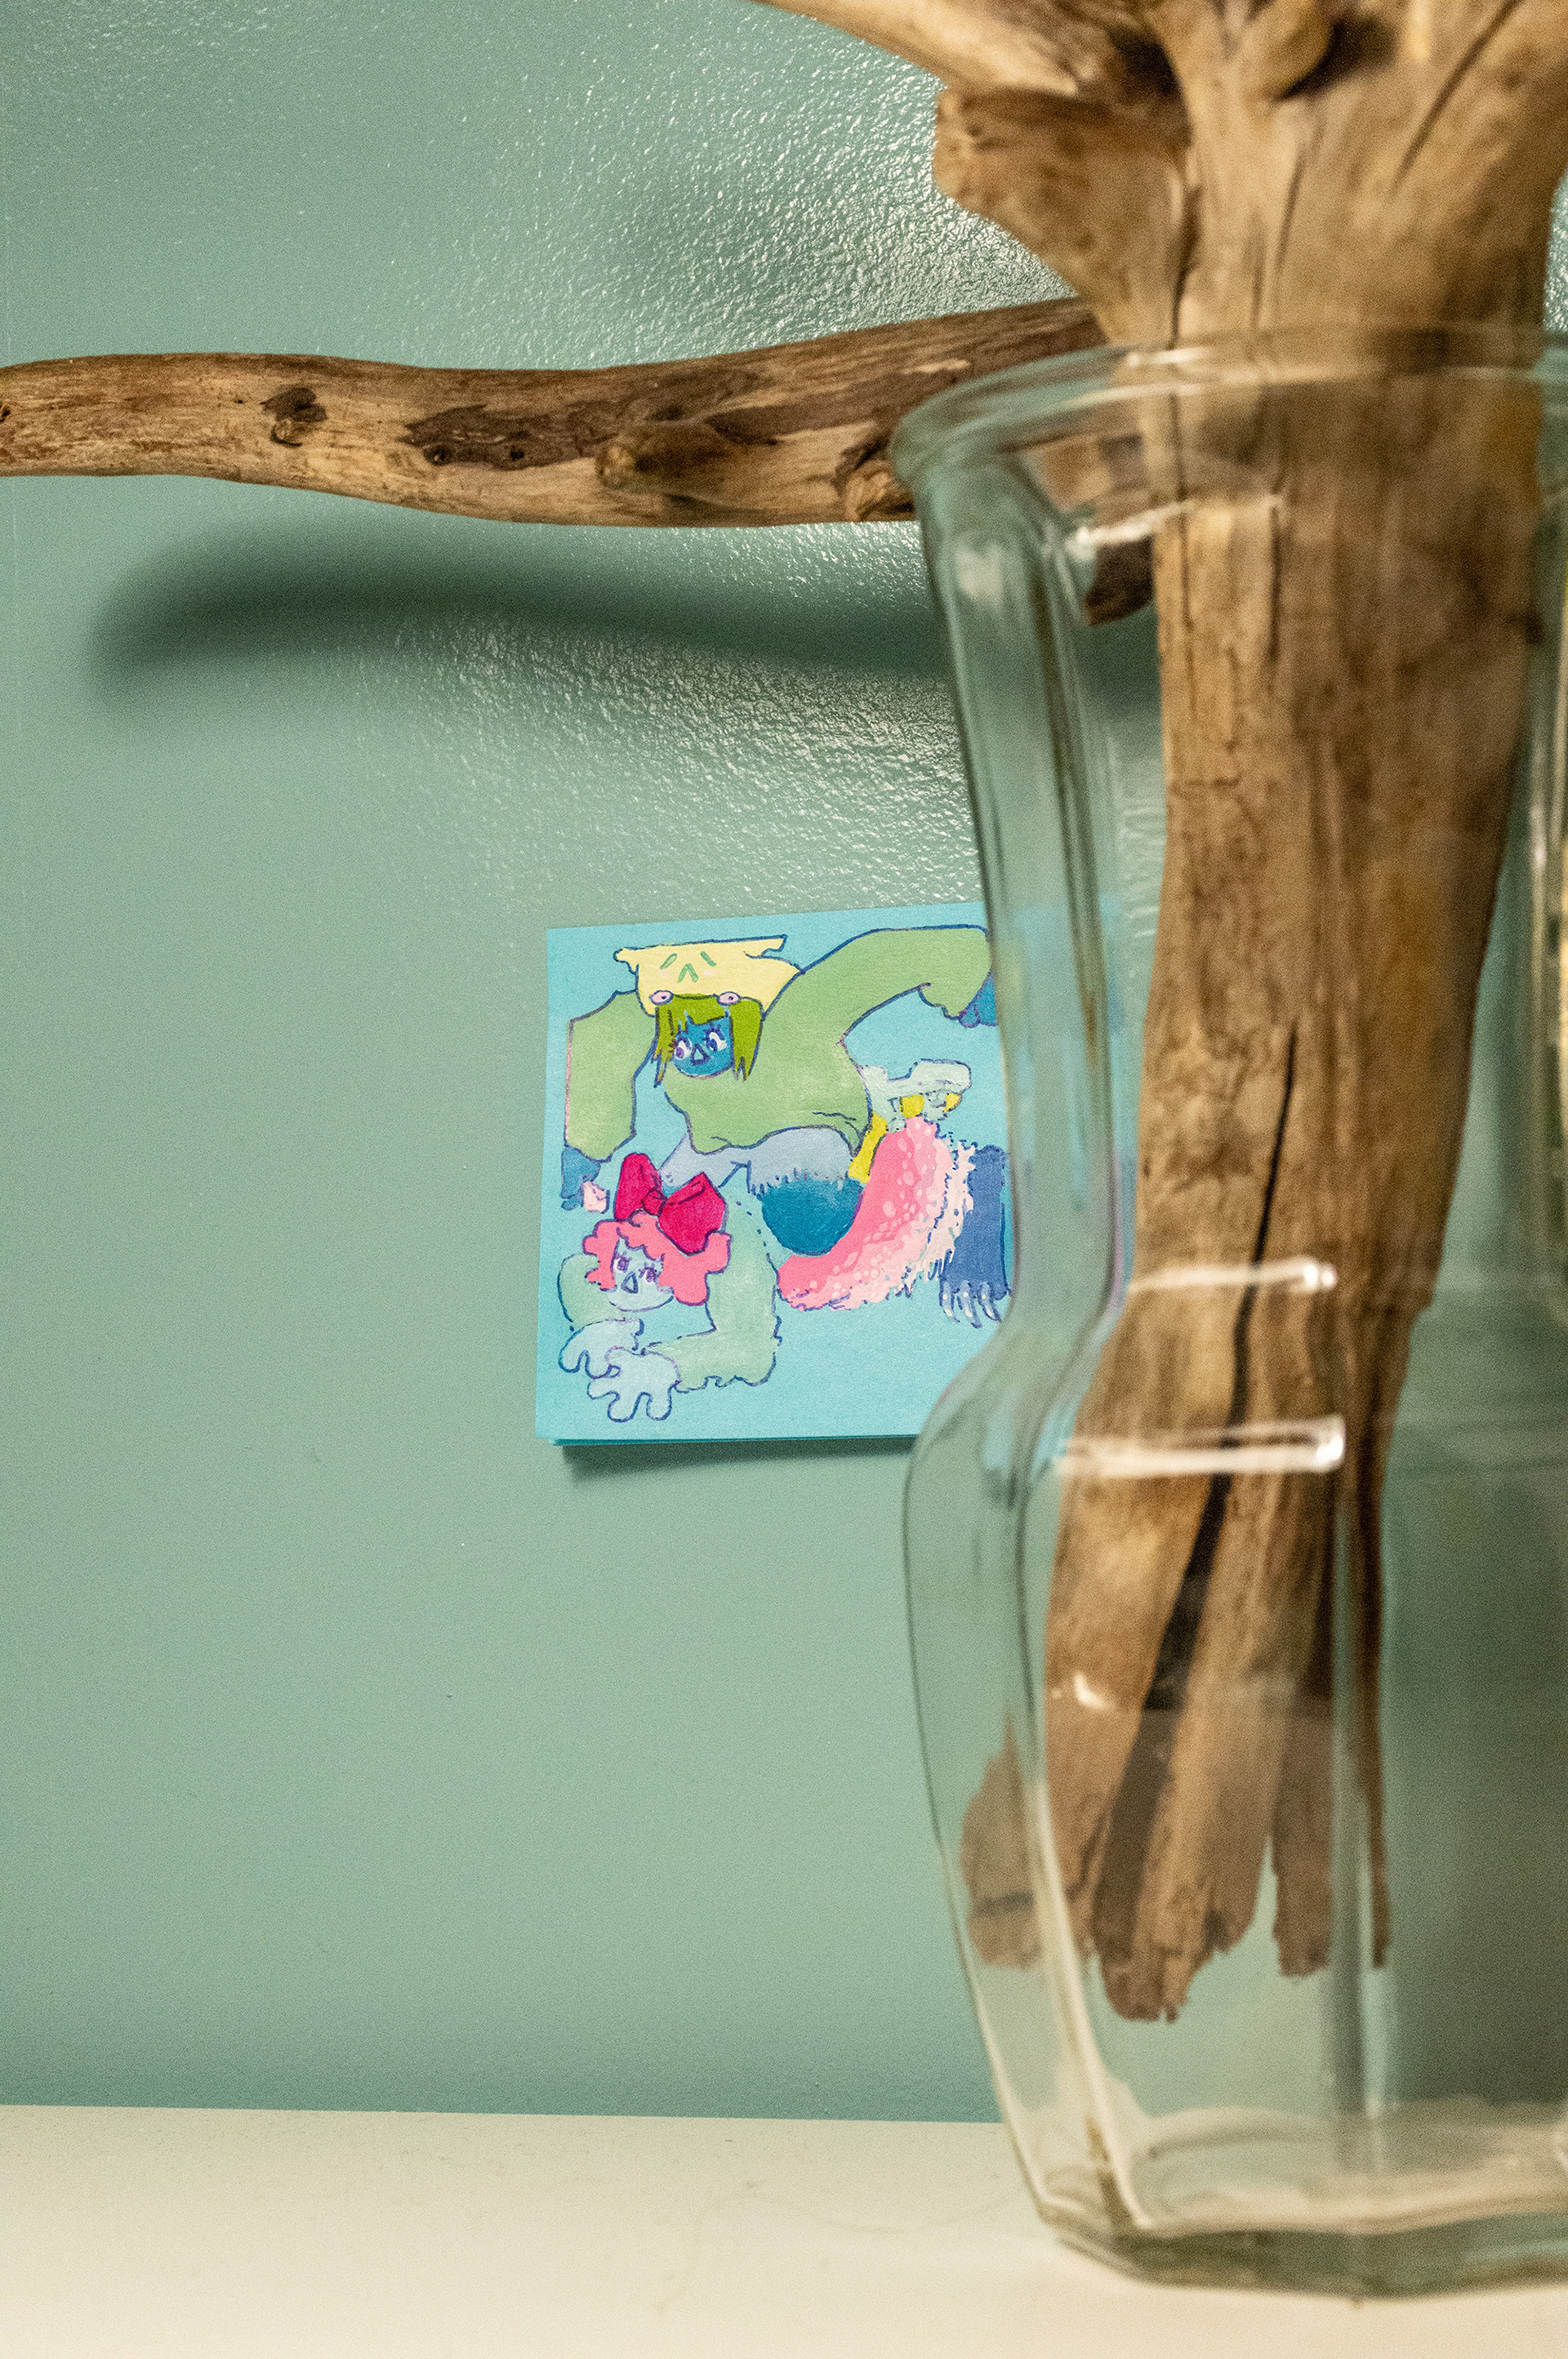
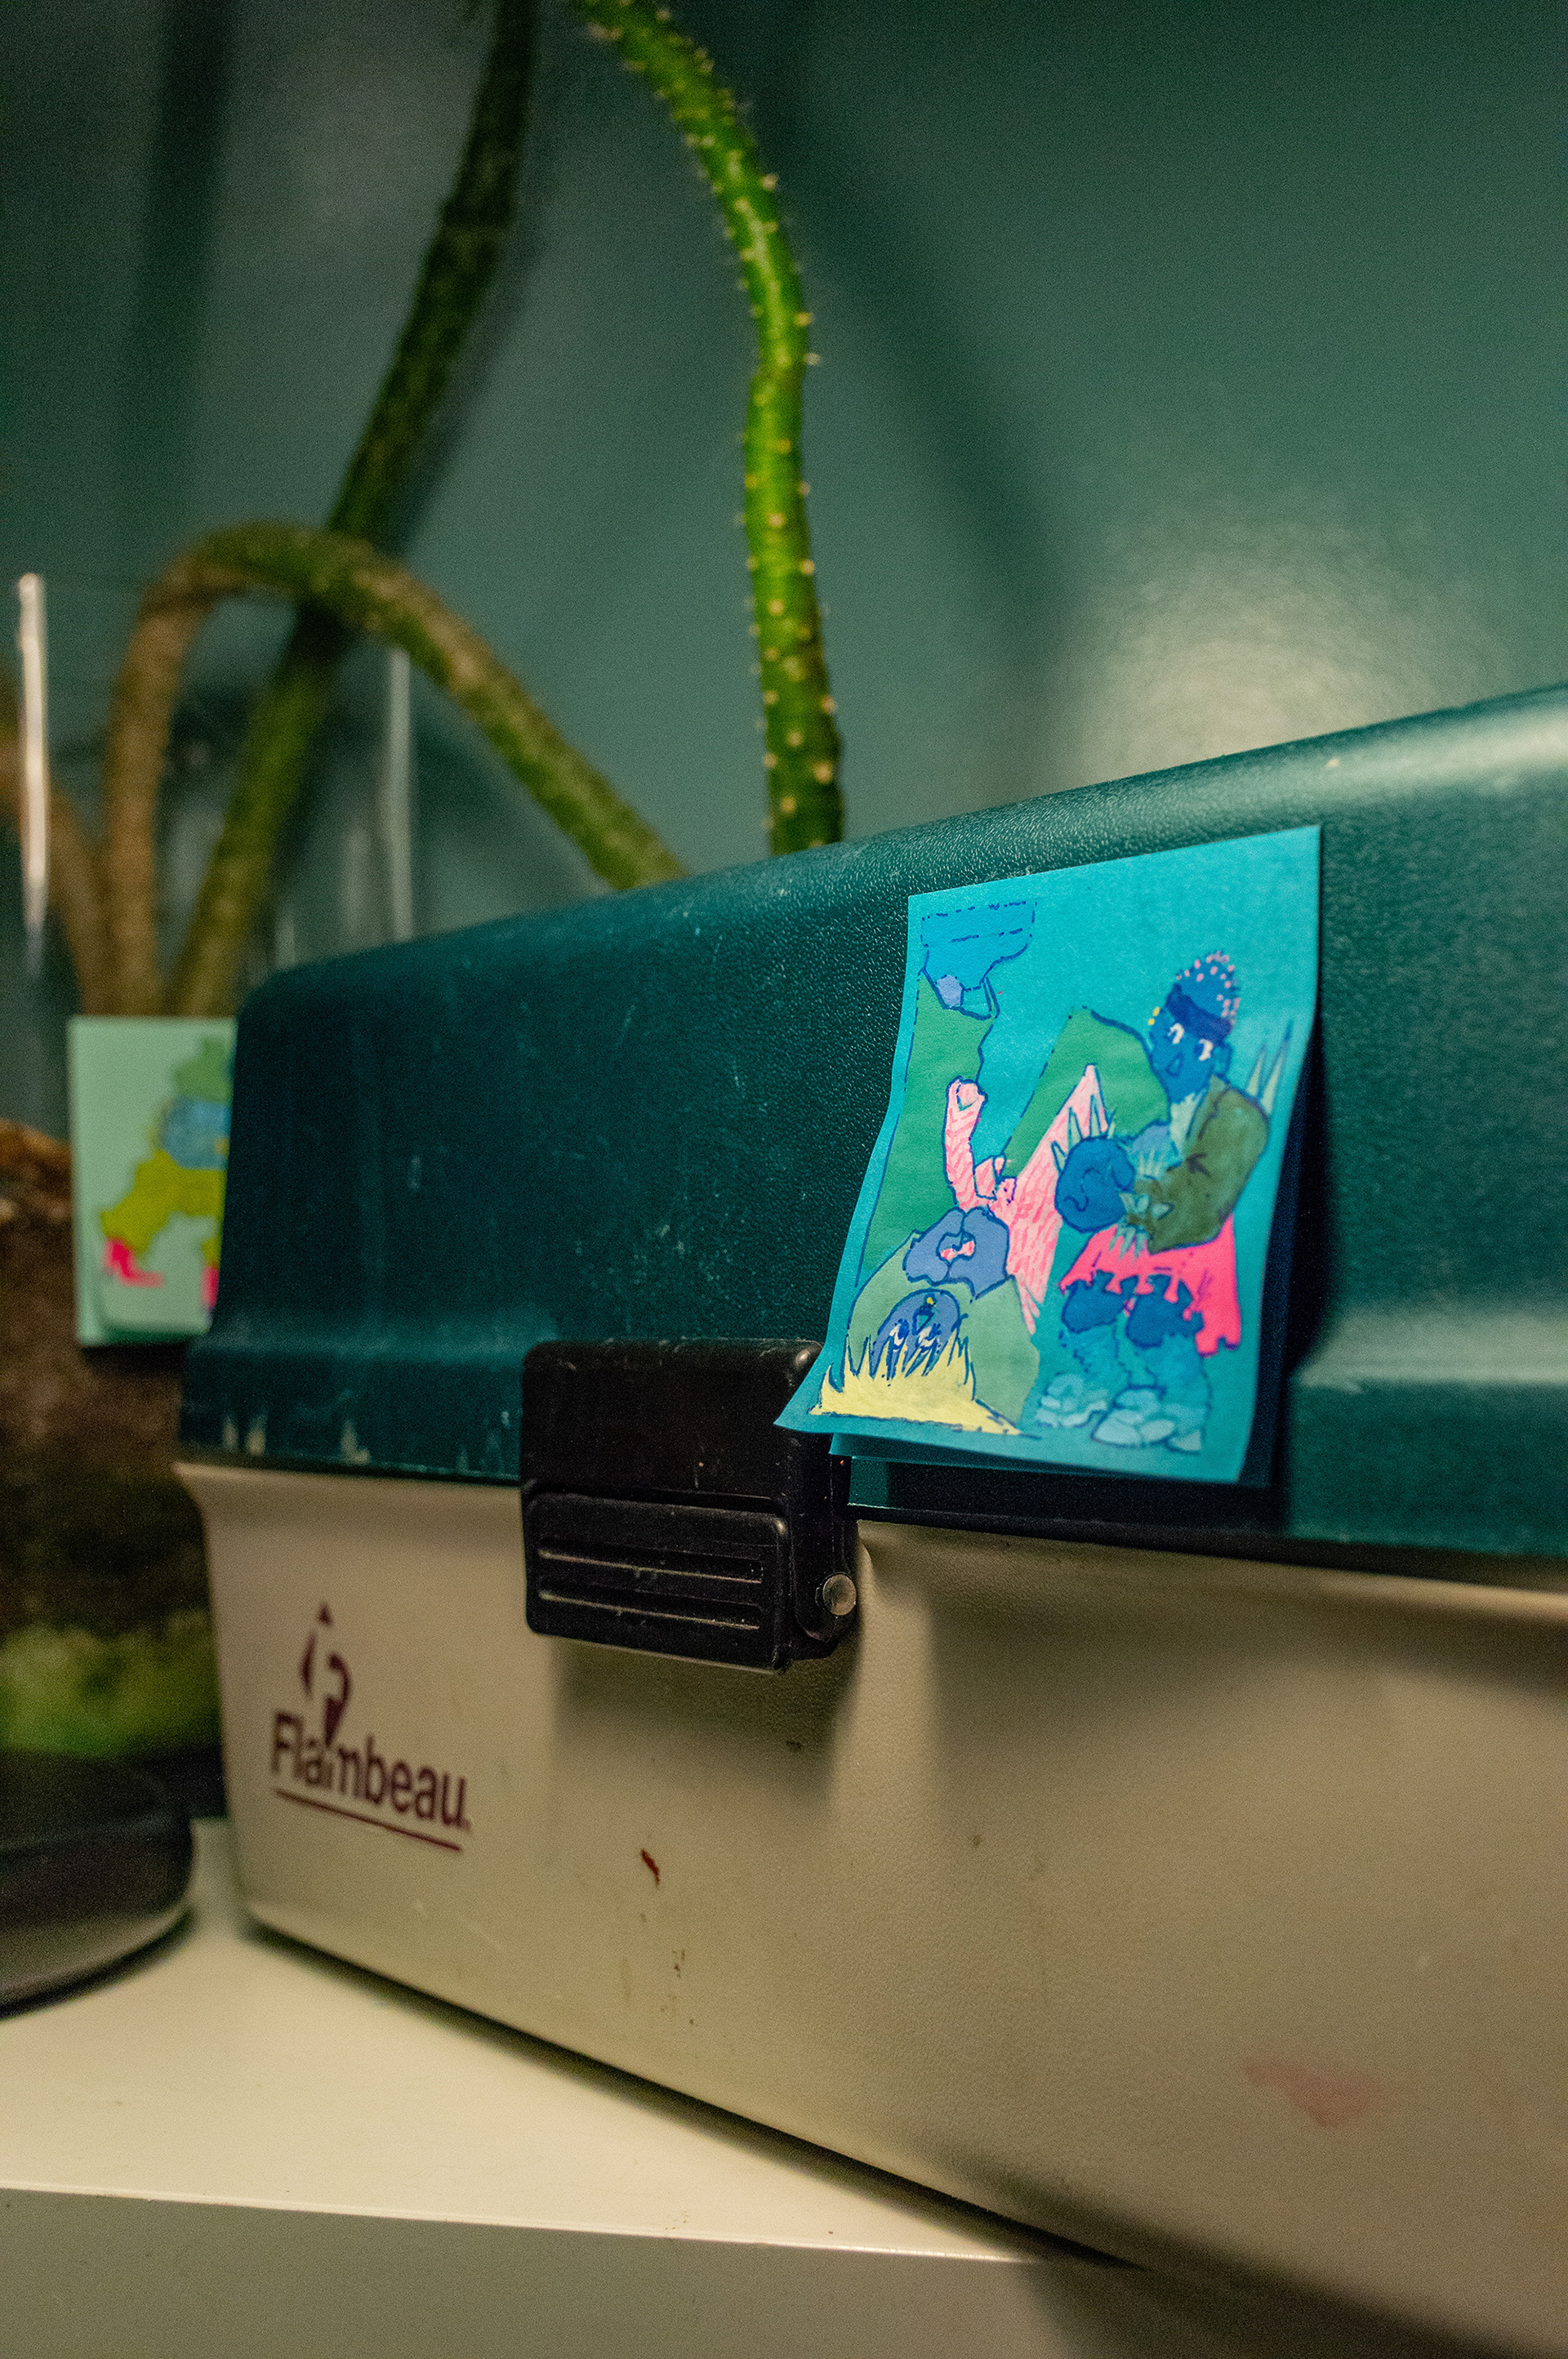
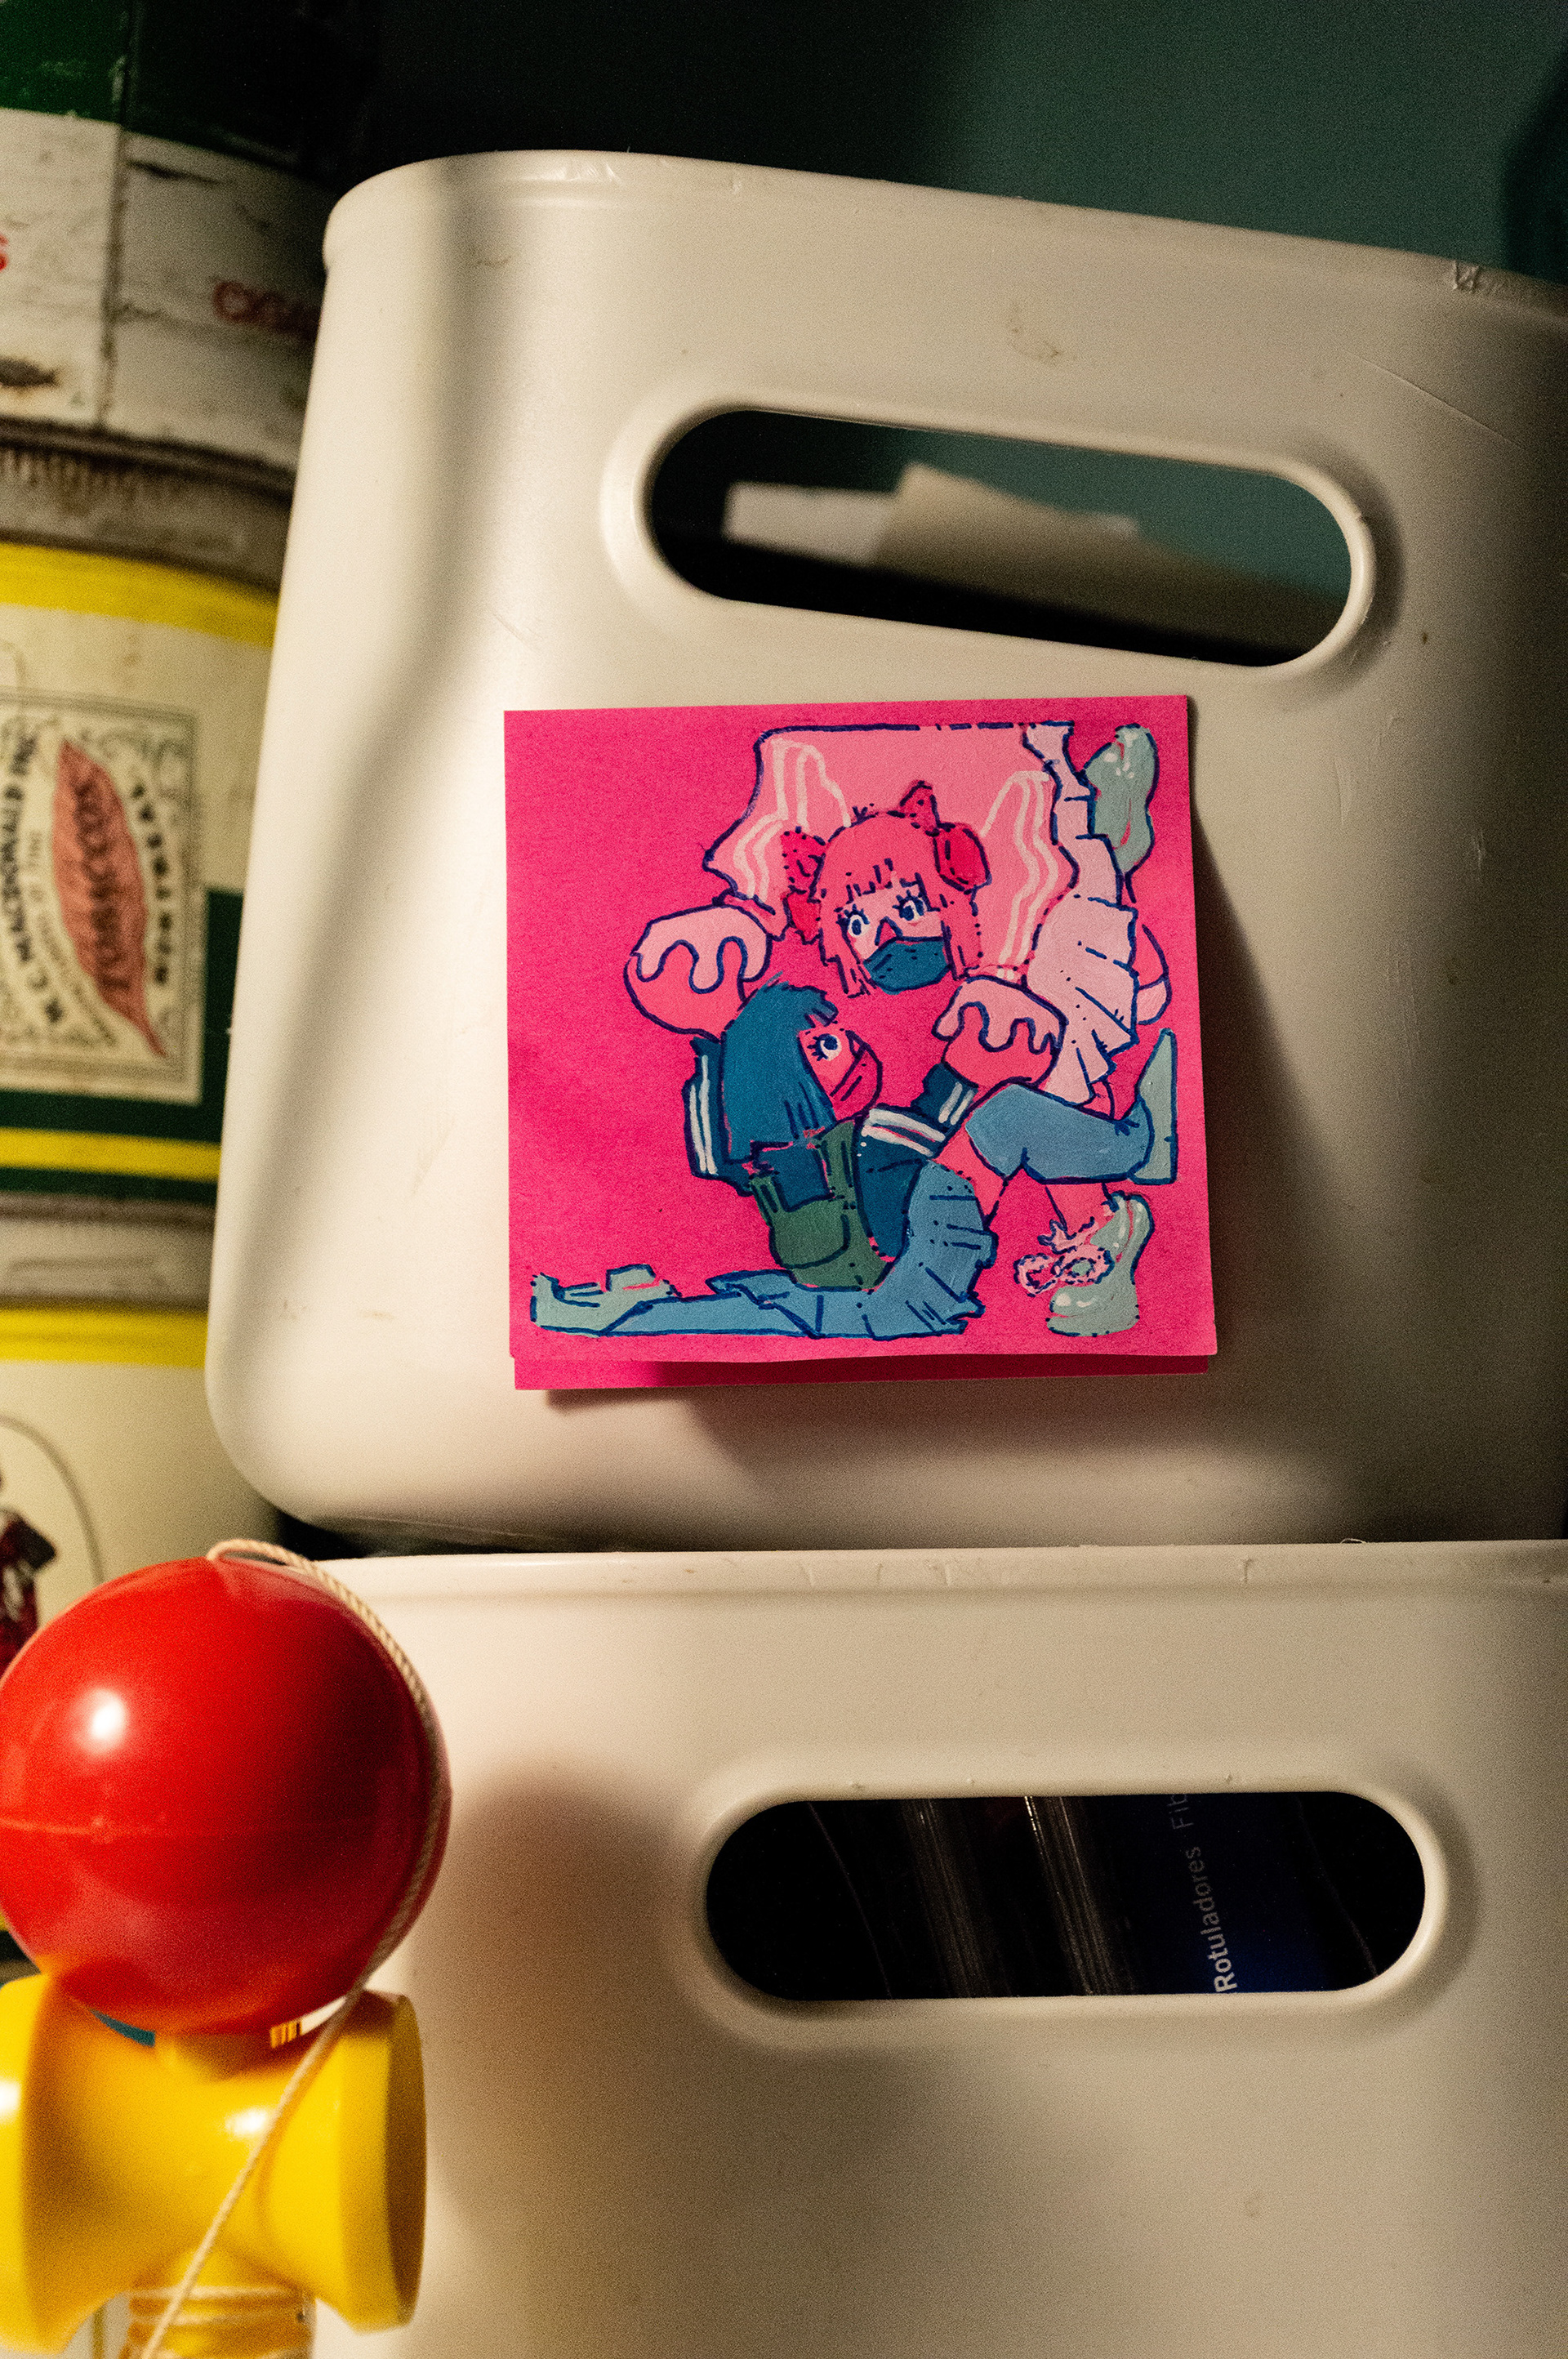
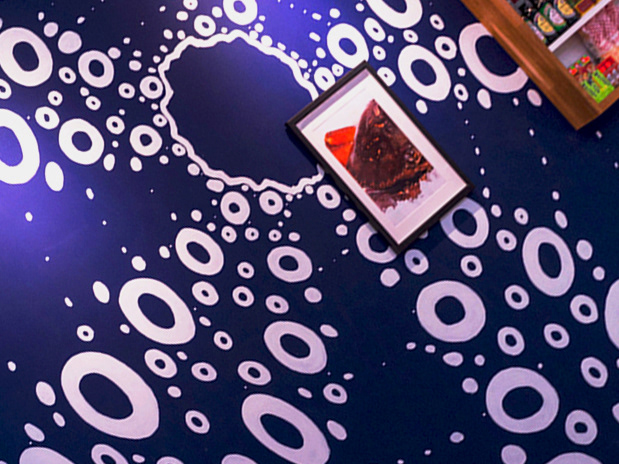
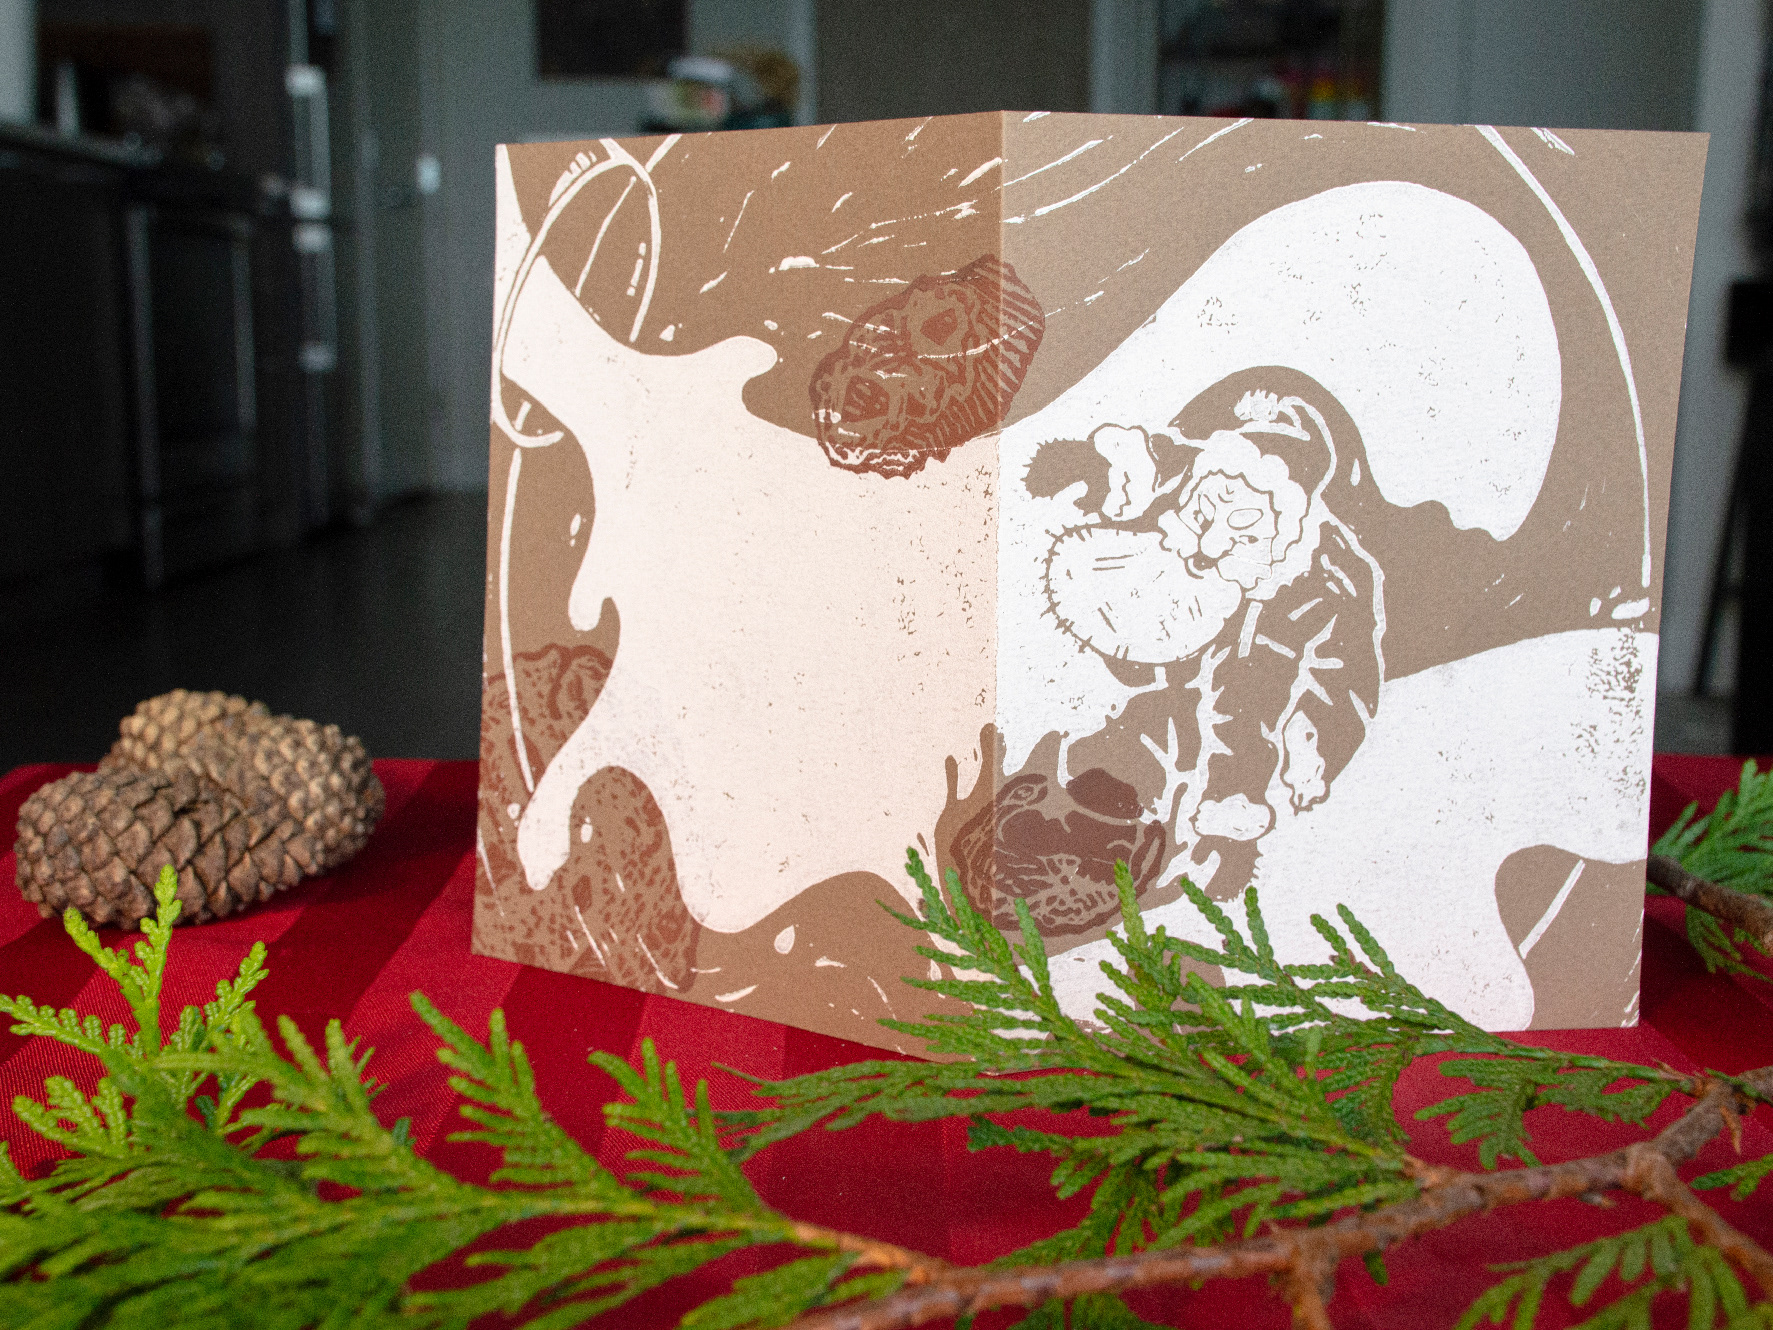
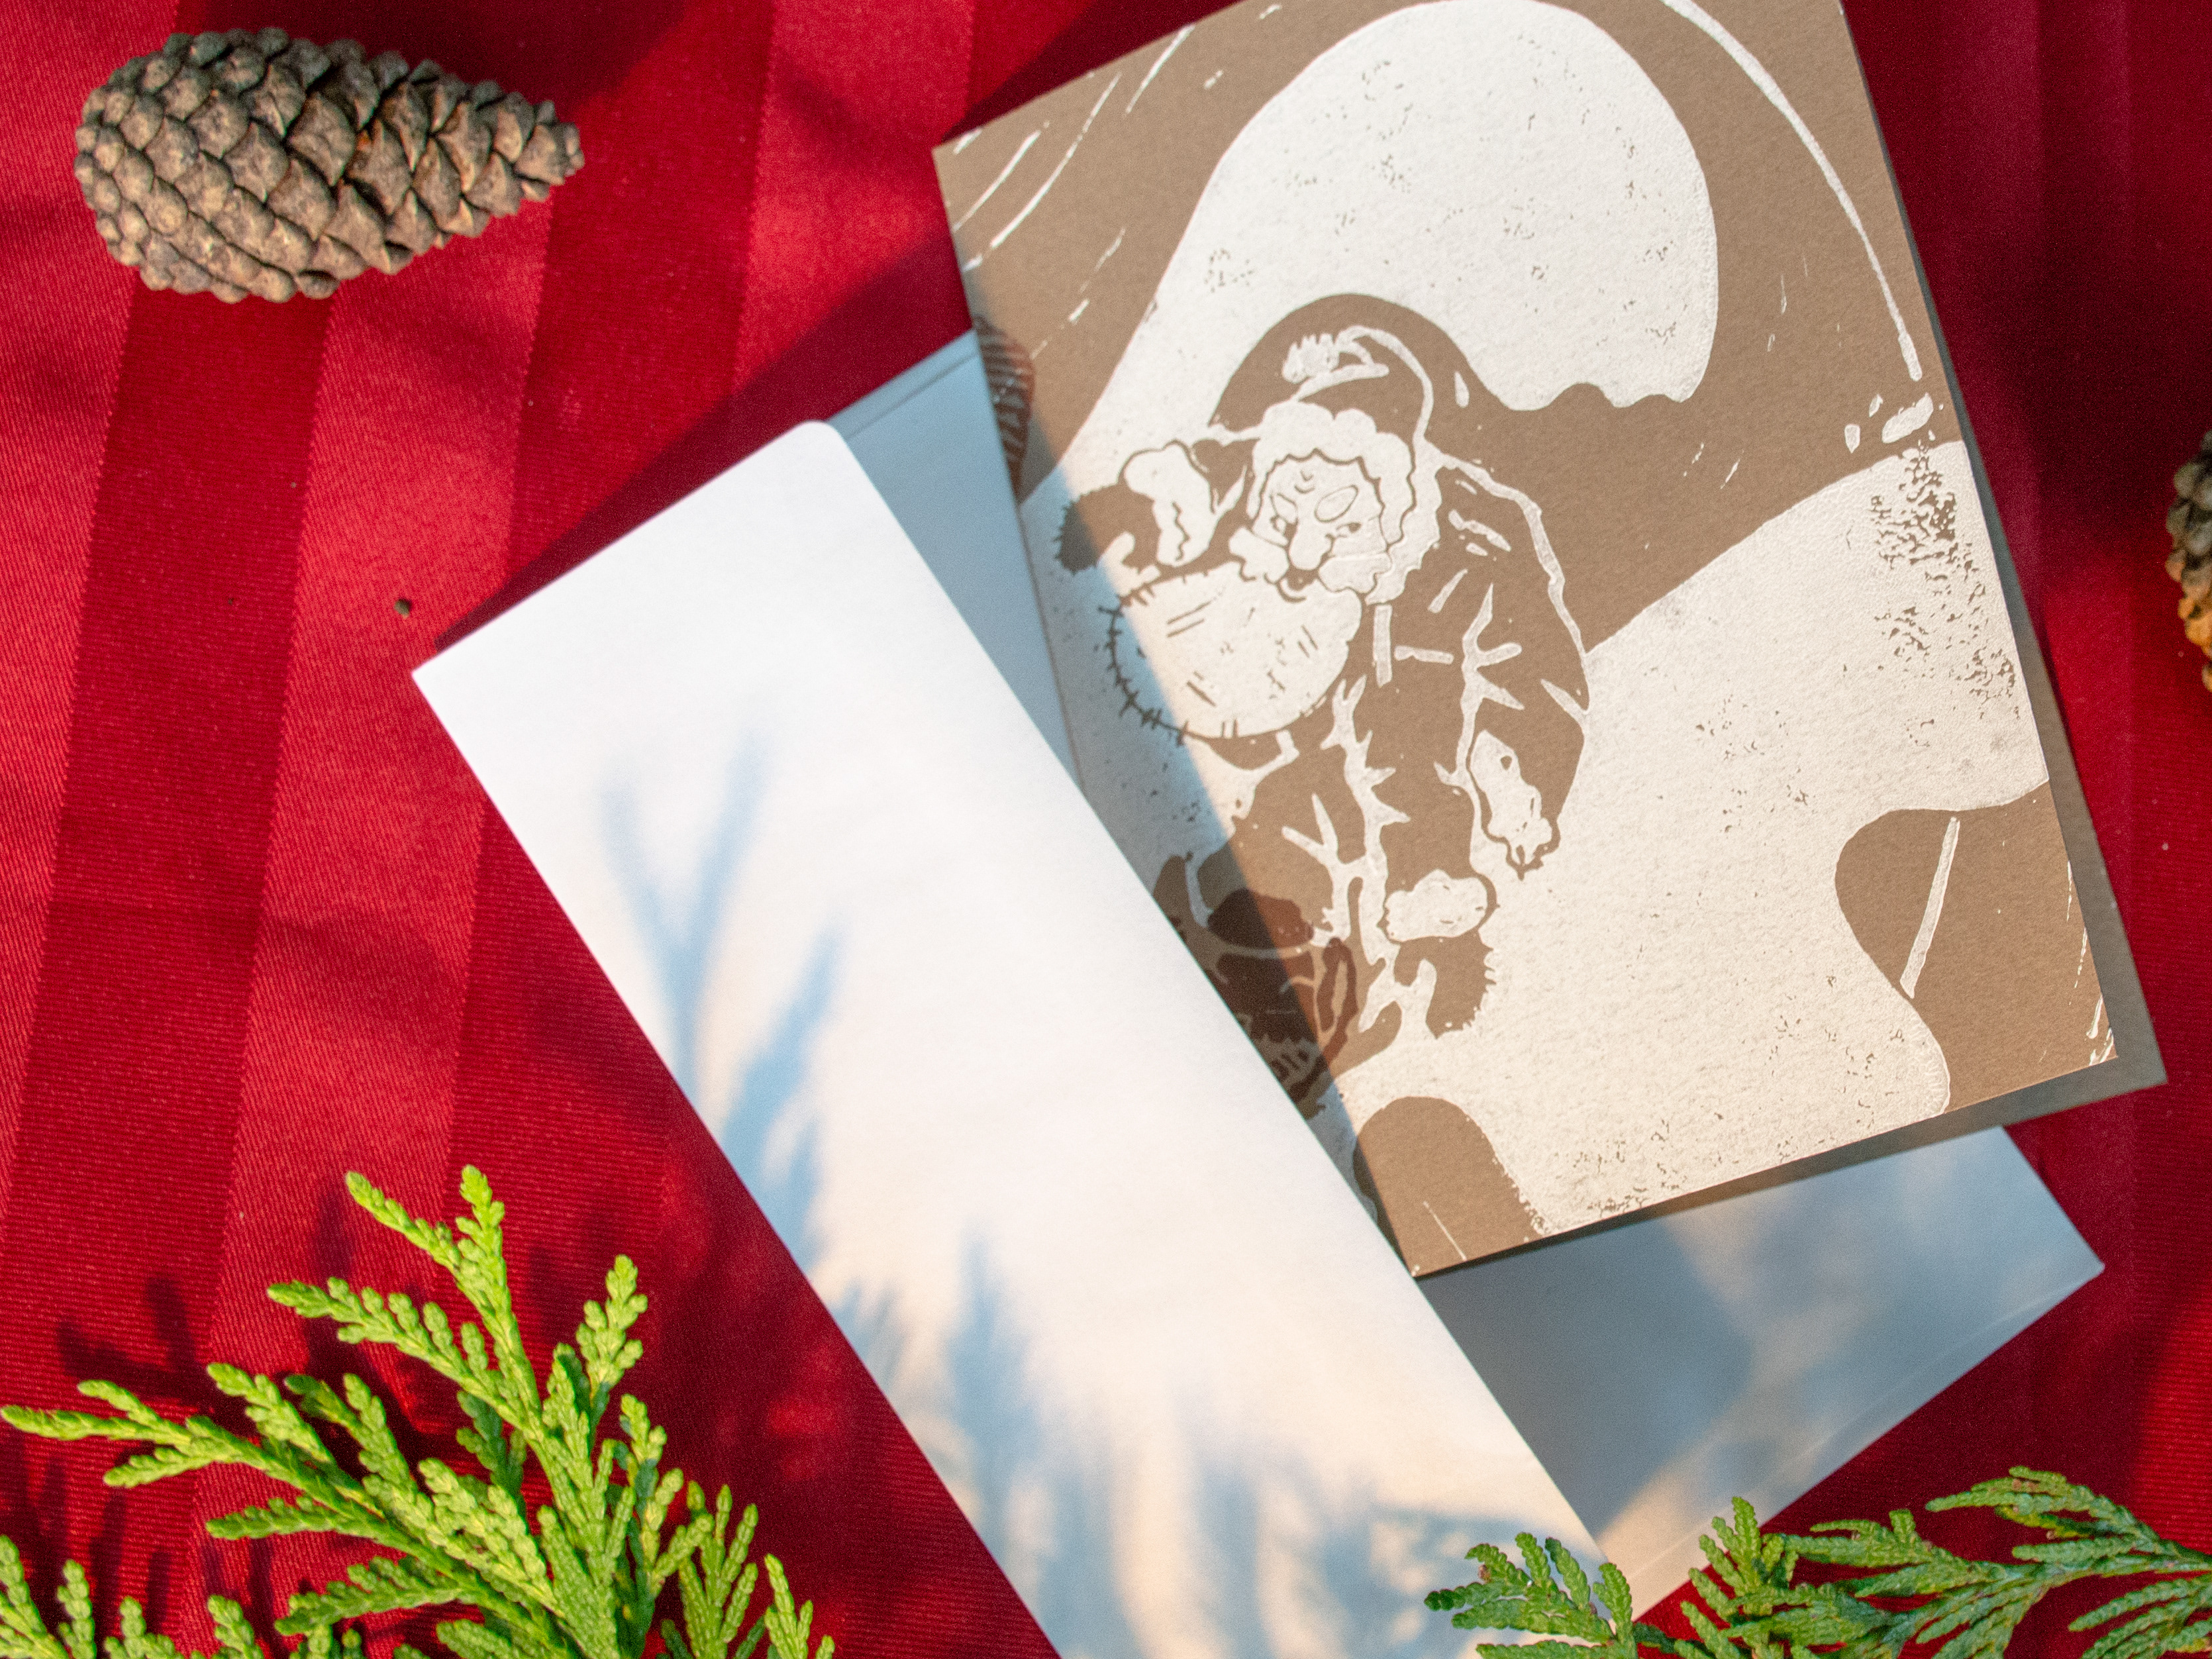
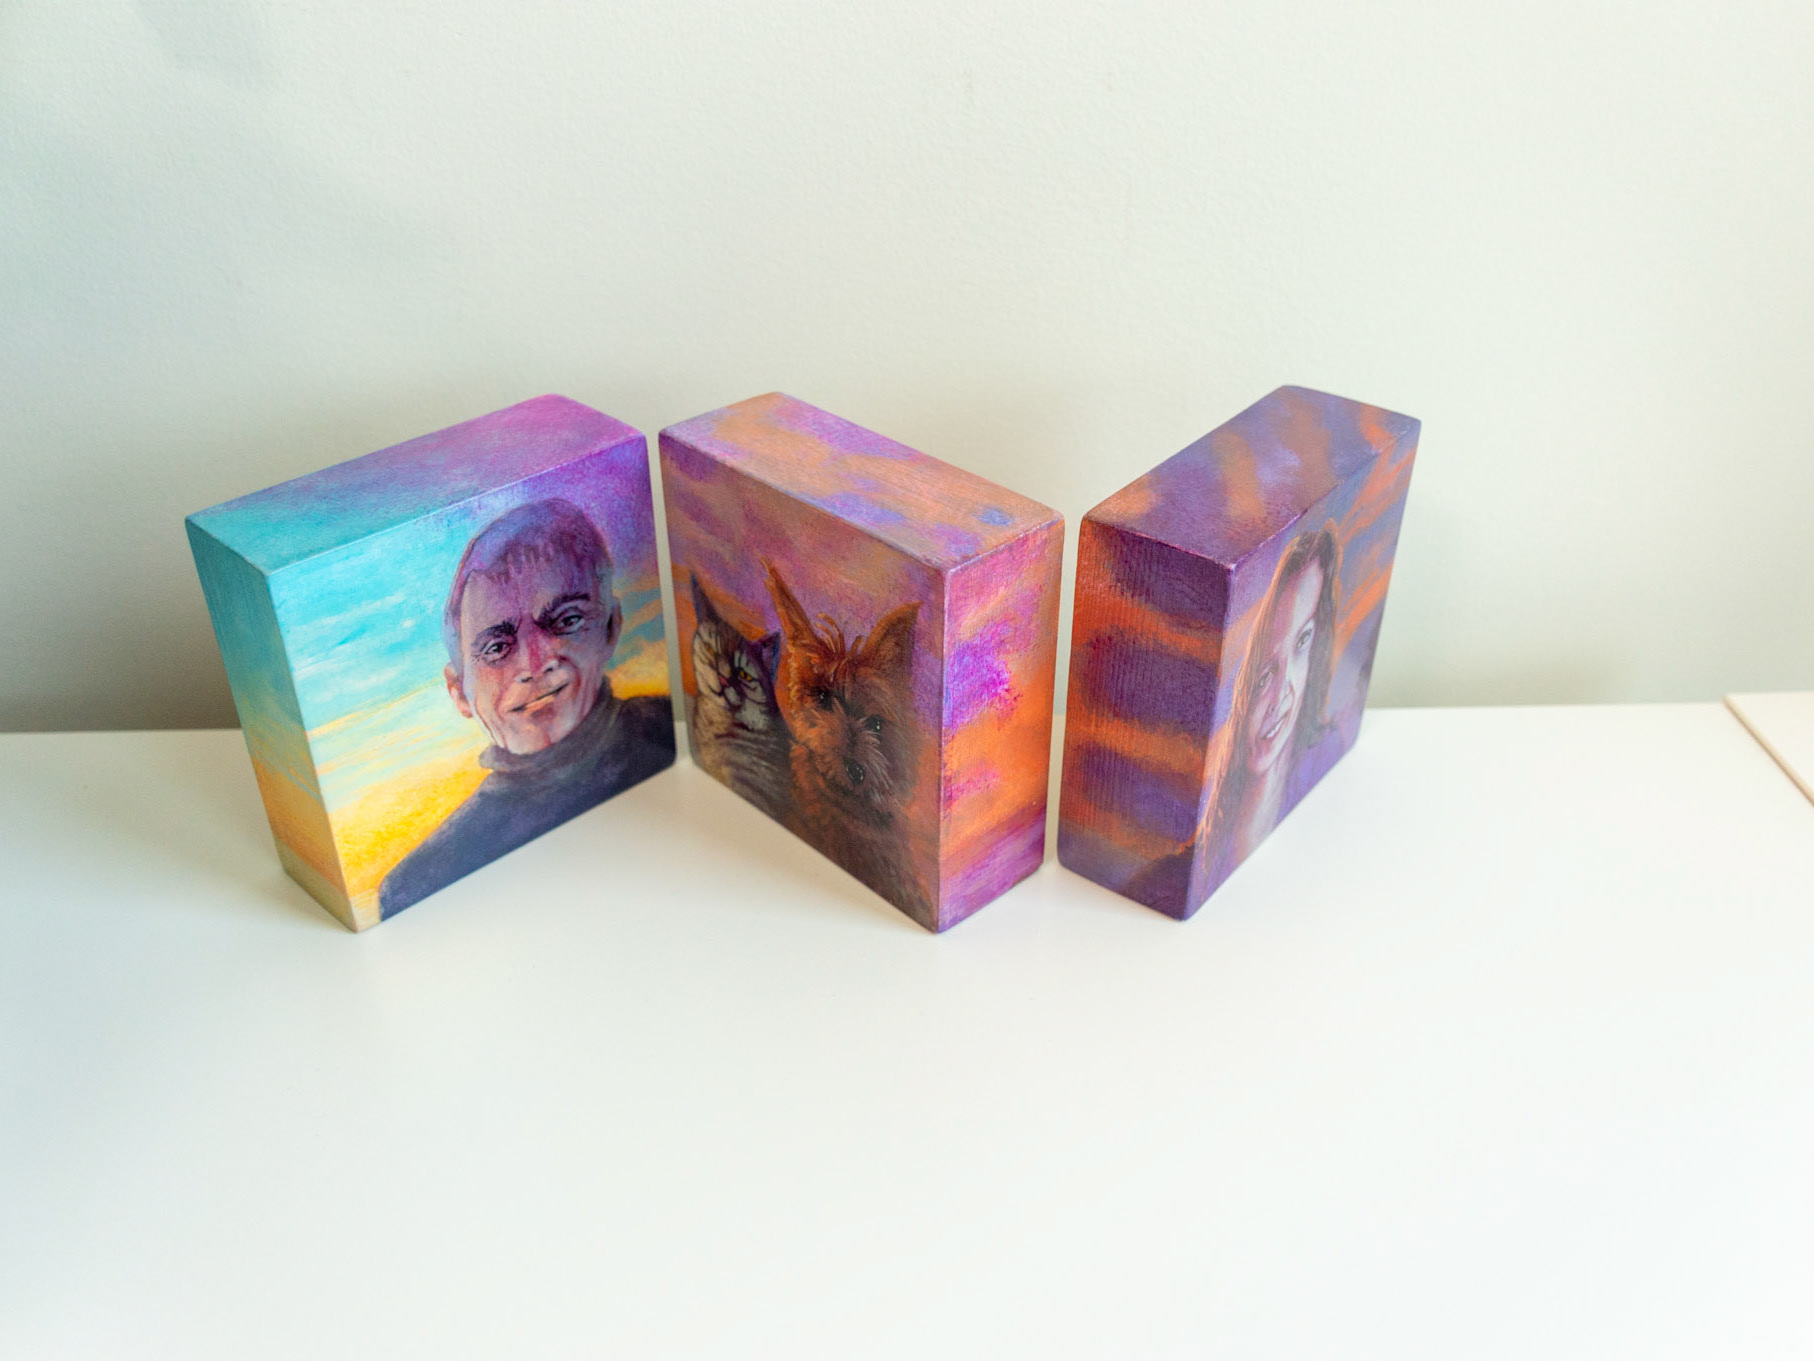
The final stickys (stickies?), hand painted and lined for Sticky 5, shown by One More Life Gallery in Vancouver.